
Introduction
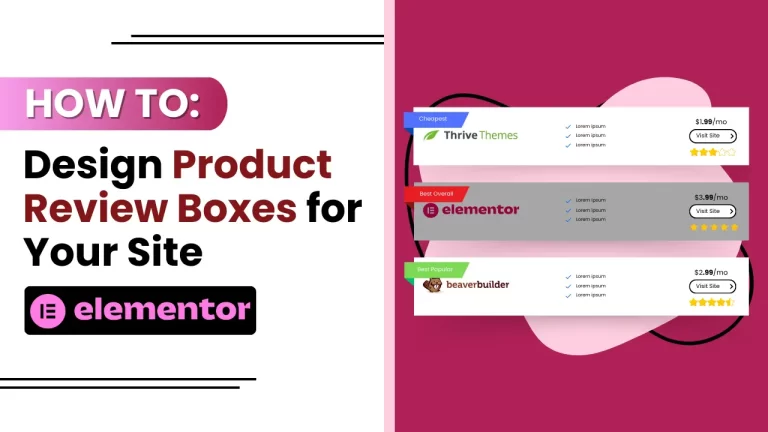
Elementor is an excellent tool for creating engaging and visually appealing product feature blocks that can significantly enhance your website’s user experience and conversion rates. By utilizing this powerful page builder, you can effortlessly create stunning product feature blocks that showcase your offerings in the best light. Let’s dive into the step-by-step process of crafting these blocks using this page builder.
Understanding Elementor
Overview of Elementor
Elementor is a drag-and-drop page builder plugin for WordPress that allows you to create beautiful web pages without needing to write a single line of code. It’s user-friendly and versatile, making it an excellent choice for both beginners and advanced users.
Benefits of Using Elementor for Feature Blocks
Using Elementor, you can quickly build custom product feature blocks that look professional and are highly customizable. Its wide range of widgets, templates, and design options make it the go-to tool for creating dynamic and engaging website elements.
Setting Up Elementor for Product Feature Blocks
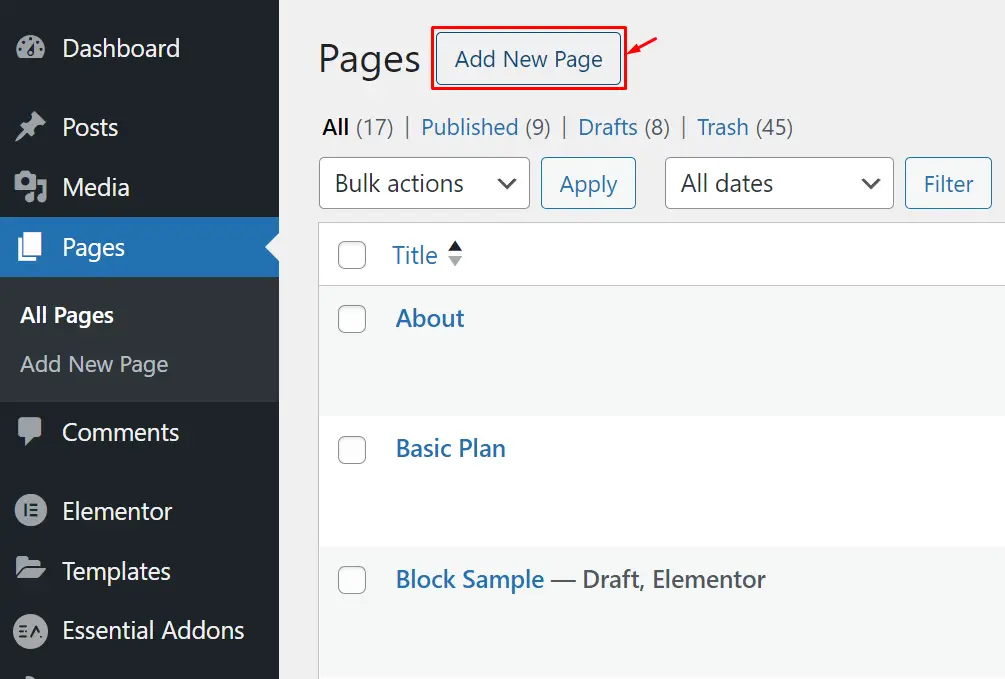
Accessing WordPress Dashboard
Navigate to Pages.

Click on “Add New” to create a new page for your product summaries.
Creating the Page Structure
Naming and Initializing
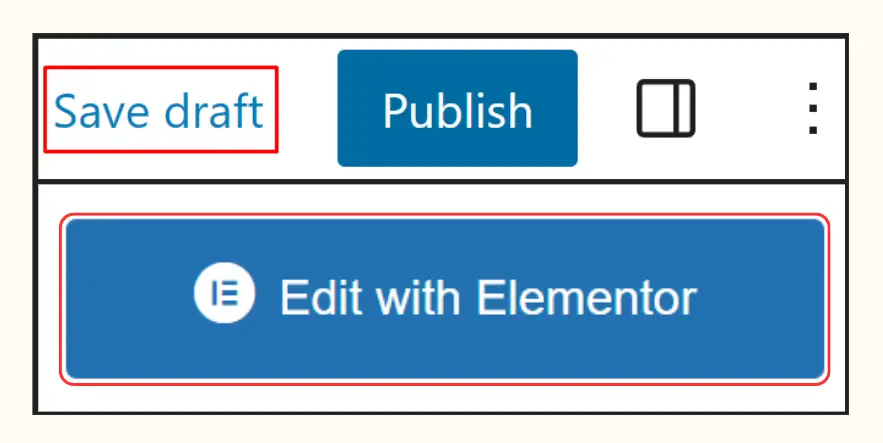
Name your page something like “Top 5 WordPress Page Builders”.
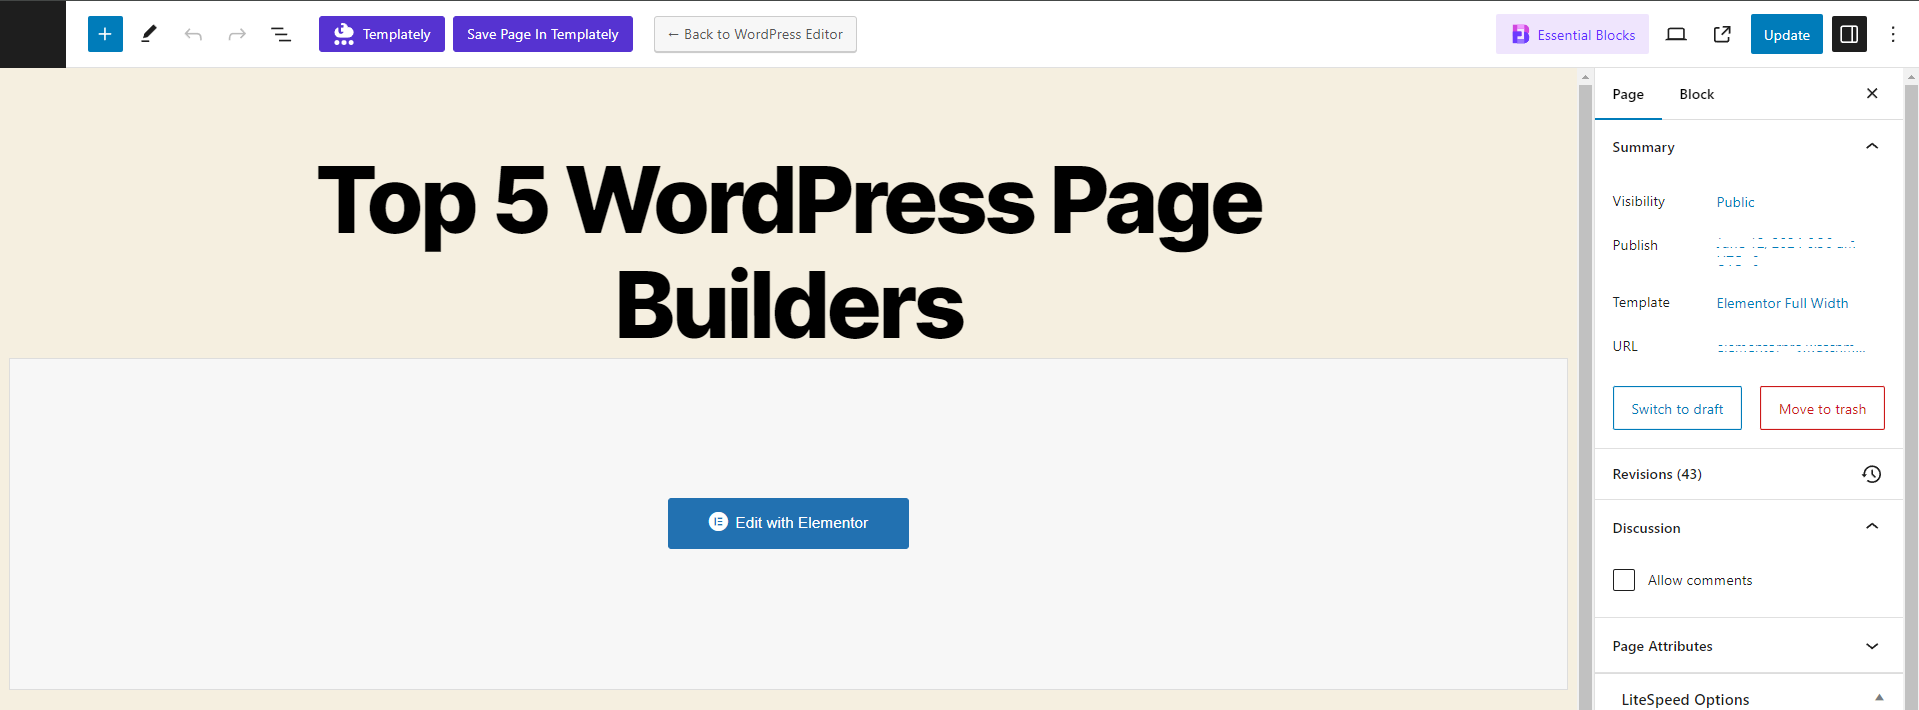
Save the draft and click on “Edit with Elementor” to enter the Elementor Editor.
Setting Up Sections
Adding Containers
Drag and drop a Container widget into your section.
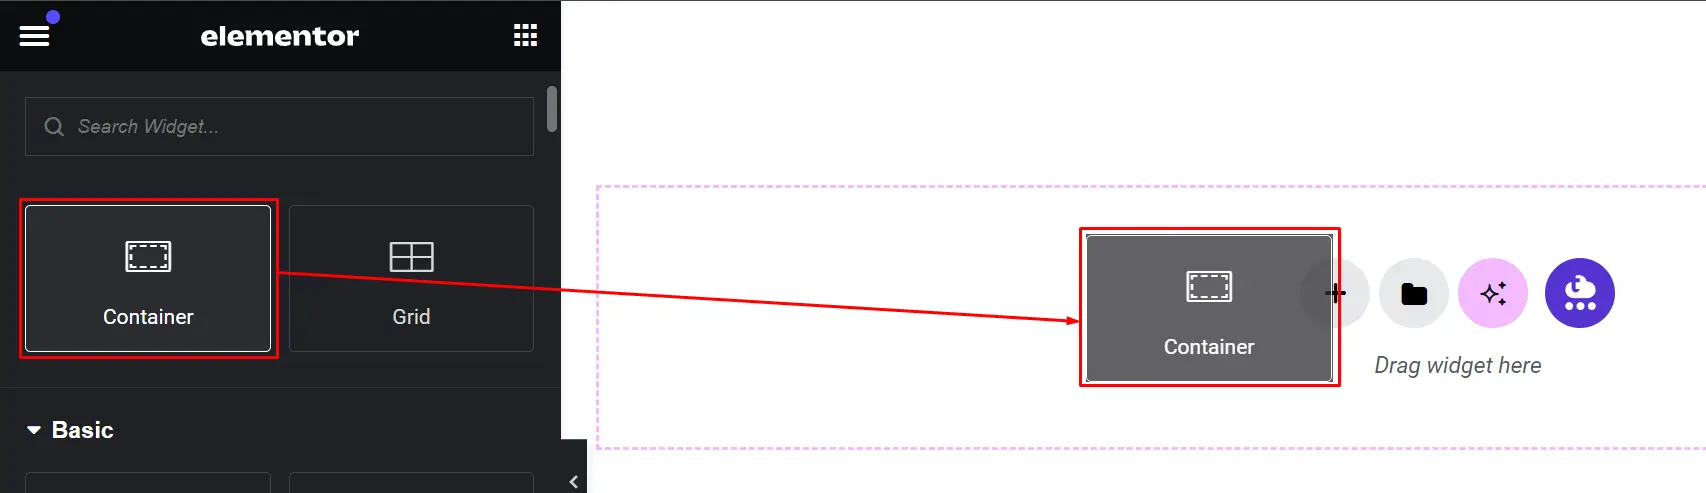
Add another Container widget for the content, then duplicate it.

Adjusting Layout
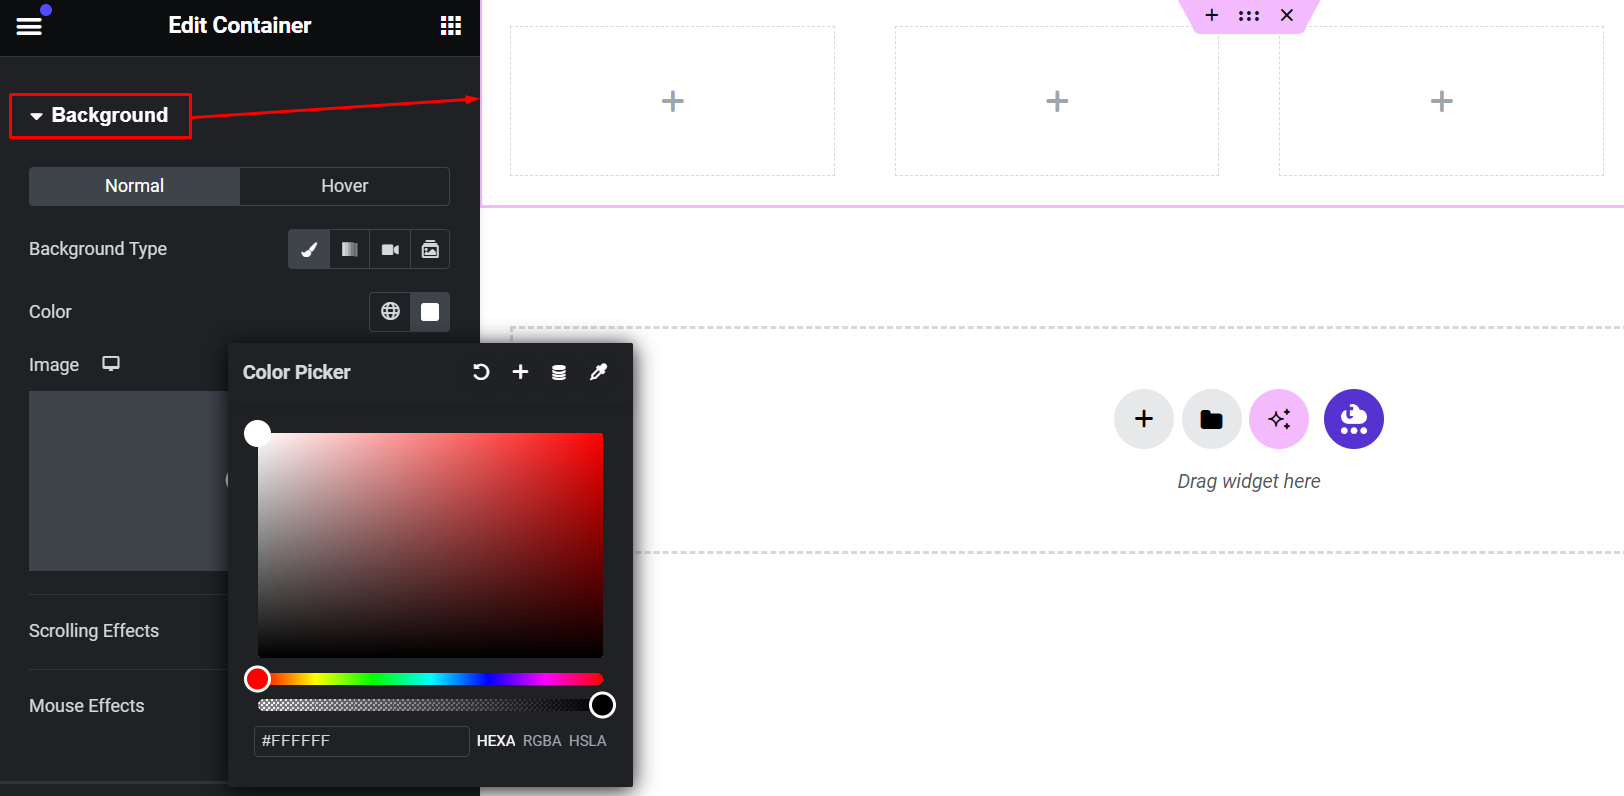
Change the layout direction to Row-Horizontal.

Navigate to the Style tab and set the background color to white for clarity.
Adding Product Information
Including Product Details
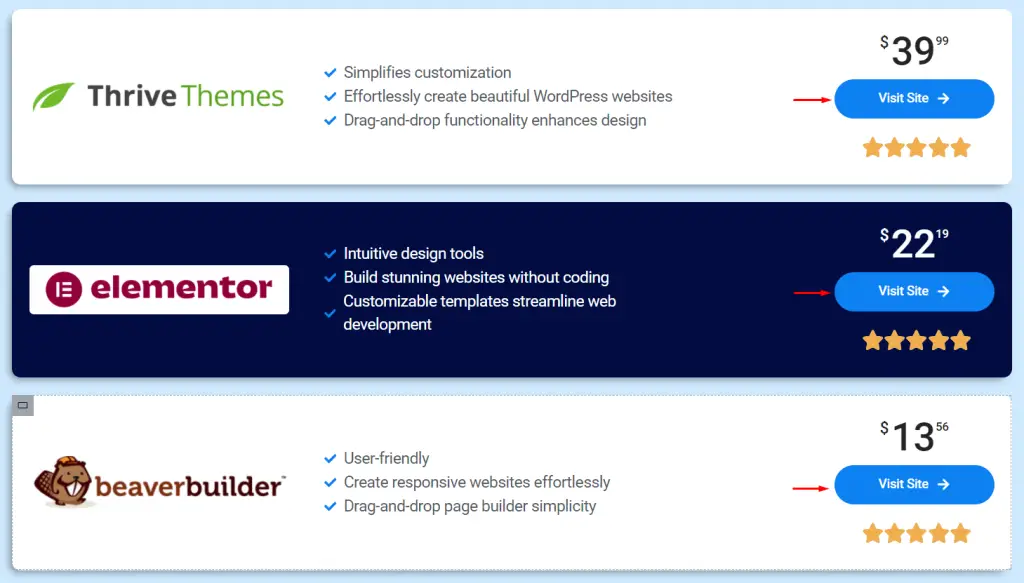
Insert Images and Icons
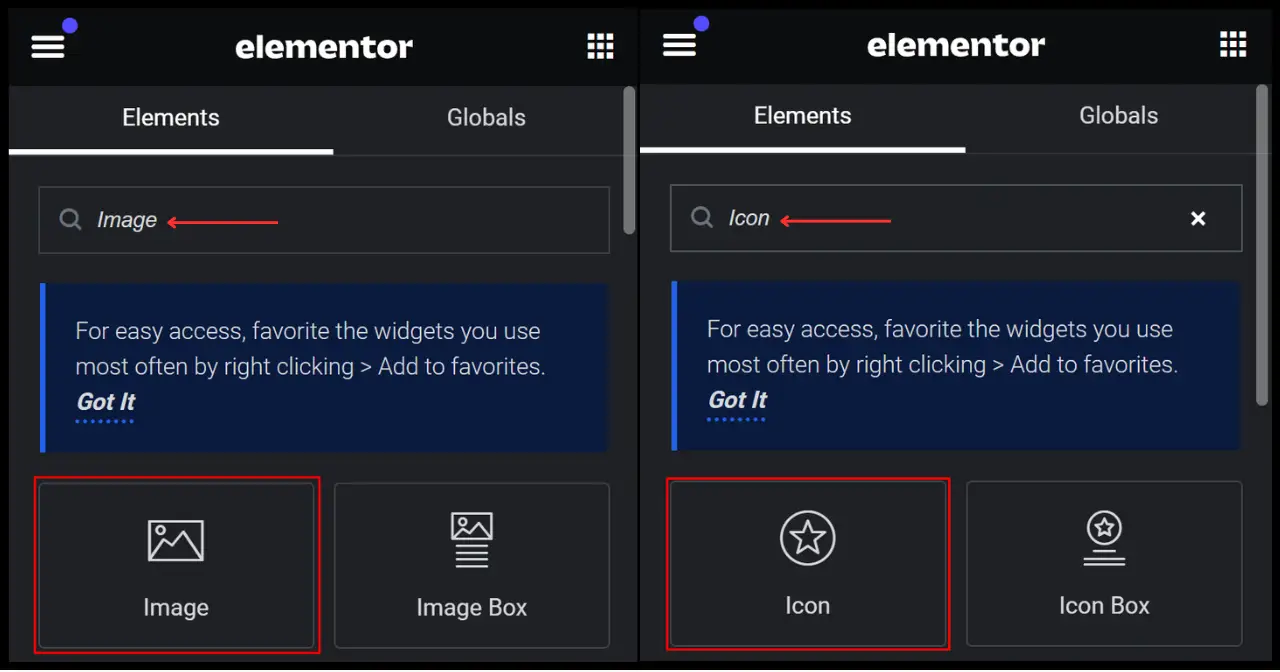
Upload the logo or image of each page builder.
![]()
Duplicate the container to add details of other products. 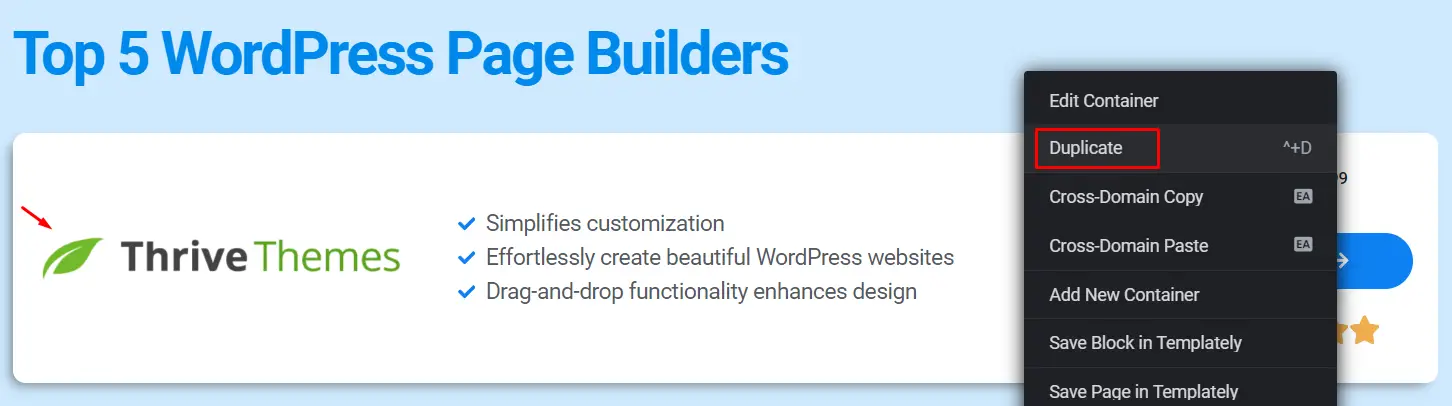
Product Descriptions
Use the icon list widget to list features of each page builder.
![]()
Customize the buttons for each product accordingly.
Enhancing Visual Appeal
Styling and Customization
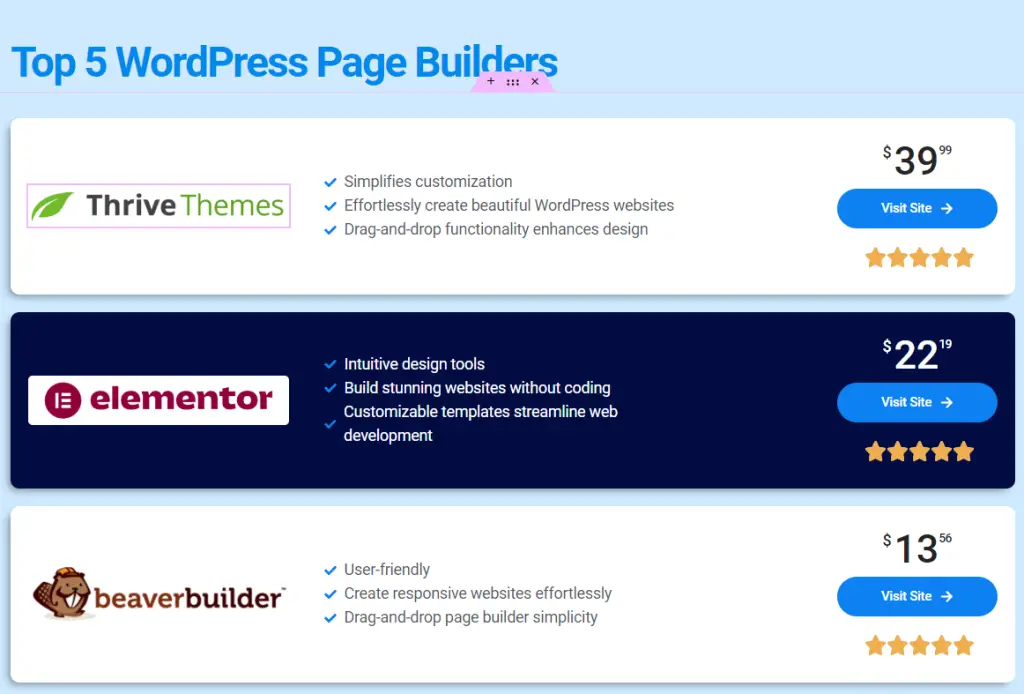
Creating Headings
Add a new section for headings and adjust the top padding for spacing.
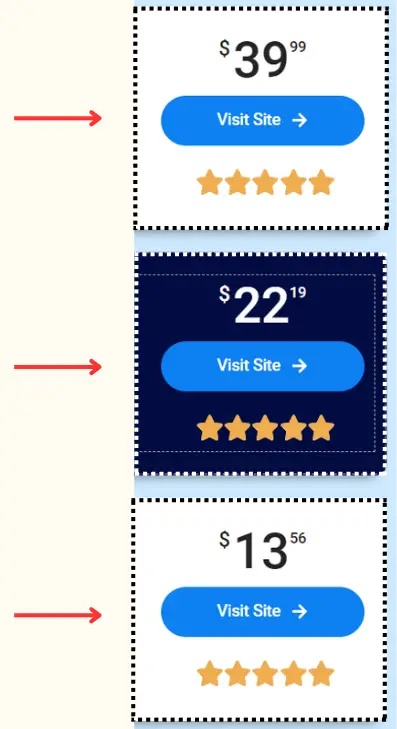
Formatting Price Tables
Resize and customize the price tables to match your design preferences.

Highlighting Featured Products
Change the background color of selected containers for emphasis.
Adjust text colors to ensure readability against the chosen backgrounds.

Linking Buttons and Finalizing
Adding Functionality
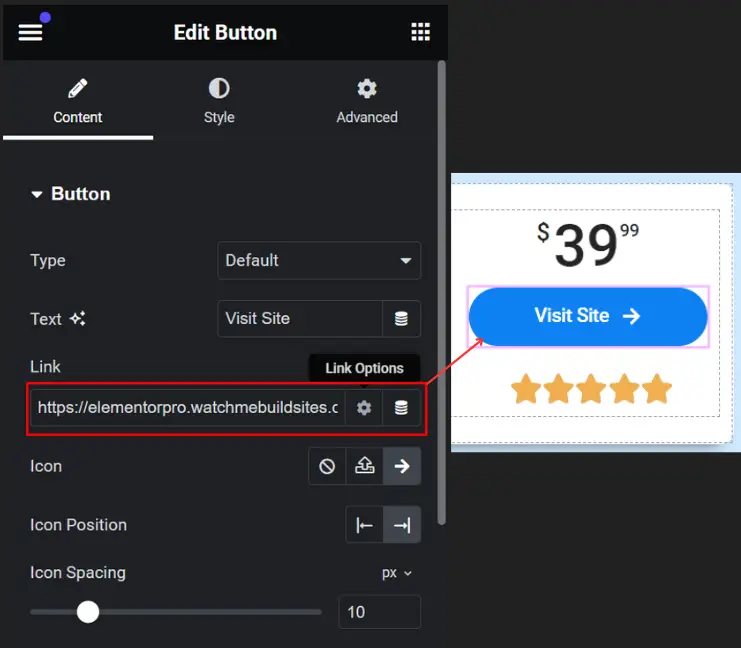
Adding URLs
Click on the pencil icon of each button to insert the appropriate URL links.
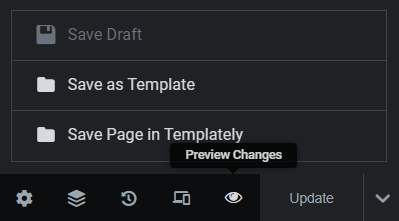
Review and Preview
Save your draft or publish the page to preview your changes.
Test the functionality of buttons to ensure they direct correctly.
Mobile Responsiveness
Optimizing for Mobile
Checking Mobile Compatibility
Preview your design on mobile to ensure responsiveness.
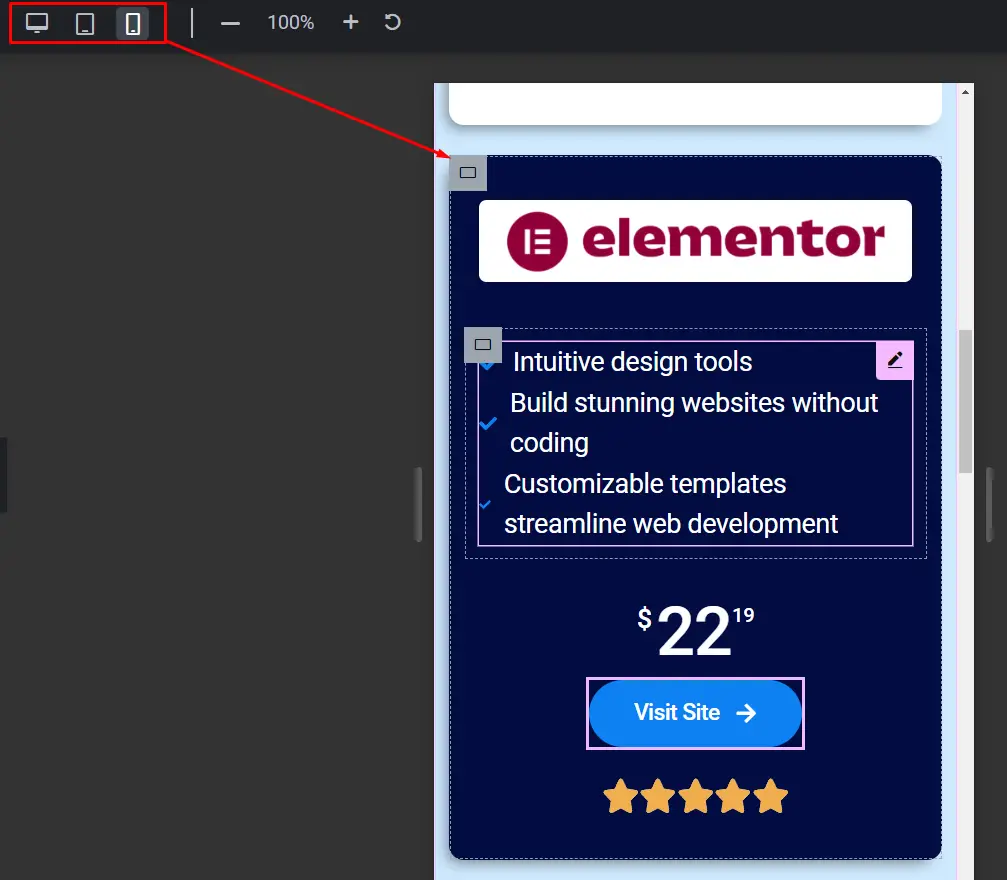
Make adjustments to the mobile version for better usability if needed.
Conclusion
Creating product summary and comparison boxes with Elementor allows you to showcase and rank products effectively on your WordPress site. By following these steps, you can design visually appealing and functional product comparison sections that enhance user engagement and navigation.