
Introduction
In the world of web design, adding hover animations can breathe life into your website and make it more engaging. If you’re using Elementor, a popular page builder for WordPress, you’re in luck because it offers an easy way to add captivating hover animations to your website elements.
In this step-by-step guide, we’ll walk you through the process of adding hover animations to images, buttons, and icons using Elementor. Let’s get started!
Adding an Image
To add a hover animation to an image on your Elementor page, follow these steps:
Select the Image Widget
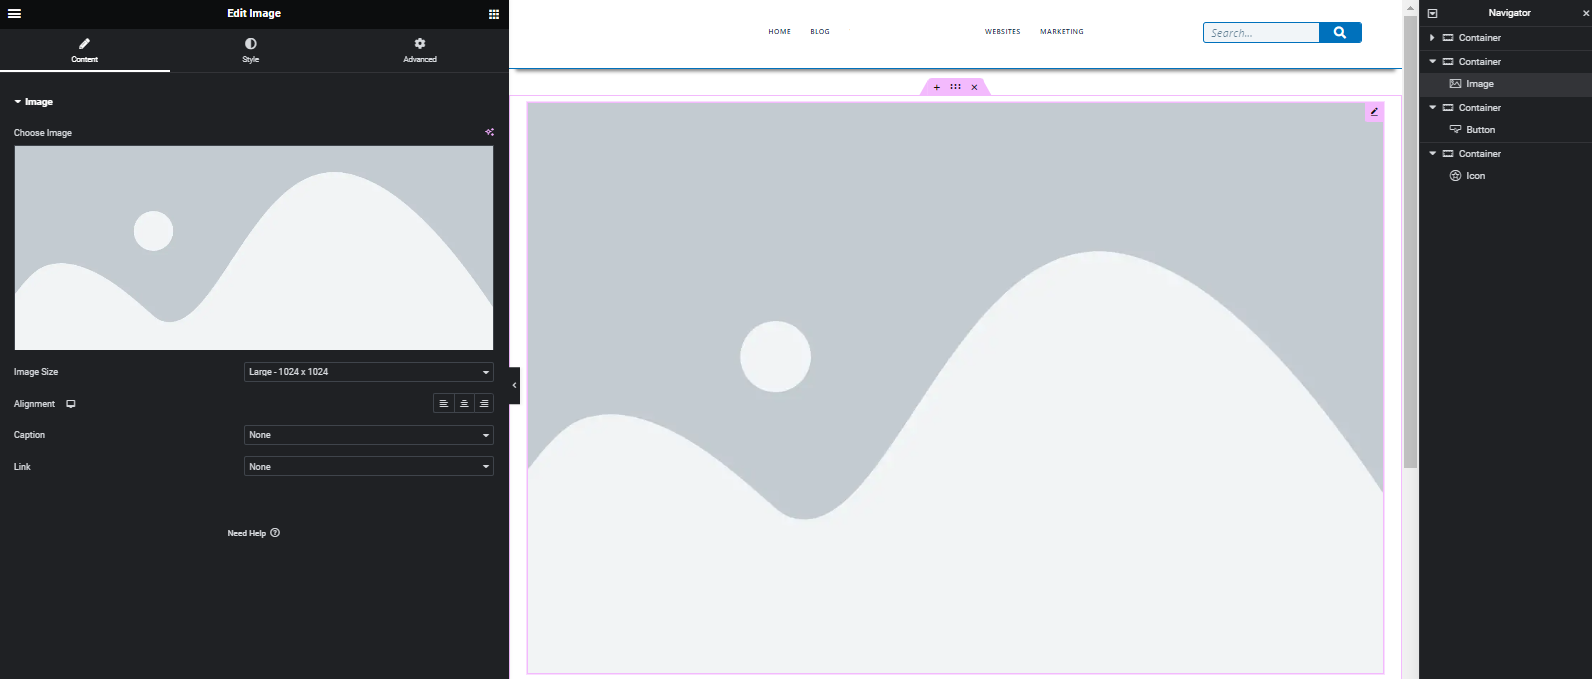
First, add an Image Widget to your Elementor canvas.
Switch to the Style Tab
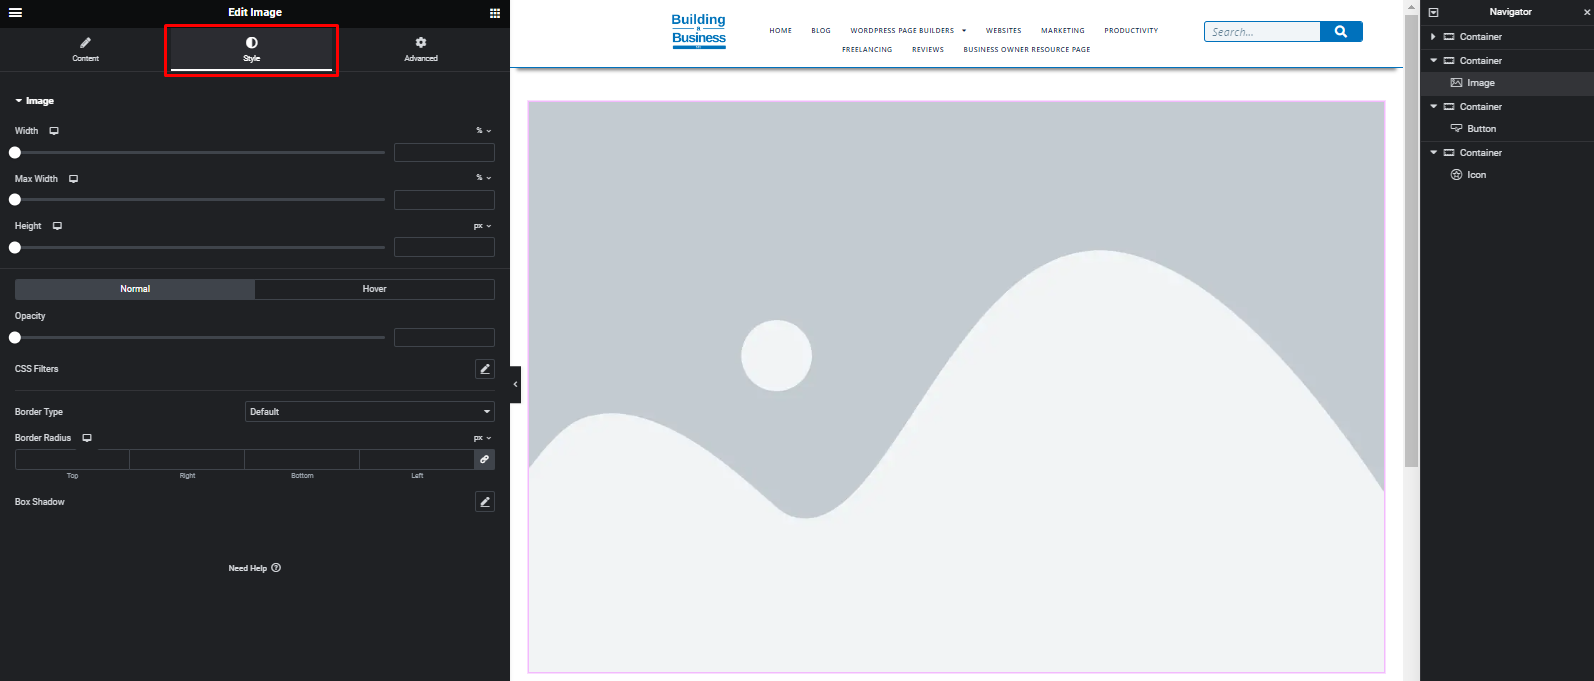
Click on the Image Widget, and you’ll see various tabs at the left sidebar. Click on the “Style” tab to access image styling options.
Access Hover Tab
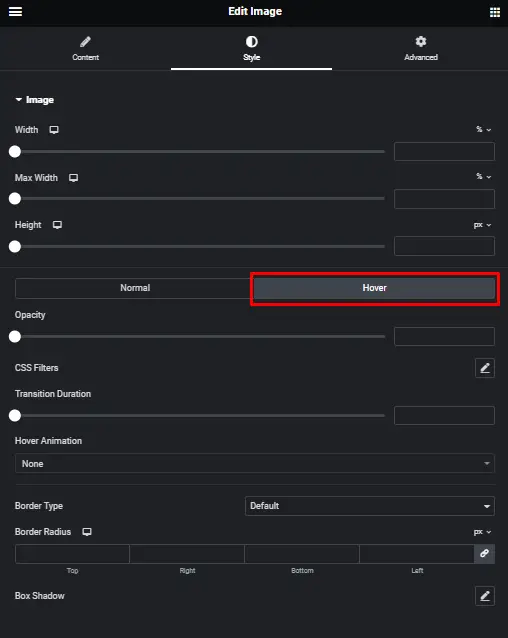
Within the “Style” tab, locate the “Hover” tab and click on it. This is where you’ll configure your hover animation.
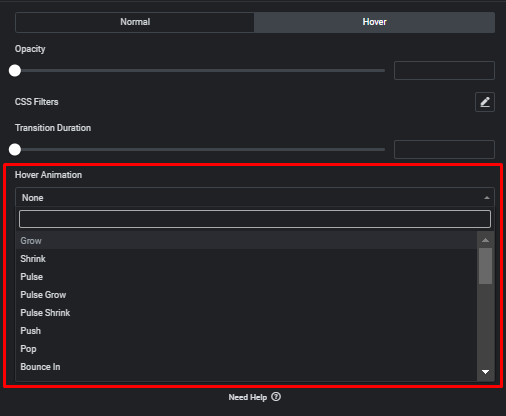
Choose a Hover Animation
In the “Hover” tab, you’ll find a list of different animations to choose from. Select the one that suits your design preferences.
Adding a Button
Now, let’s explore how to add a hover animation to a button:
Select the Button Widget
Begin by adding a Button Widget to your Elementor canvas.

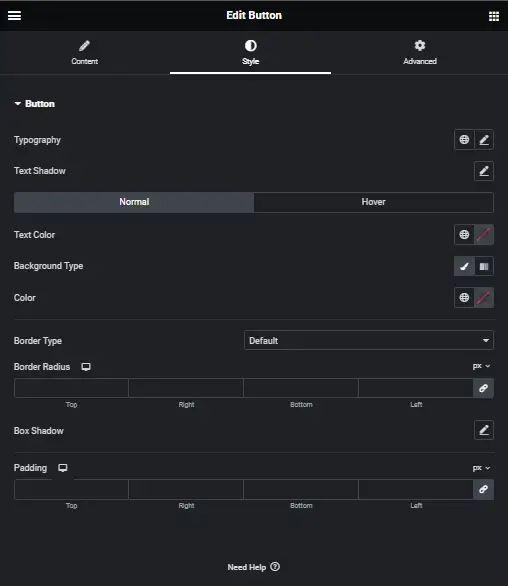
Access the Style Tab
Click on the Button Widget, and go to the “Style” tab from the left sidebar.
Navigate to the Hover Tab
Within the “Style” tab, find the “Hover” tab and click on it to access hover animation settings for the button.
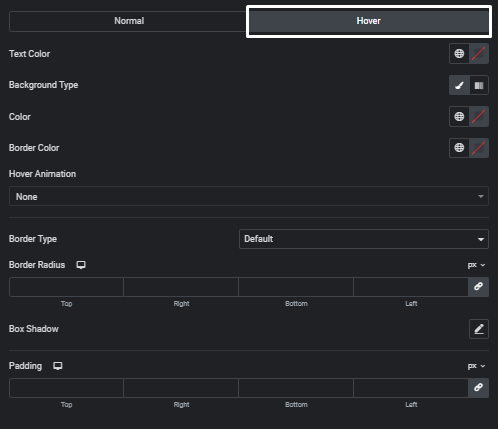
Select a Hover Animation
Similar to the image widget, you’ll find a list of hover animations for buttons. Choose the one that you like. For example, you can select “Pulse” for a subtle but attention-grabbing effect.
Adding an Icon
Adding a hover animation to an icon is just as easy as it is for a button:
Choose the Icon Widget
Add an Icon Widget to your Elementor canvas.
![]()
Go to the Style Tab
Click on the Icon Widget, and access the “Style” tab from the left sidebar.
![]()
Access the Hover Animation
Within the “Style” tab, you’ll see the “Hover” option when you hover over the icon. Click on it to reveal the hover animation settings for the icon.
![]()
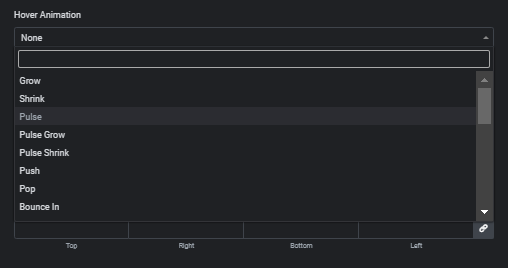
Pick Your Desired Animation
Just like with images and buttons, you can select a hover animation for icons from the available options.
![]()
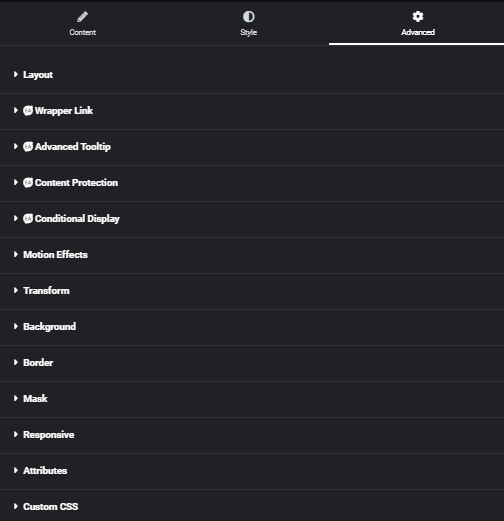
Exploring More Options
If you’re still looking to enhance your Elementor design, you can make use of other general options in the “Advanced Tab” located in the left sidebar. Elementor provides a wealth of additional settings and features to further customize your web design.
Enhancing User Experience with Hover Effects in Elementor
Introduction
In the ever-evolving world of web design, providing a delightful user experience is paramount. It’s not just about creating visually appealing websites, but also about engaging users with interactive features. Hover effects are one such element that can significantly enhance user experience, and when it comes to WordPress, Elementor is a versatile tool for incorporating these effects seamlessly. In this article, we’ll delve into the world of hover effects, explore how Elementor can be your go-to solution for implementing them, and discuss their impact on user engagement.
What are Hover Effects?
Hover effects are interactive web design elements that come to life when a user hovers their cursor over a specific element on a webpage. They provide an additional layer of interactivity, making the website more engaging and user-friendly. Elementor, a popular WordPress page builder, offers a wide range of customization options to implement these effects effortlessly.
Implementing Hover Effects with Elementor
Now that we understand the significance of hover effects, let’s explore how Elementor can be your ideal tool for implementing them.
Elementor’s Built-in Features
Elementor offers a user-friendly drag-and-drop interface that enables you to create captivating hover effects without any coding skills. You can apply hover animations to various elements, including buttons, images, and text.
Customization Options
Elementor provides a wide array of customization options. You can control the hover effect’s duration, delay, and style. This flexibility ensures that the effect aligns with your website’s branding and design.
Hover Effect Templates
Elementor also comes with pre-designed hover effect templates. These templates can be easily applied to your elements, saving you time and effort in designing hover effects from scratch.
Impact on User Engagement
Hover effects have a direct impact on user engagement and, ultimately, the success of your website.
Reduced Bounce Rate
Engaging hover effects can entice visitors to explore your site further, reducing the bounce rate. Users are more likely to stay on your page when they are intrigued by interactive elements.
Improved Conversion Rates
Interactive elements like hover effects can be strategically used to draw attention to call-to-action buttons, leading to higher conversion rates.
Enhanced User Satisfaction
A website that provides an enjoyable user experience through hover effects will leave a positive impression on users, increasing their satisfaction and likelihood of returning.
Conclusion
In the ever-competitive world of web design, standing out is crucial. Utilizing hover effects in Elementor is a smart way to elevate your website’s user experience. These interactive elements not only capture user attention but also improve navigation and engagement. With Elementor’s user-friendly features and customization options, implementing hover effects has never been easier. Elevate your website’s user experience and keep your visitors engaged with the captivating power of hover effects.


