
Introduction
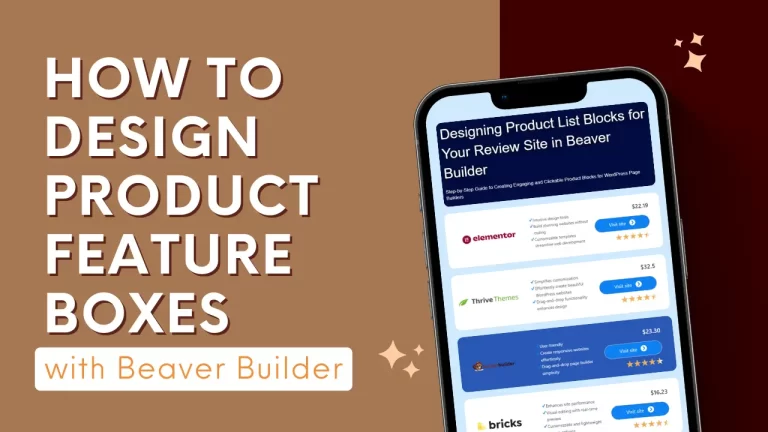
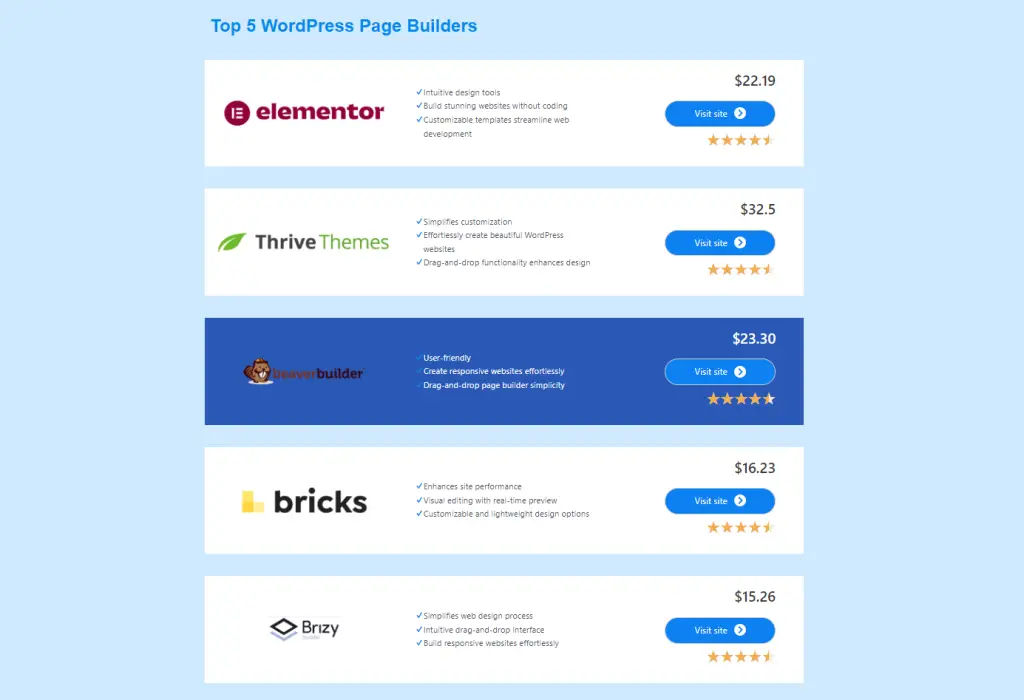
In today’s Beaver Builder tutorial, we’re diving into the creation of product feature boxes for your website. You’ve probably seen these on review sites where they provide a visual summary or comparison of products. This tutorial will guide you through designing a page with several product comparison boxes, perfect for showcasing WordPress Page Builders. Let’s get started!
Understanding Beaver Builder
Overview of Beaver Builder
Beaver Builder is a powerful drag-and-drop page builder for WordPress. It allows users to create professional-looking websites without any coding knowledge. With its user-friendly interface and versatile modules, Beaver Builder is an excellent choice for building and customizing your review site.
Why Choose Beaver Builder for Your Review Site?
Beaver Builder offers flexibility and ease of use, making it ideal for creating product feature blocks. Its wide range of modules and customization options ensures that you can design blocks that perfectly fit your brand and provide your readers with a seamless user experience.
Step-by-Step Guide to Creating Product Feature Blocks
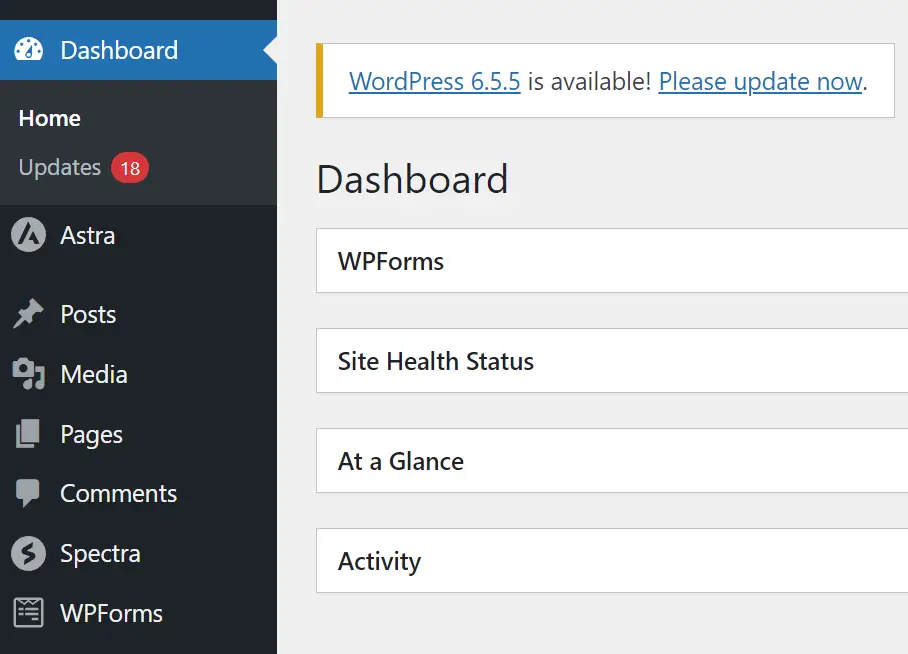
Accessing Your Page in WordPress
- Navigate to your WordPress dashboard.
- Go to the Pages tab and locate the page titled “Top 5 WordPress Page Builders”.
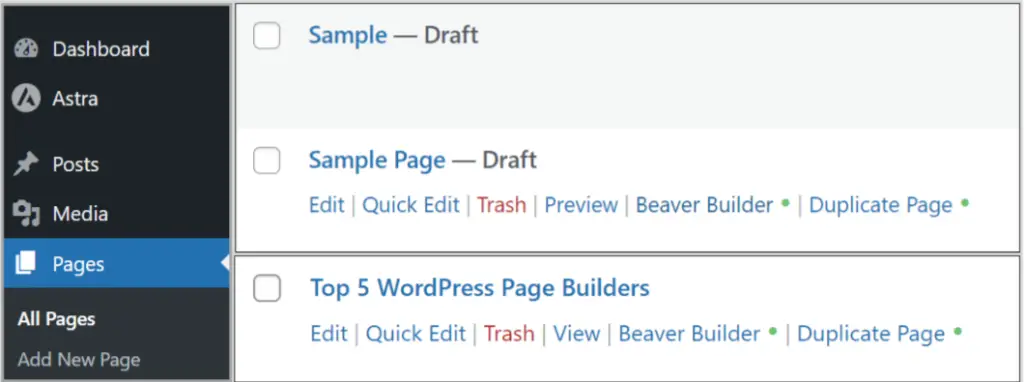
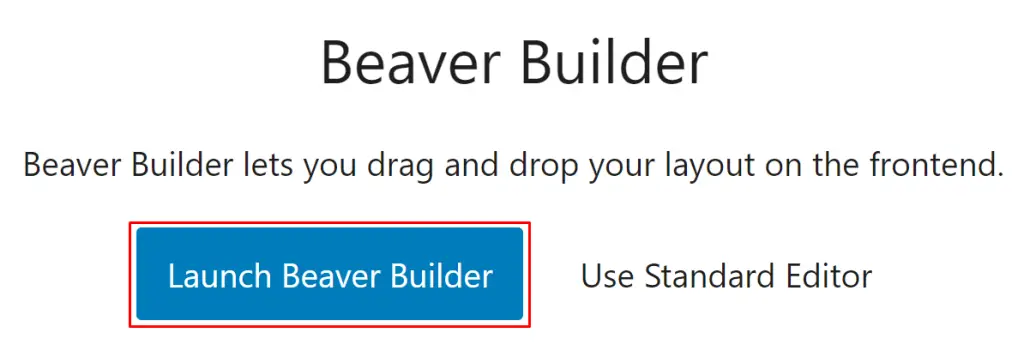
- Click on ‘Edit with Beaver Builder’ to begin.
Setting Up Your Containers
- Inside the Beaver Builder Editor, start by dragging and dropping a container module onto the page.
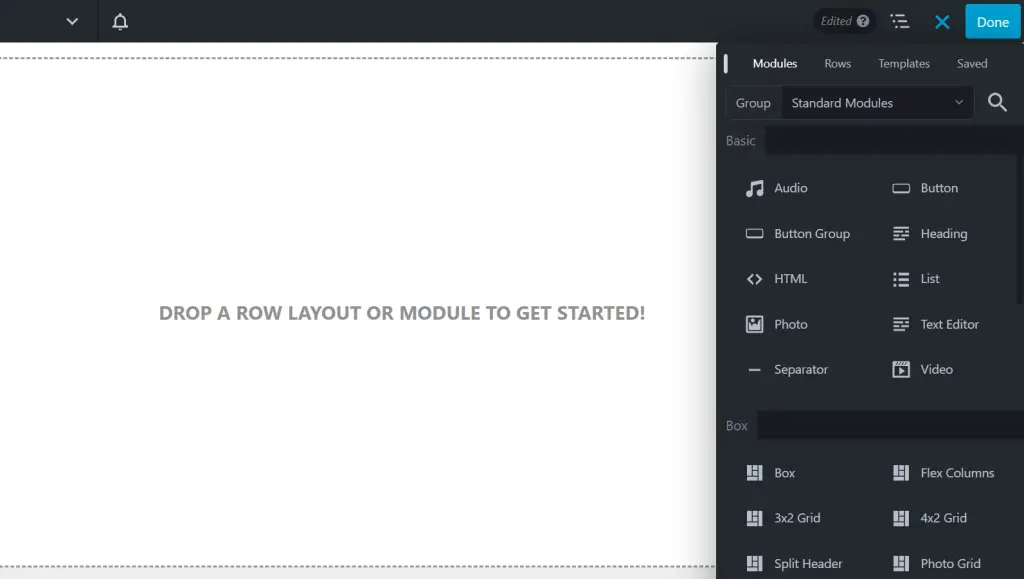
- Add another container module for the content section.

Customizing the Container
Adjusting Background Colors
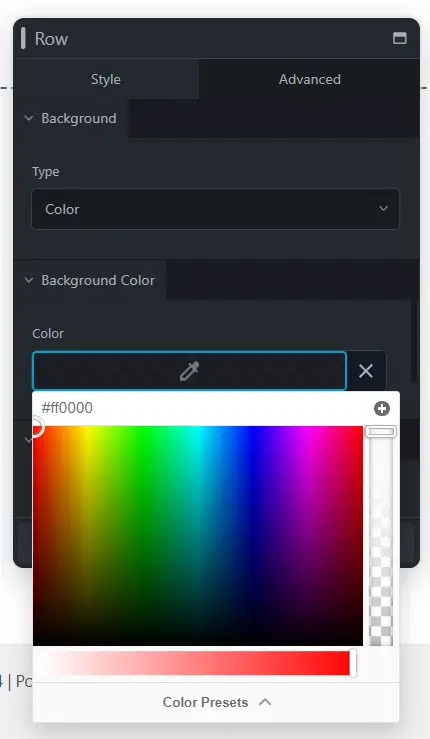
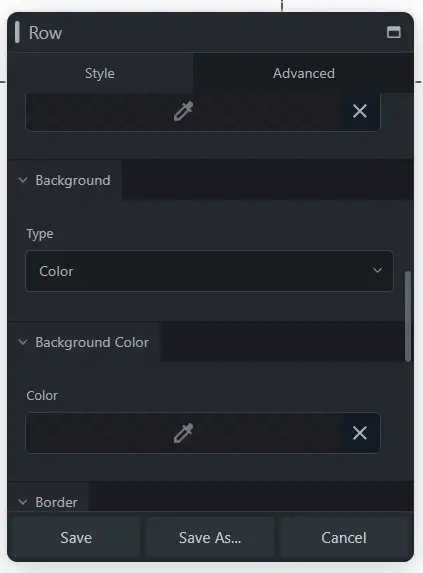
- Go to the Style tab of the container.

- Choose your preferred background color to match your site’s theme.
Designing the Layout
- Select a color scheme for the container.
- Divide the container into 3 columns for placing elements such as images, lists, and buttons.

Adding Product Comparison Boxes
Creating the First Product Box
- Customize the appearance of the first product review box.
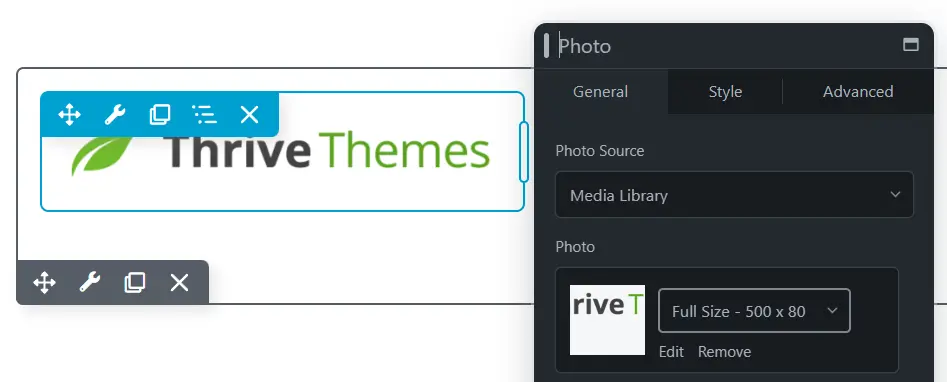
- Insert an image, a list of features, and a call-to-action button for each product.

Duplicating Containers
- Duplicate the container to add additional product comparison boxes.
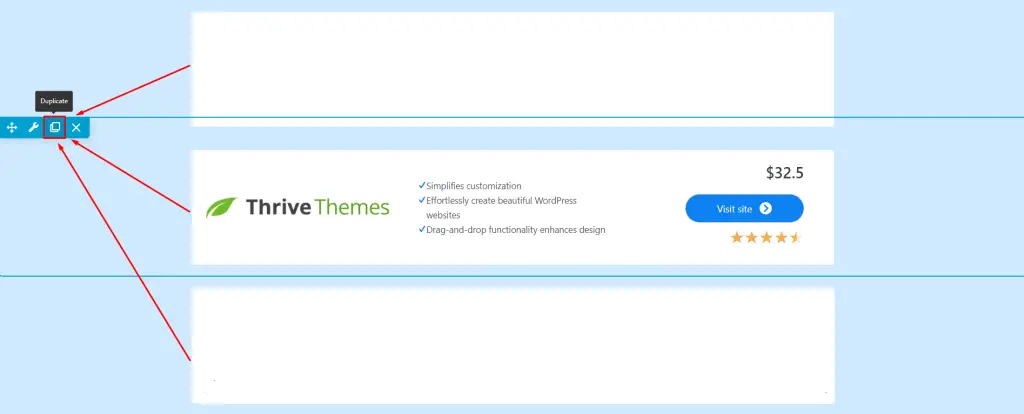
- Replace images and customize content for each product.

Enhancing Visual Appeal
Adding Section Headings
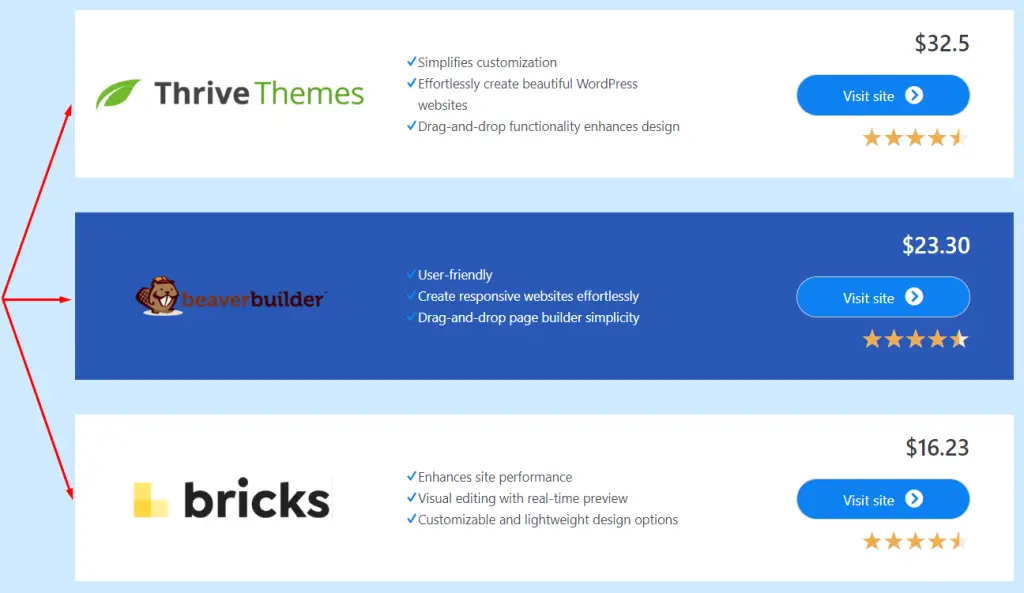
- Introduce a new section to highlight different categories of products.
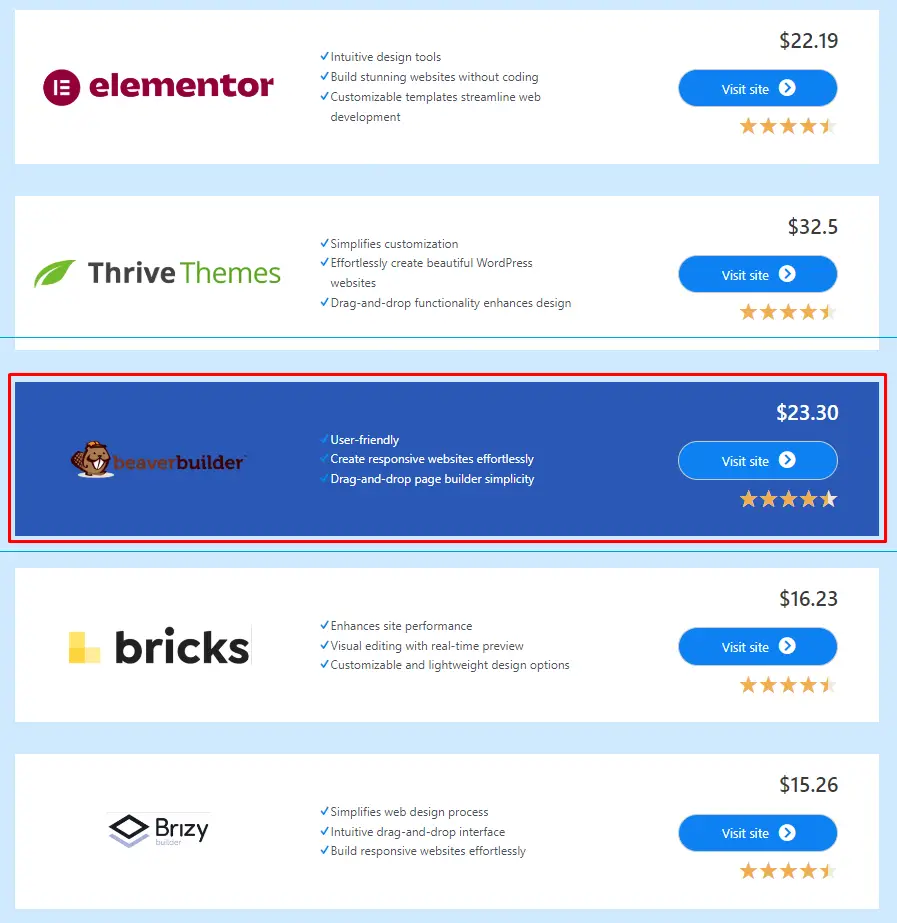
- Adjust background colors to distinguish sections and improve readability.
Ensuring Responsiveness
- Preview the design to ensure it looks appealing on desktop.
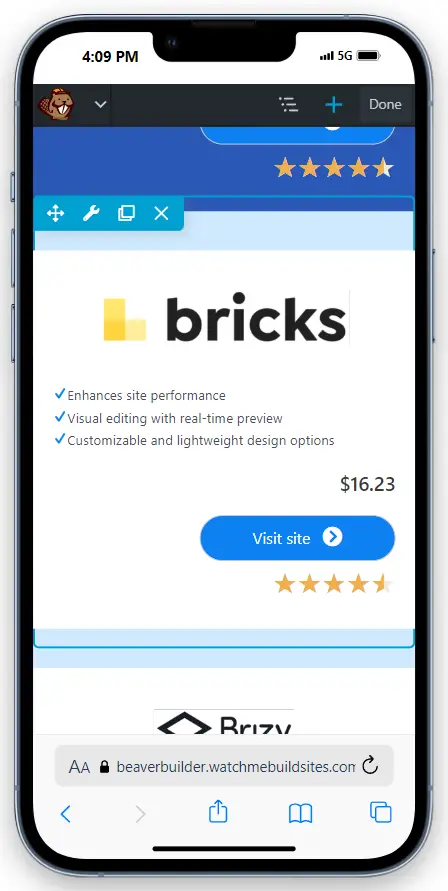
- Check the mobile view to ensure responsiveness.
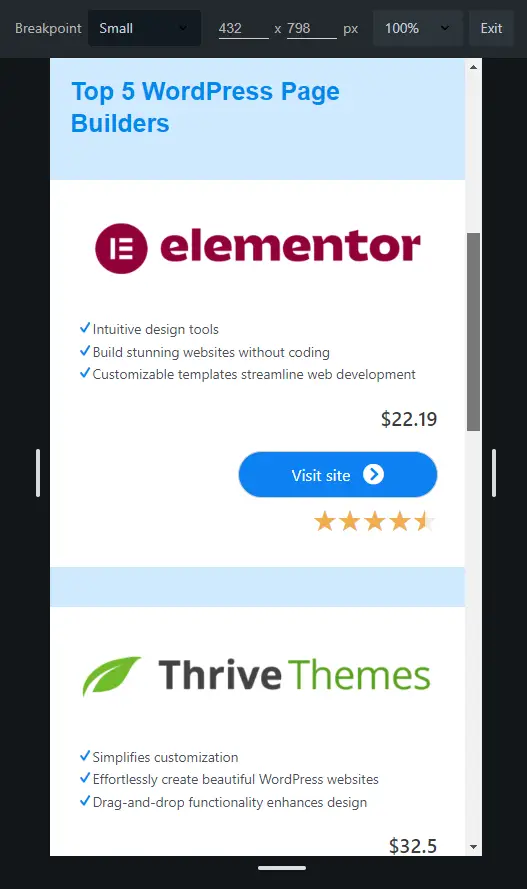
- Modify the mobile version if necessary to optimize user experience.
Final Touches and Testing
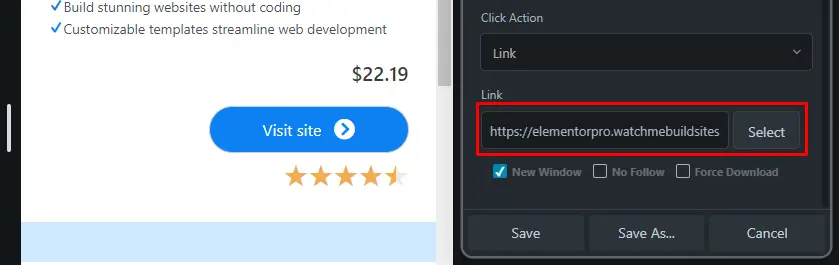
Linking Buttons
- Add clickable URLs to each button.
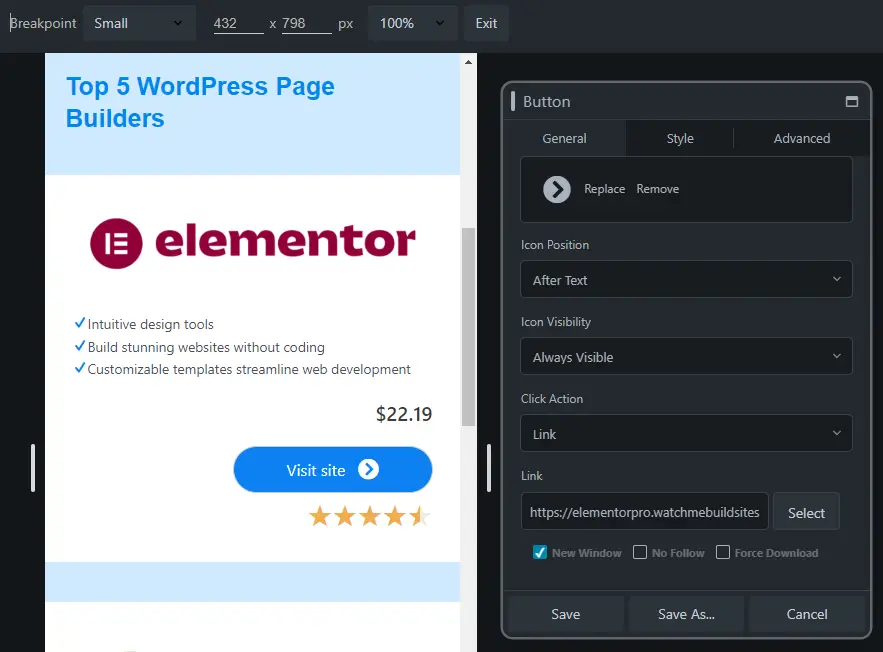
- Click on the edit icon of each button and paste the respective URL into the ‘Link’ field.
Reviewing Your Design
- Once satisfied with the design, save your draft or publish the page.
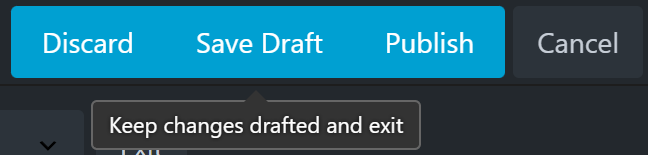
- Preview all changes to ensure everything functions correctly.
Conclusion
And there you have it! With Beaver Builder, you’ve successfully designed a product feature box section. Feel free to experiment with different designs and layouts to make your page truly unique using this versatile Page Builder.