

Introduction
WordPress Dashboard and Bricks Builder are essential tools for anyone looking to customize their website efficiently. Bricks Builder, a powerful page builder plugin, seamlessly integrates with WordPress, offering an intuitive interface for creating stunning website designs without the need for coding knowledge. In this guide, we’ll focus on utilizing Bricks Builder to create a dynamic single post template, enhancing the visual appeal and functionality of your WordPress website.
Understanding Single Post Templates
What are Single Post Templates?
Single post templates dictate the layout and design of individual blog posts on WordPress websites. They offer a unique presentation for different types of content, enhancing user experience and branding consistency.
Importance of Single Post Templates in WordPress
Single post templates play a crucial role in enhancing the visual appeal and functionality of WordPress blogs. They allow website owners to create custom layouts tailored to their content, thereby improving engagement and SEO.
Step-by-Step Guide to Show WordPress and Bricks Content on Single Post Template
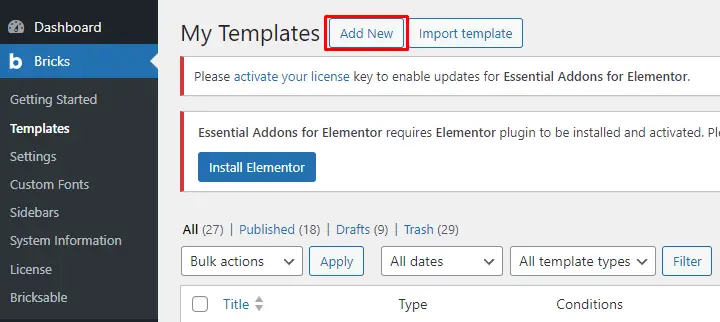
Step 1: Accessing Bricks Builder in WordPress Dashboard
Navigate to Bricks. Once there, select Templates from the menu options and then click on Add New.
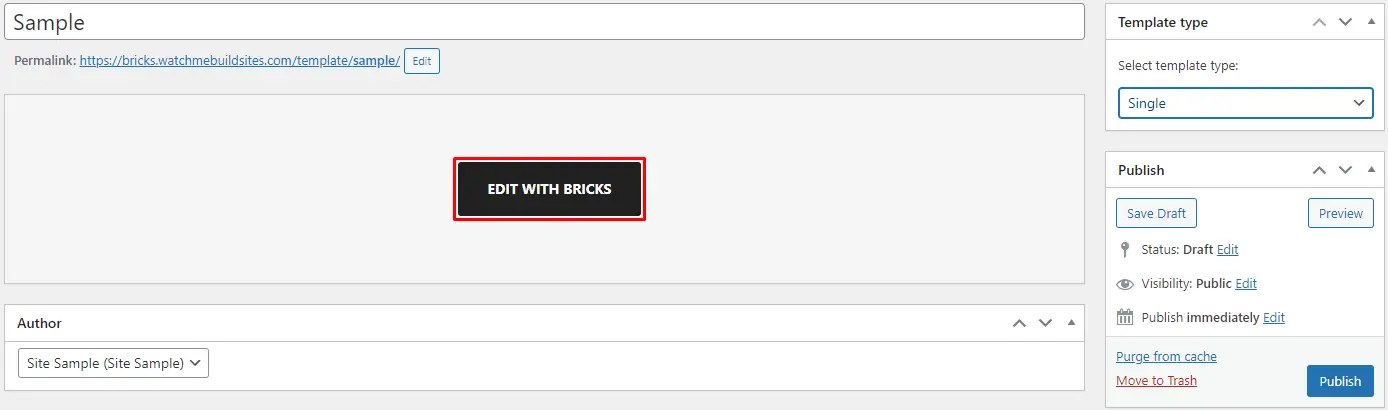
Step 2: Setting up the Template
Name your template appropriately and ensure you select the template type as “Single”. After naming and selecting the type, publish or update the template according to your preference.

Step 3: Designing the Template Layout
Click “Edit with Bricks” to start designing your template layout.
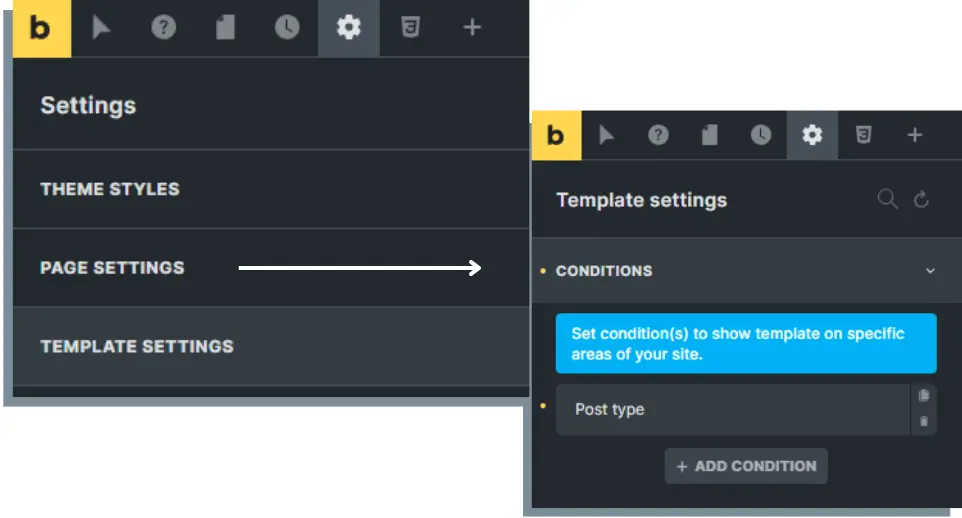
Begin by setting up conditions for the template.
Go to settings, click template settings, then condition, and set a condition where you want to place your Post content.
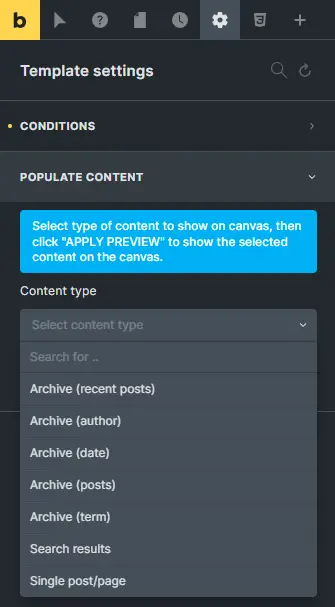
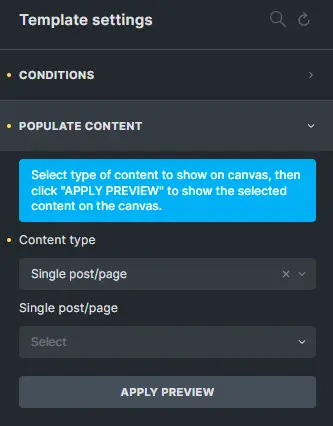
Step 4: Populating Content
Under Content type, select Single Post and then choose the specific Post that you want to populate. This ensures that your template will dynamically display content from the selected Post.
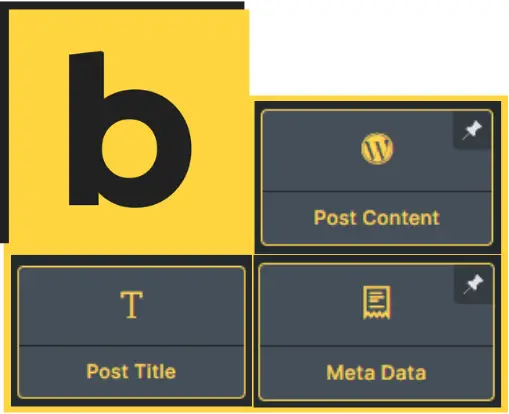
Step 5: Using Bricks’ Interface for Designing
Leverage Bricks’ intuitive drag-and-drop interface to design your post template. Click the plus icon to add a section, and then insert Bricks content blocks for various elements such as Post Title, Post Content, Post Meta, etc.
Step 6: Customizing Layout and Design
Tailor the layout and design of your template to your liking using Bricks’ styling options. Explore the available blocks within the Bricks editor to customize elements according to your preferences.
Step 7: Applying the Template
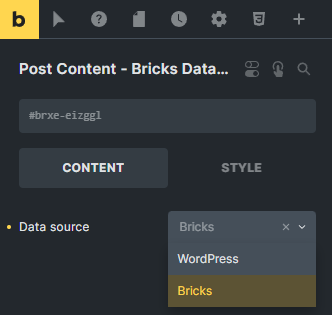
Add a Post Content element to your design and set its data source to WordPress.
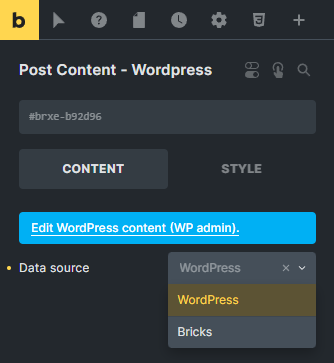
Ensure that the other Post content data source is Bricks.
Set the template to apply for Single Post type and select the specific Post you want to apply it to. Finally, update or publish the post to apply the template.
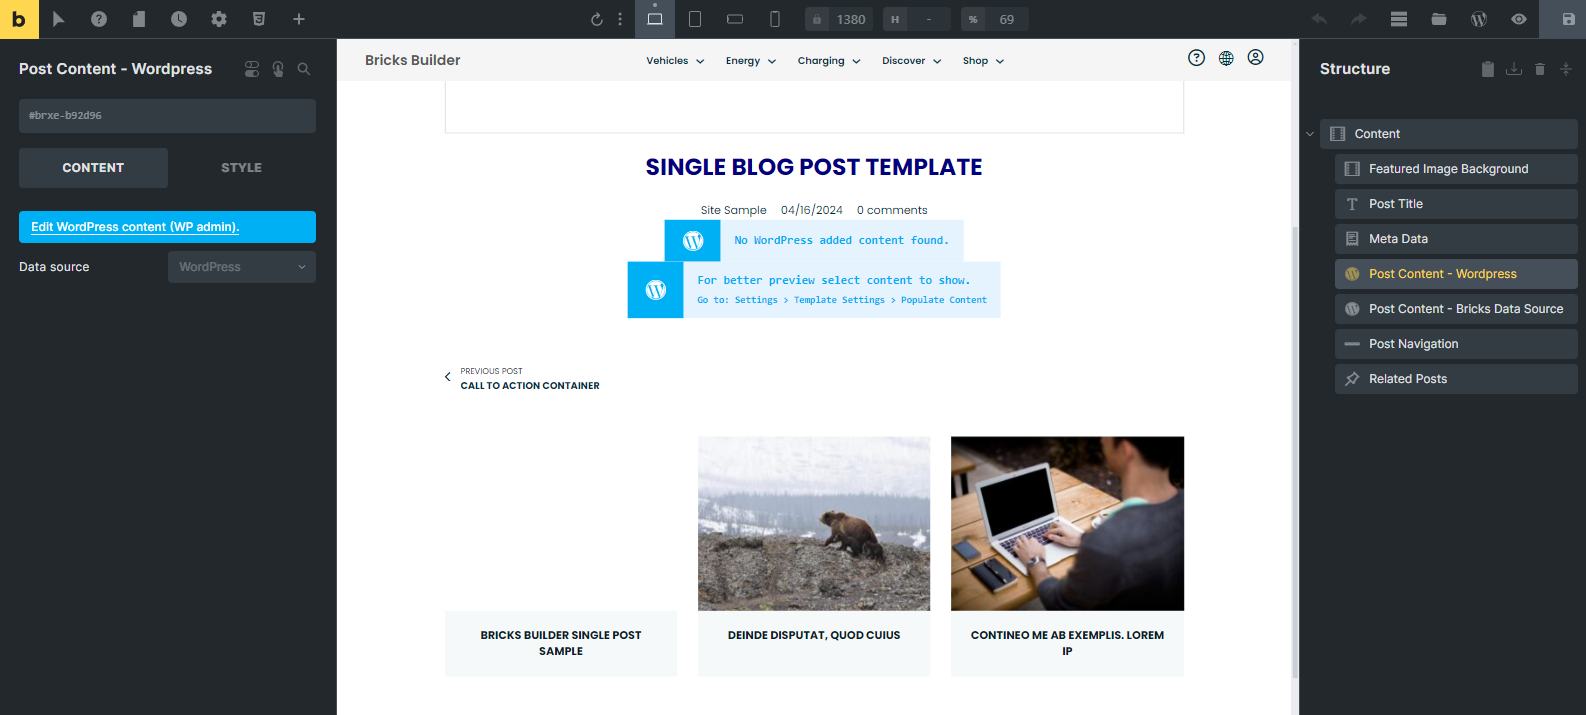
Step 8: Viewing the Dynamic Template
Once you’ve applied the template, navigate to the front end of your website to view your blog post. Witness the magic unfold as your dynamic template seamlessly integrates with your content, enhancing the overall user experience.

Testing and Previewing Single Post Templates
Before publishing your single post templates, it’s essential to thoroughly test and preview them to identify any potential issues.
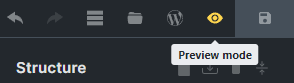
Utilizing preview modes
Bricks Builder offers multiple preview modes, allowing you to view your templates in desktop, tablet, and mobile formats to ensure consistency across devices.
Testing responsiveness across devices
Test your single post templates on different devices and screen sizes to ensure they adapt seamlessly to various viewing environments.
![]()
Troubleshooting Common Issues
While Bricks Builder is incredibly user-friendly, you may encounter occasional issues that require troubleshooting.
Addressing compatibility issues
Ensure that your Bricks Builder plugin is up to date and compatible with your WordPress theme to avoid compatibility issues.
Resolving layout conflicts
If you encounter layout conflicts or inconsistencies, review your template settings and adjust them accordingly to achieve the desired layout.
Advanced Tips and Tricks
Unlock the full potential of Bricks Builder with these advanced tips and tricks to take your single post templates to the next level.

Leveraging advanced features of Bricks Builder
Explore advanced features such as custom CSS, animations, and dynamic content to create truly unique and dynamic single post templates.
Enhancing user experience with dynamic content
Engage your audience with dynamic content elements such as sliders, galleries, and interactive forms to enhance the user experience.
Optimizing Single Post Templates for SEO
Ensure your single post templates are optimized for search engines to maximize visibility and drive organic traffic to your website.
Implementing SEO best practices
Incorporate relevant keywords, optimize meta titles and descriptions, and utilize schema markup to improve your single post templates’
Conclusion
In conclusion, mastering the art of creating Single Post Templates in Bricks Builder can significantly elevate your WordPress website’s design capabilities. By following the step-by-step guide outlined above, you can seamlessly design and apply dynamic templates that enhance the presentation of your content.


