

Introduction to Hero Sections and Their Importance
Hero sections serve as the captivating gateway to a website or application, instantly capturing the attention of visitors and setting the tone for their experience. Typically positioned at the top of a webpage, hero sections are designed to make a bold visual statement, often featuring striking imagery, concise messaging, and prominent calls to action. Their importance lies in their ability to engage users from the moment they arrive, effectively conveying the brand’s identity, values, and offerings while guiding visitors further into the site. With a well-crafted hero section, businesses can leave a memorable first impression, encourage exploration, and ultimately drive conversions. Thus, understanding and optimizing hero sections is crucial for achieving digital success in today’s competitive online landscape.
Setting Up a New Page in Elementor
Creating a New Page in WordPress
Go to your WordPress dashboard and either create a new page or edit an existing one where you want to incorporate your hero section. Open the ‘Template’, click on the ‘Theme Builder’, and click the ‘Header’ to work on creating a header first. To enter the Elementor editor, click on the ‘Edit. 
Accessing Elementor Editor
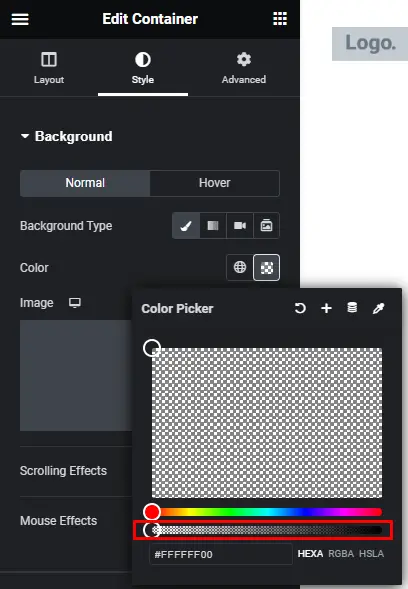
Now, click on the style tab to adjust the background opacity. Then, navigate to the advanced settings to adjust the layout, specifically the padding.
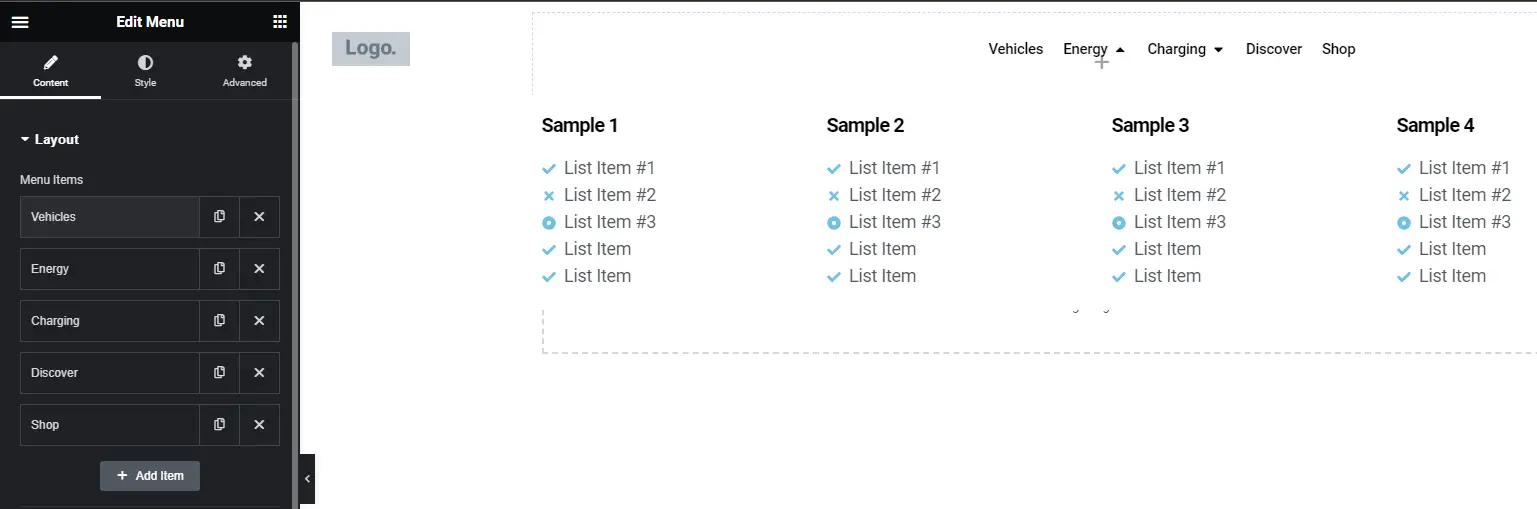
After that, click on the Menu button to access the editing options.
Designing the Hero Section Layout
Adding a Section and Choosing the Structure
To create a new section for your hero area, click on the ‘Add New Section’ button. Choose a suitable structure such as a single-column or a two-column layout.
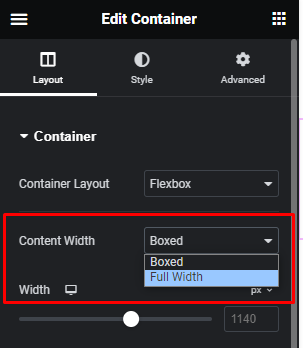
After selecting the structure, ensure that you set the Content Width to “full width.”
Inserting and Customizing Elements (Image, Text, Button, etc.)
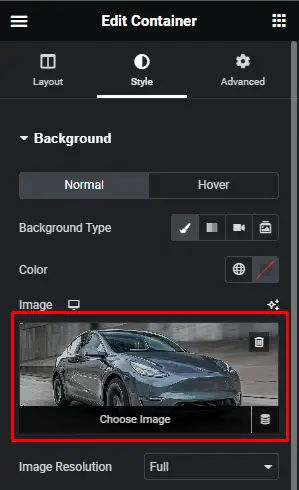
Next, navigate and click on the “Style” tab. Within this section, you’ll find an option to upload a background image that complements the theme of your hero section.
Adjusting Styling
Elementor provides a wide range of design and typography tools, allowing you to customize your hero section precisely to your liking. By experimenting with various fonts, colors, and spacing options, you can craft a hero section that perfectly captures the desired aesthetic and vibe.
Drag and drop a heading widget onto your section. Customize the text to highlight your message. You can also add a subheading to provide more context.

Let’s enhance your section with a call-to-action button. Simply drag and drop the button widget onto your section and customize it with your desired text and styling. This button will help drive engagement and encourage action from your audience.

Previewing and Publishing the Hero Section
Previewing and publishing the hero section of a website is crucial for ensuring a visually appealing and engaging first impression. By previewing the hero section, you can evaluate the layout, design elements, and overall user experience before making it live. This allows for any necessary adjustments to be made, ensuring that the final published version is polished and effectively captures the attention of visitors.
Conclusion
In conclusion, crafting a captivating hero section is a straightforward process that yields impressive results. By understanding the key elements of a hero section, such as simplicity, concise copy, and effective call-to-action, we can create a similarly impactful design. Through steps like creating a header, selecting a suitable layout, adding background images, and fine-tuning design elements. Elementor’s versatile tools for layout, design, and typography allow for endless customization, ensuring that your hero section stands out. By following these steps, you can easily create a stunning hero section that engages visitors and drives action on your website.


