
Introduction
In the digital age, content presentation is key to capturing your audience’s attention. When it comes to web design and content creation, Elementor is a popular choice among website page builder. Elementor offers a wide range of features, including the ability to add a media carousel to your website. In this tutorial, we will guide you through the steps of adding a post to a media carousel using Elementor. Whether you are a seasoned web designer or just starting, this user-friendly guide will help you create a captivating website for your audience.
What is Elementor?
Before we dive into the specifics, let’s introduce Elementor. Elementor is a popular WordPress page builder that enables you to create visually stunning web pages without any coding knowledge. Its user-friendly drag-and-drop interface makes it a favorite among web designers and bloggers alike.
The Importance of Media Carousels
Media carousels are versatile tools for presenting your content. They allow you to display multiple images or posts in a visually appealing way, providing an engaging and interactive experience for your website visitors. The key is to captivate your audience’s attention with a dynamic presentation.
Getting Started
To get started with Elementor, you must have it installed and activated on your WordPress website. If you haven’t already, download and install Elementor from the WordPress plugin repository.
Adding Media to Your Post
Step 1: Choosing Carousel Options
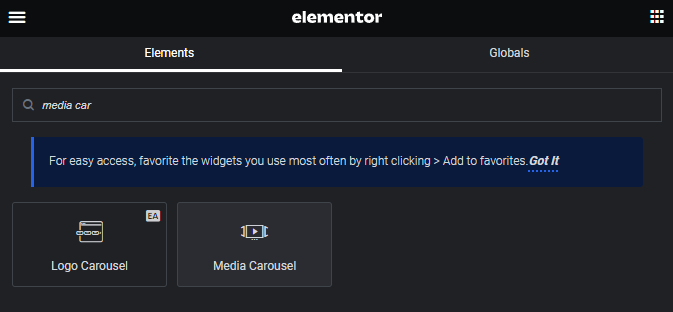
Search for Media Carousel, then drag and drop it to an empty section.
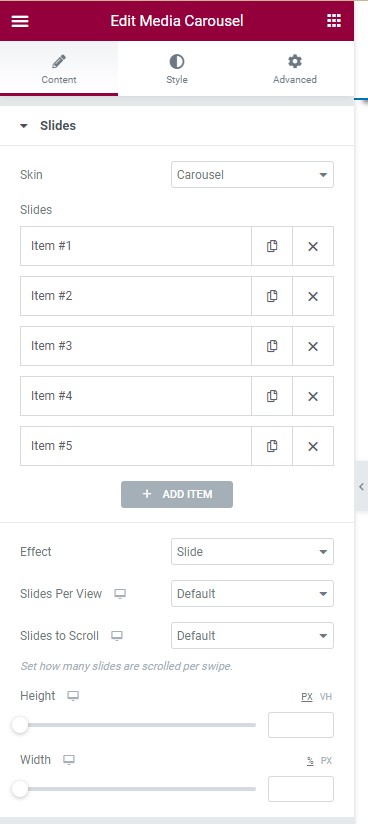
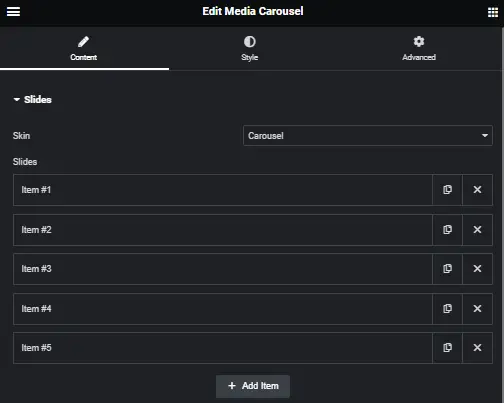
So, the widget comes with three different skins. Choose what skin you want for your slides. In the Slides, you can duplicate, remove, or if you want to add an item.
Just click the add item button. Choose an image add a link do the same with other items. Now, in the effect choose how each slide transitions.
Set a number of slides to view at one time. Then, set the number of slides to scroll per swipe. Set the height and width of the carousel.
Customizing the Media Carousel
Step 2: Additional Customization
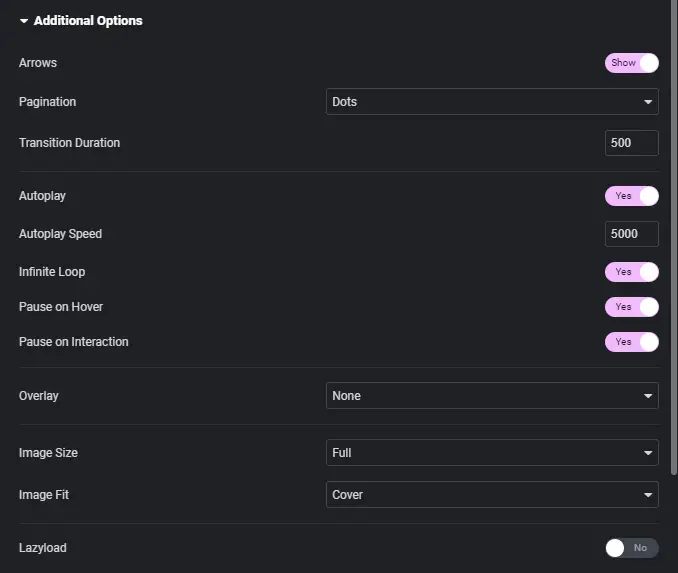
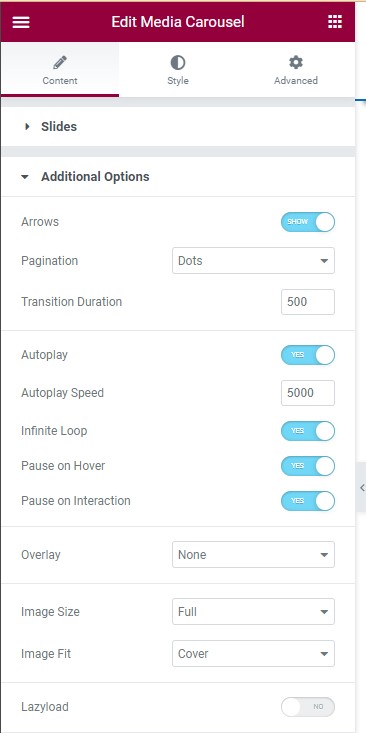
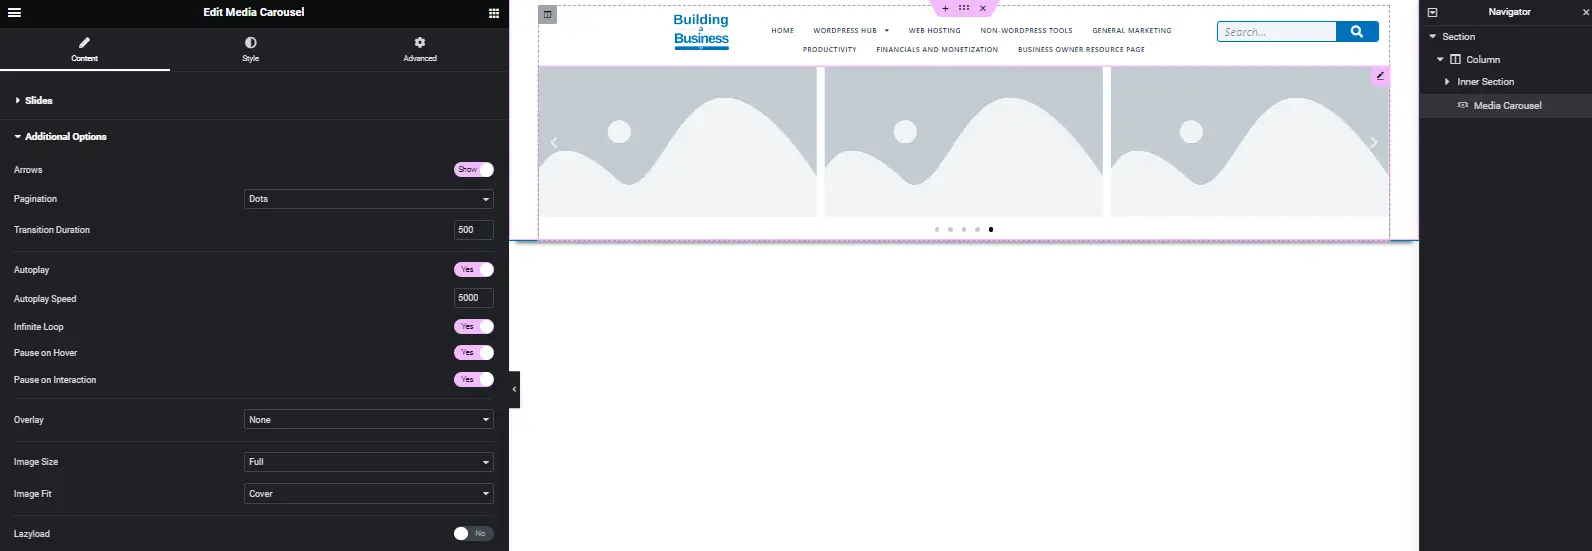
In additional options, choose if you want to show or hide the navigation arrows. Set the time it takes for each slide to appear in the transition duration.
Show or hide the auto-play, and set the time between each slide for auto-play speed. You can enable the infinite loop and pause on hover.
You can also enable the pause on Interaction. Select overlay type, when a user hovers over a slide.
Then, select the size of the image and select how the image fits. You can enable the lazy load too.
Configuring Display Settings
Step 3: Display Settings
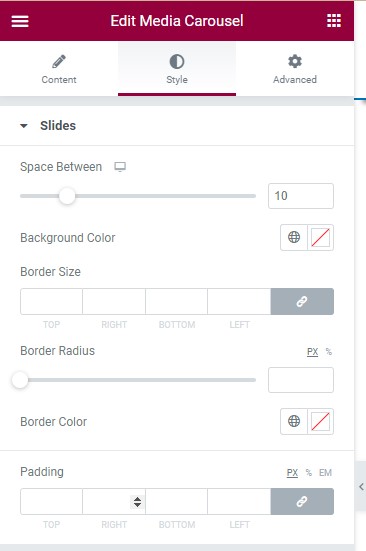
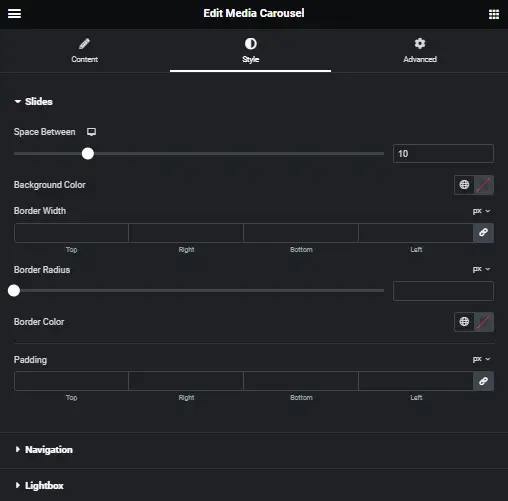
Under the Style Tab, drag the slide for the space between slides.
Choose a background color, and adjust the thickness of the border in the border size.
Set the border radius to control corner roundness. Choose a color for the border. Then, adjust the padding and do the same in the navigation and lightbox.
Now, if you still want to use the rest of the options from the left sidebar. You can make use of some other general options in the Advanced Tab.
Adding Posts To A WordPress Site
Step 1: Accessing WordPress Dashboard
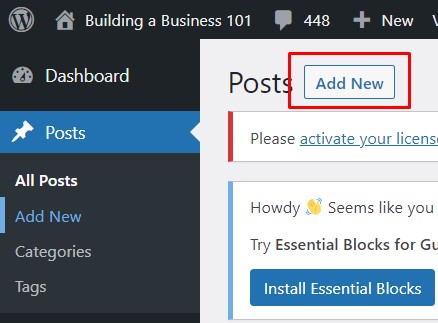
On your WordPress Dashboard, at the left sidebar click the Posts then click the Add New button.
Step 2: Creating a New Post
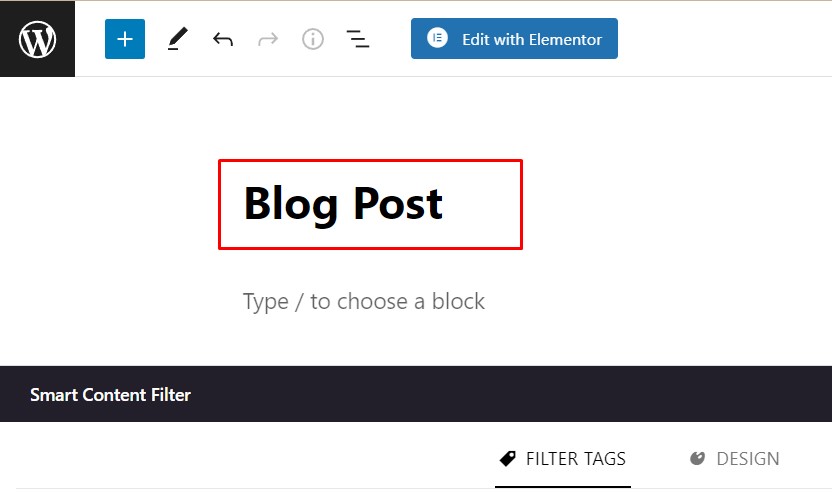
Enter a title in the available field. This will display on the top of your Post.
Step 3: Adding Content
Enter your page content in the available field. You can use the Editor to format your text.
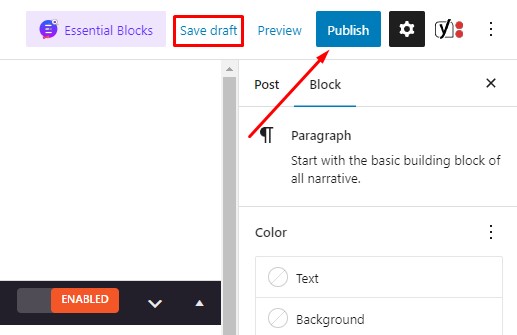
Step 4: Publishing or Saving Draft
Once you have entered your information in the Post, click the Publish button or you can also click Save Draft to save your work without publishing the Post publicly.
Adding A Post To Media Carousel In Elementor
Understanding the Basics of Elementor Media Carousel
You’ve got to understand the basics of the Elementor media carousel before you can effectively add posts to it. It’s a feature that lets you showcase images, videos, and posts in a dynamic, interactive way. Think of it as a revolving digital showcase; it’s all about style and presentation.
First, you need to know how to navigate the Elementor interface. Once you’re in, you’ll see a sidebar with various widgets. Drag the ‘Media Carousel’ widget to your page.
Now, you’re faced with a dialog box that’s your key to customization. You can play around with the settings, adjusting the slides to show at a time, setting the navigation and pagination, and even toggling the autoplay. Remember, it’s your carousel, so make it dance to your tune.
Also, note that the carousel isn’t just for aesthetic purposes. You can link your media to specific posts, adding depth to your site’s navigation. It’s a great tool to engage your visitors, keeping them scrolling and exploring.
Step-by-Step Guide: Adding a Post to Media Carousel
Open Elementor Editor:
Let’s dive right into the process of incorporating your content into this dynamic feature. Start by opening your Elementor editor. You’ll see a section on your left with a panel named ‘Widgets’. Scroll down until you find ‘Media Carousel’. Simply drag and drop it into your desired location on the page.

Adding Content:
Now, it’s time to add your content. Click on the Media Carousel widget that you’ve just placed. You’ll see a new panel open up. Click on ‘Add Item’. Here, you’ll be able to upload or select your desired media, be it images, videos, or text posts. You can add as many items as you want by clicking ‘Add Item’ again.
Customizing Appearance:
Once you’ve added your content, you can customize the appearance of your carousel. Click on ‘Style’ in the top panel, and have fun playing around with the settings. You can change the size, the spacing, the navigation, and more.
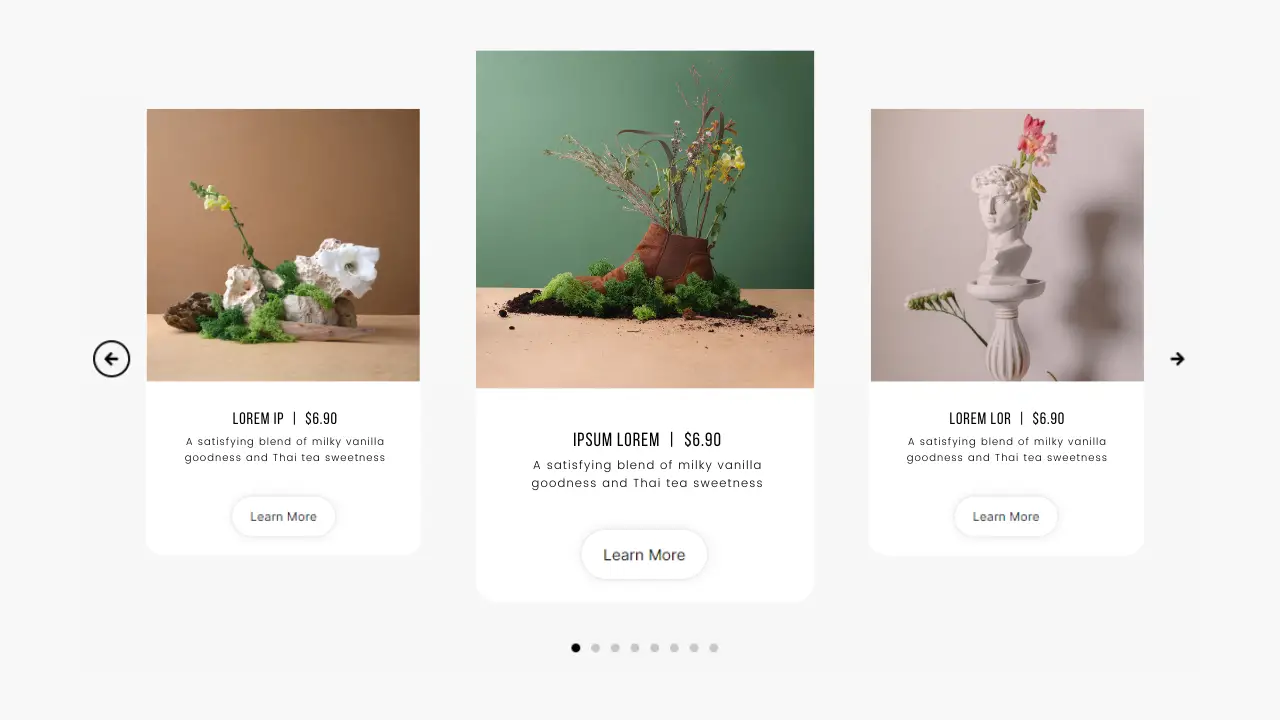
Update and Save:
Remember to hit ‘Update’ when you’re done, or else your changes won’t be saved.
![]()
And there you have it! You’ve successfully added a post to your media carousel in Elementor. It’s as simple as that!
Troubleshooting Common Problems When Adding a Post in Media Carousel
Despite the seemingly simple process, there’s a chance you might run into some issues when incorporating your content into this dynamic feature. For instance, you may find that your images aren’t displaying correctly or perhaps the carousel isn’t rotating as it should. Don’t fret. These are common problems, and they’re usually easy to fix.
Firstly, if your images aren’t showing up, check if they’ve been uploaded correctly. You might need to re-upload them or ensure they’re in a compatible format. Sometimes, the carousel won’t rotate because there’s only one image. Try adding more images to solve this.
You might also encounter issues with the carousel’s speed. If it’s rotating too fast or too slow, you can adjust this in the settings. Just navigate to the ‘Speed’ option and tweak it until you’re satisfied.
If you’re still having trouble, it’s a good idea to double-check your carousel settings. Are you sure you’ve chosen the right post type? Have you set the correct number of slides to show? If all else fails, don’t hesitate to reach out for professional help. Elementor’s support team is always ready to assist you.
Useful Tips for Effective Post Addition to Media Carousel
Incorporating content effectively into this dynamic feature doesn’t have to be a headache. Here are some handy tips to consider.
Remember, the first step is always to understand your target audience. Who are they? What do they want to see? Tailor your content to meet these needs.
Make sure you’re uploading high-quality images. Blurry or pixelated photos will make your carousel less appealing. When writing captions, keep it short and sweet. You’ve limited space, so make sure every word counts.
It’s also a smart idea to vary the types of posts you include in your carousel. Mix up photos with videos, infographics, or quotes to keep it interesting.
Don’t forget about the order of your posts. Try to create a coherent narrative or theme. It’s not just about throwing random posts together – it’s about telling a story.
Lastly, always preview your carousel before publishing. This allows you to spot any errors or inconsistencies.
Adding a post to a media carousel in Elementor doesn’t have to be tough. With these tips, you’ll be creating engaging, effective carousels in no time. Now, it’s time for you to get started!
Exploring Advanced Features of Elementor Media Carousel
Diving deeper into the advanced features can really take your skills to the next level, don’t you think?
Elementor’s media carousel isn’t just about adding posts. It’s a tool packed with advanced features that can transform your ordinary posts into an engaging, interactive experience.
You can control the carousel speed, enabling your audience to either have a quick flip through your posts or a leisurely browse. You’re also able to set the slide to change automatically, which keeps things moving and can highlight different content. It’s a neat way to keep your site dynamic.
Here’s something else you’ll love. Elementor gives you the power to customize your carousel’s navigation. You can choose arrows, dots, fractions, or progress. You decide what works best for your site’s design and your visitors’ ease of use.
And let’s not forget about responsiveness. You have the option to set different settings for different devices. That’s ensuring your carousel looks great whether it’s viewed on a desktop, tablet, or smartphone.
Take the time to explore these advanced features. They’re not as complicated as they sound, and they’ll really make your carousel posts stand out. You’ll see the difference, and so will your audience.
Conclusion
In conclusion, mastering Elementor’s Media Carousel is a breeze once you get the hang of it.
Remember, practice makes perfect, so don’t be disheartened if you encounter a few hiccups along the way.
Just follow the step-by-step guide, utilize the tips provided, and troubleshoot any issues.
Before you know it, you’ll be adding posts like a pro and exploring the advanced features with ease.


