
Introduction
In today’s digital world, a visually appealing and highly functional website is crucial. Thrive Themes makes customization easy and plays a significant role in ensuring your site stands out and meets your unique needs. One of the standout features of Thrive Themes is its block elements and block templates, which allow for extensive customization using the Page Builder.
Understanding Thrive Block Elements
What Are Thrive Block Elements?
Thrive Themes offers Thrive block elements, which are pre-designed components you can use to build your website. These elements range from simple text blocks to complex, interactive features like contact forms and pricing tables. The primary advantage of using block elements from Thrive Themes is the ease of customization and the ability to create a cohesive design without starting from scratch using the Page Builder.
Benefits of Using Thrive Block Elements
Ease of Use: Thrive Themes ensures that even if you’re not a coding expert, Thrive block elements allow you to build professional-looking pages quickly with the Page Builder.
Customization: Thrive Themes makes it easy to modify block elements to fit your brand’s style and requirements using the Page Builder.
Consistency: Using pre-designed elements from Thrive Themes ensures a consistent look and feel across your website with the Page Builder.
Step-by-Step Guide to Creating Block Templates
Step 1: Adding the Block Element
First, click on the right sidebar and drag the “Block” element onto your page.
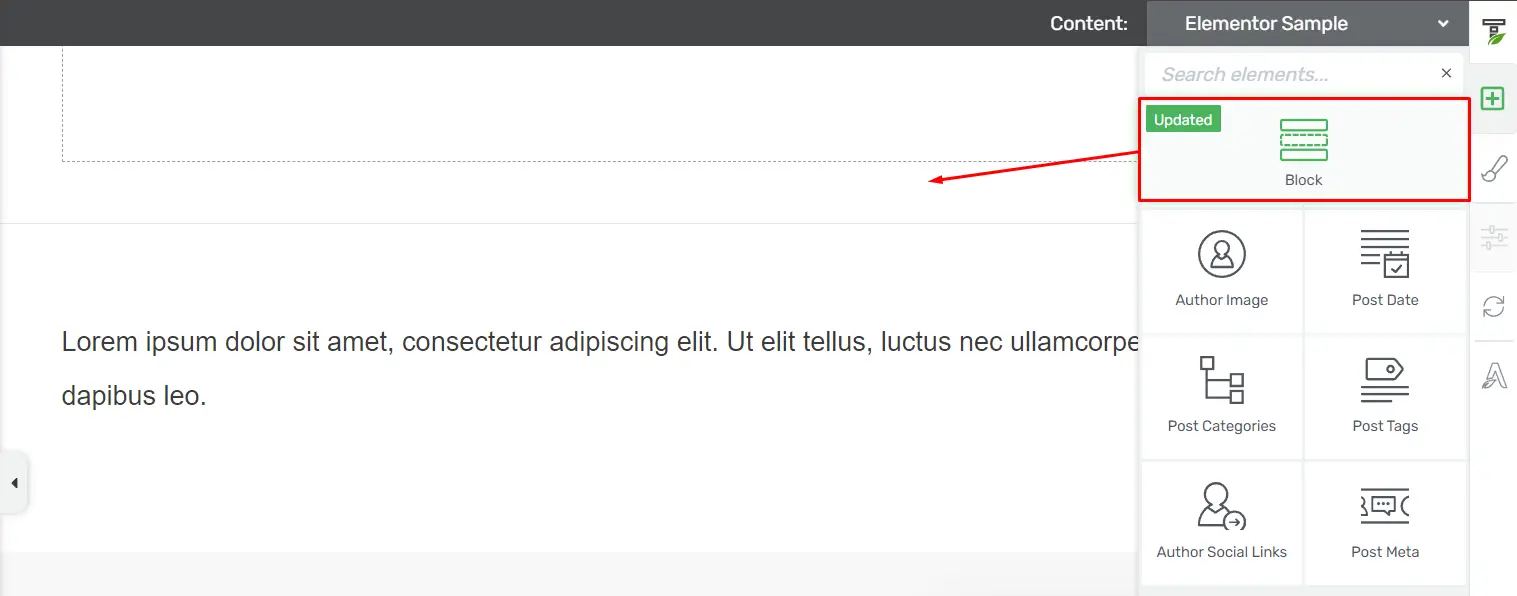
A popup with hundreds of templates will appear.
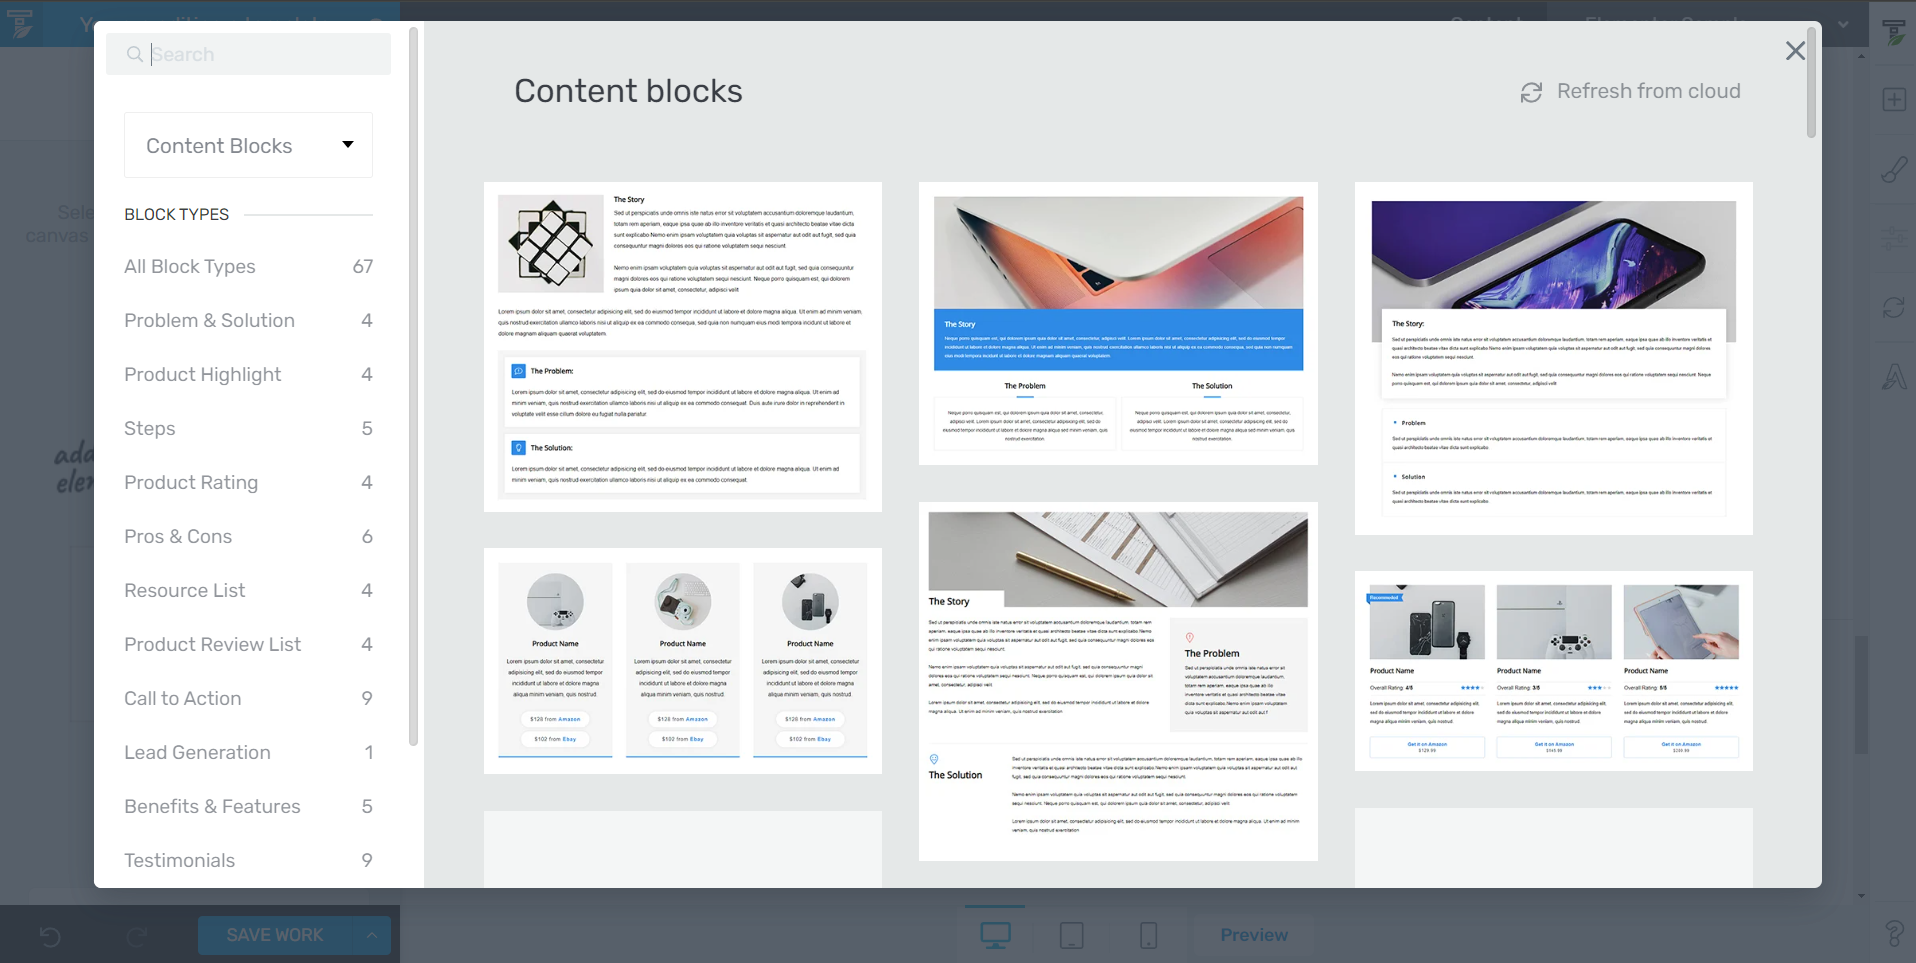
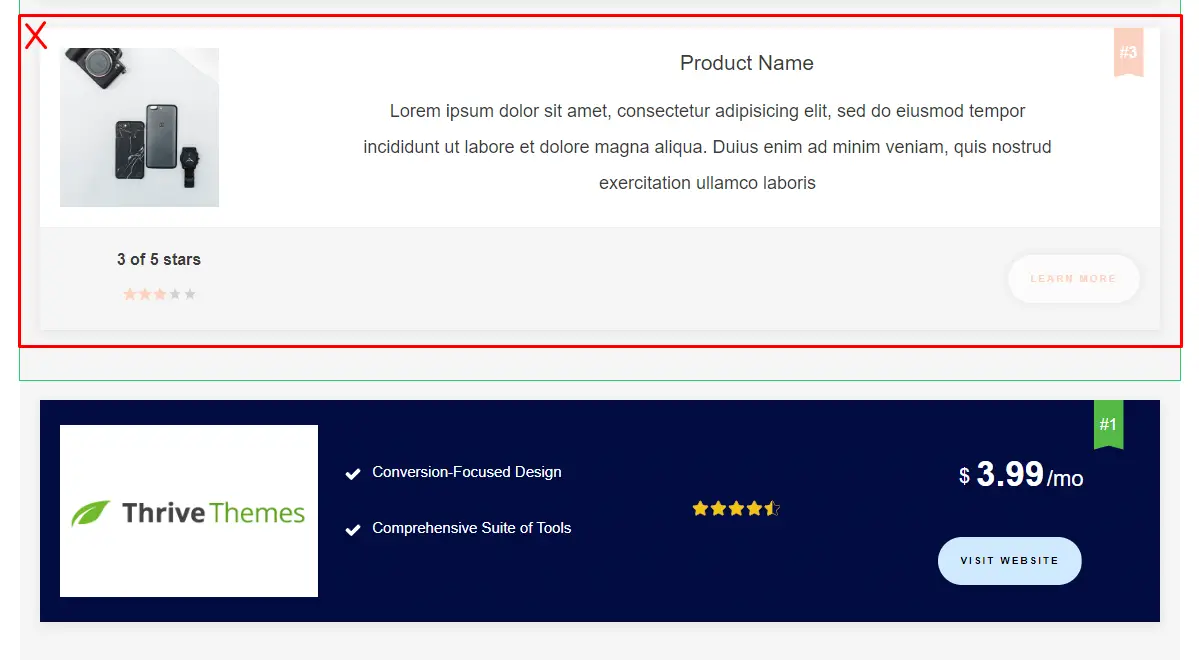
You can use the search bar to find the “Product Review List” template or start from scratch.
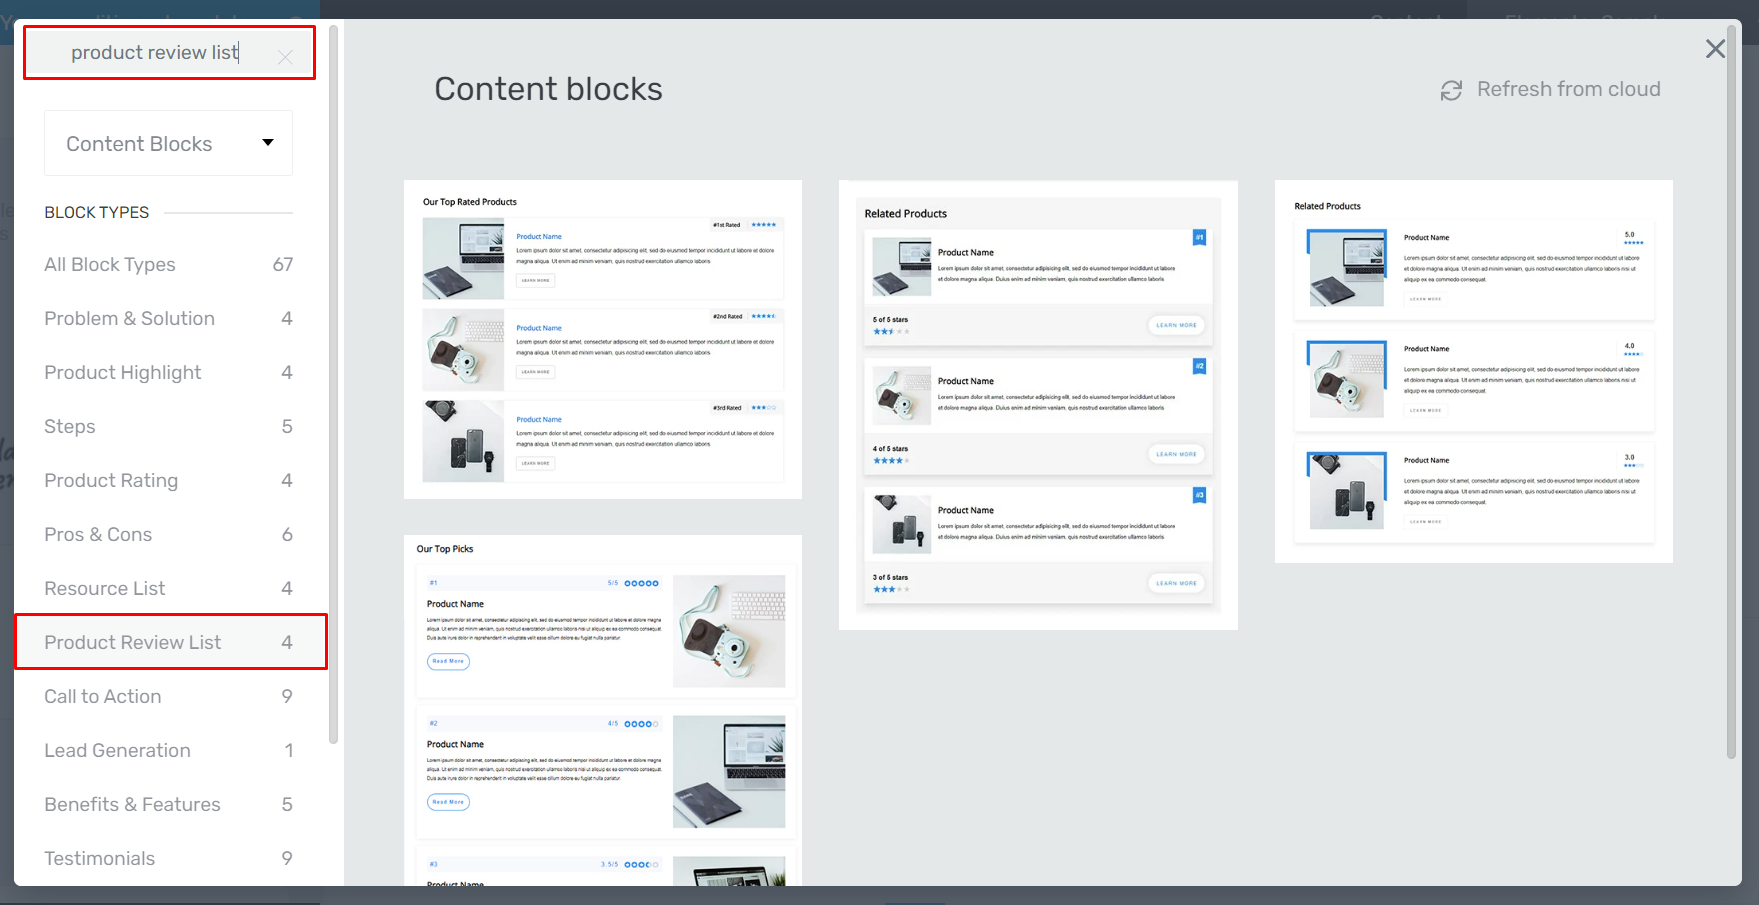
For this tutorial, I will use the product review list template as a reference but will create our product list from scratch.
Step 2: Creating the Column Layout
Next, open the right sidebar again and drag and drop the “Columns” element onto your page.
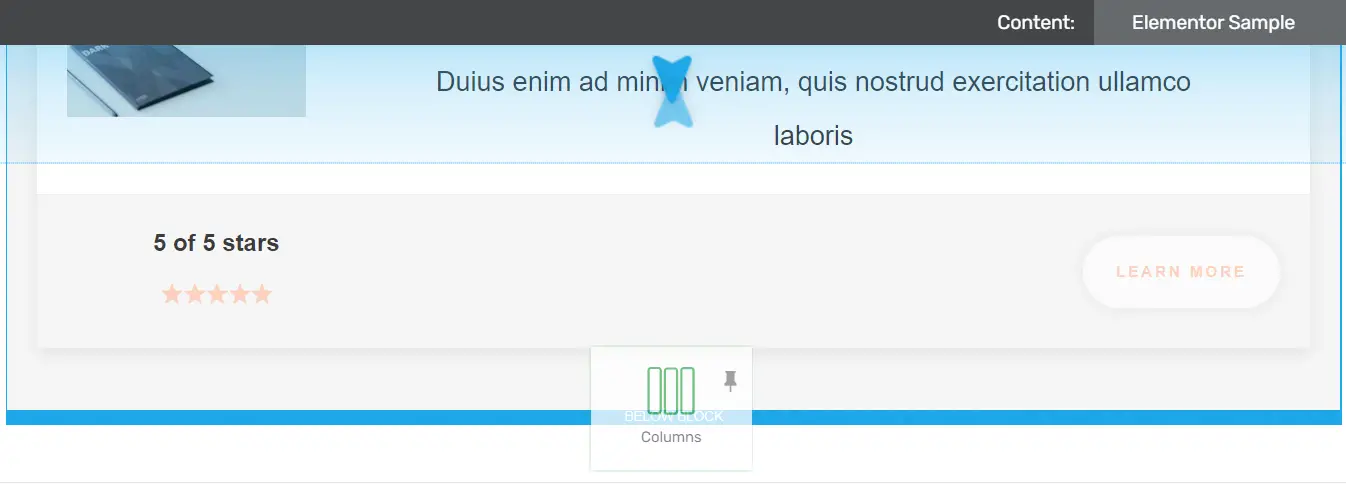
Select the column layout you prefer; I will select a four-column layout for this tutorial. This layout allows you to display multiple elements neatly.

Step 3: Adding Elements to Columns
First Column: Adding the Logo
Add the “Logo” element to the first column.
![]()
Navigate to the “Layout & Position” section to align the logo to the center.
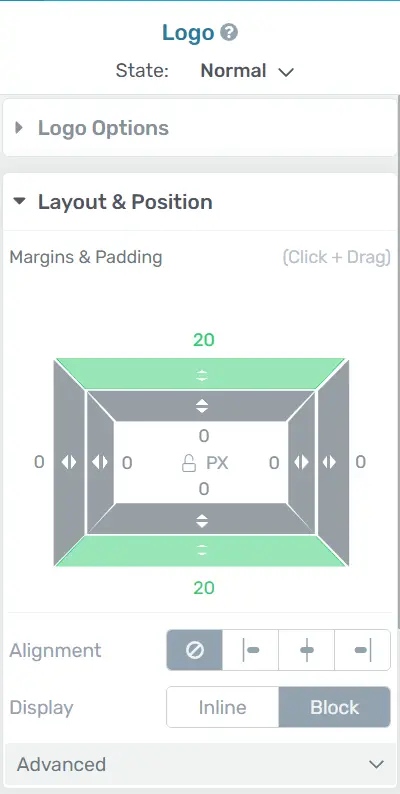
This ensures that your product’s branding is prominently displayed.
Second Column: Adding a Styled List
Add a “Styled List” element.
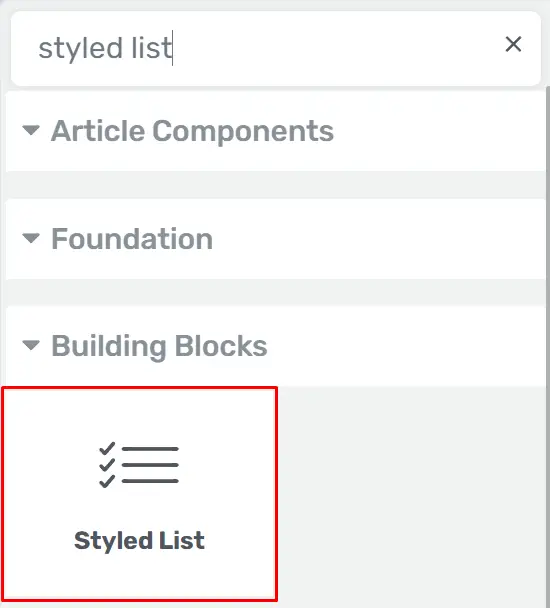
To save time, duplicate the list from the template and drag it to the second column.
Ensure the list is well-aligned and clear for users to read.
Third Column: Adding a Star Rating
Add a “Star Rating” element to the third column.

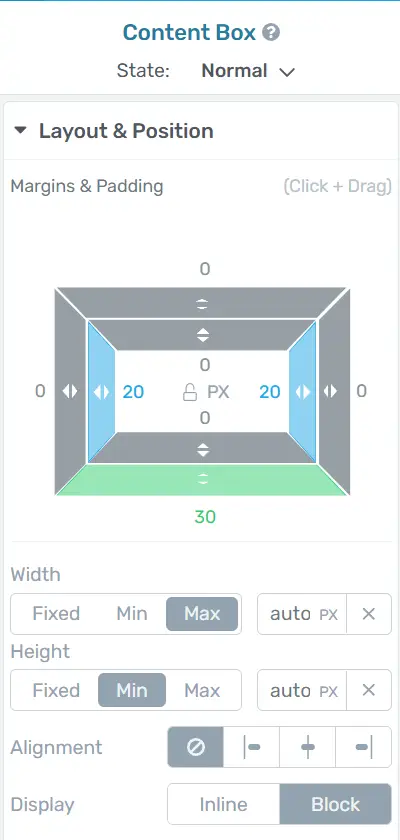
Apply padding to the “Content Box” to ensure proper spacing.
This visual element will help users quickly gauge the quality of the product.
Fourth Column: Adding the Price
Add a price for your product.

You can get the price from the “Pricing Table” element.
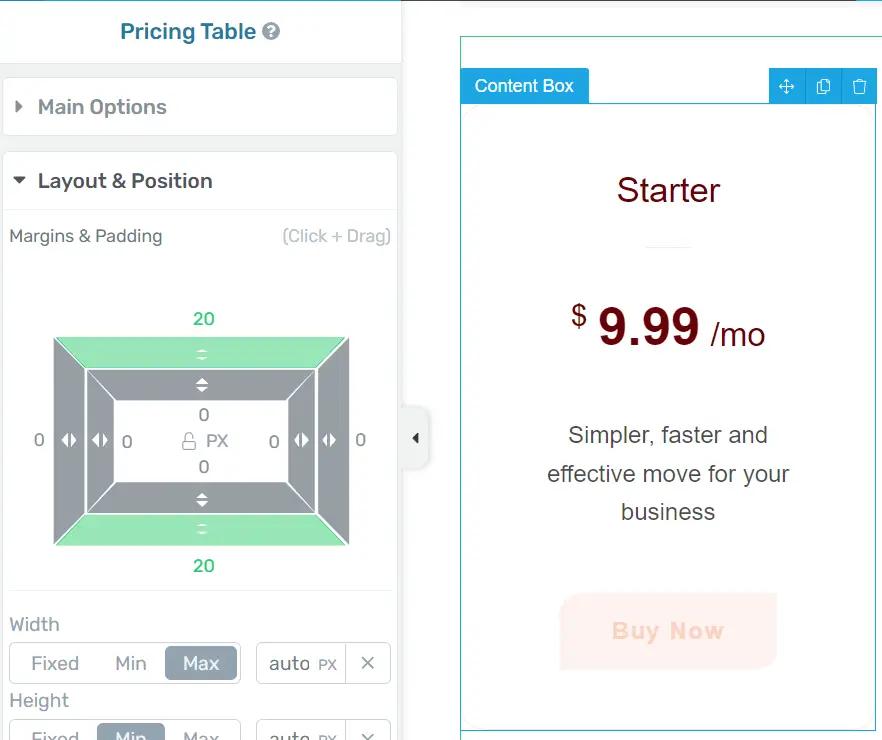
Make sure the price is prominent and easy to read.
Step 4: Customizing the Columns
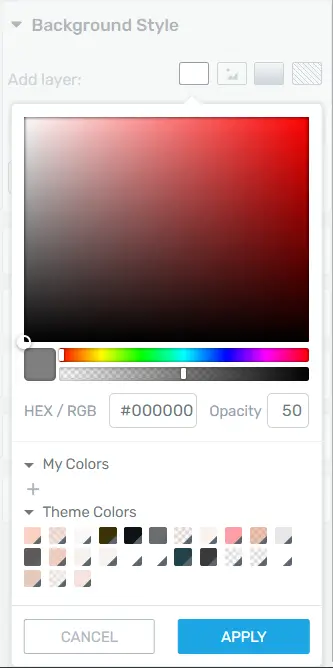
Change the background color of the whole column by clicking on it, selecting a color, and then clicking “Apply”.
Also, for the fourth column, add a “Button” element.

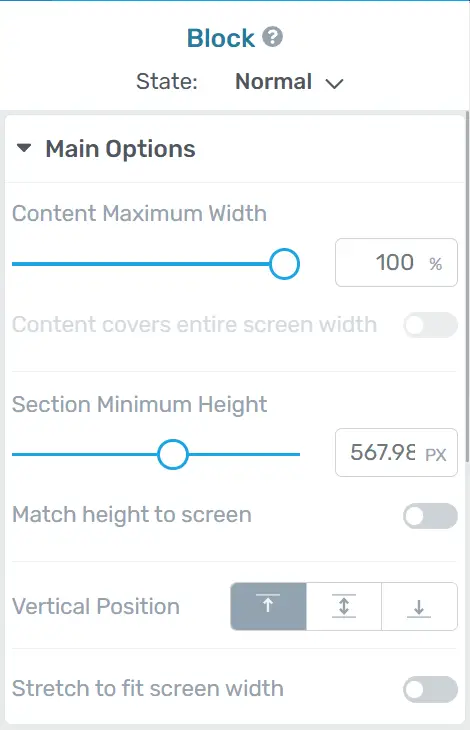
In the “Main Options” section, align the button to the center.
Repeat the alignment process for the “Star Rating” element in the third column and the “Styled List” element in the second column.

This step ensures a cohesive and polished look.
Step 5: Final Adjustments
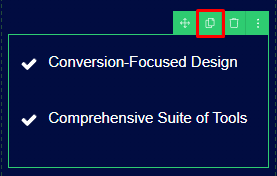
Change the color of the “Icon” and “Font” in the second column to match your site’s design.
![]()
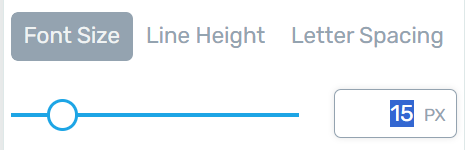
Adjust the font size of the text in the “Main Options”.
Add a background color to the logo to make it stand out.
![]()
These final tweaks help your product list blend seamlessly with your overall site design.
Step 6: Ensuring Responsiveness
Check the responsiveness of your design to ensure it looks good on all devices.

Thrive Themes allows you to preview your design on different screen sizes.
Remove any guides once you’re satisfied with the layout.
This step is crucial to ensure your product list is user-friendly on both desktop and mobile devices.
Step 7: Adding Links to Buttons
Click on the “Button” element in the fourth column.
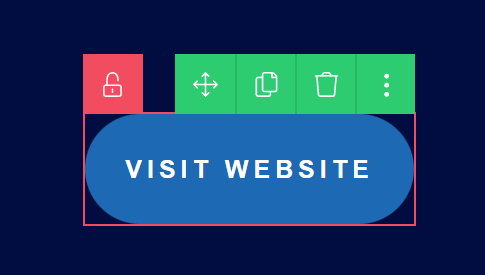
Go to the “Target Link” section in “Main Options” and paste the link you want the button to redirect to.
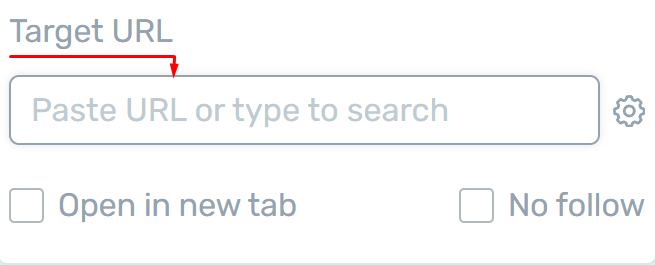
Optionally, select “Open in New Tab” so that the link opens in a new tab when clicked.
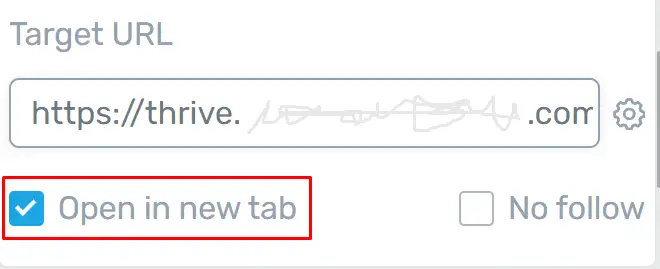
This adds functionality to your buttons, enhancing user experience.
Step 8: Saving Your Work
Click on the “Save Work” button.

Then, click on “Save and Preview” to review your product list.
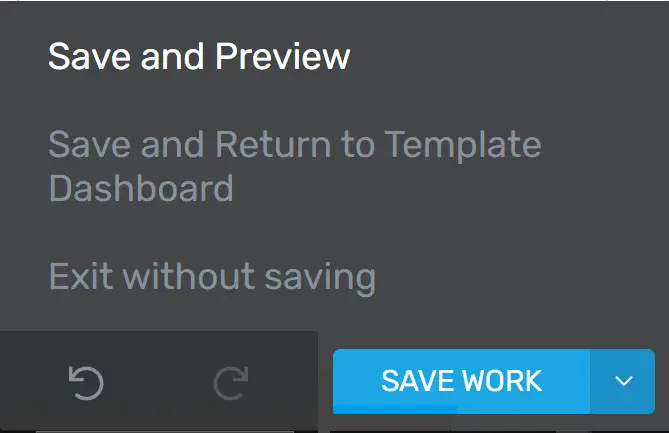
Make any final adjustments if needed.
Regularly saving your work ensures you don’t lose any progress.
Advanced Tips for Optimizing Block Elements
Incorporating Dynamic Content
Dynamic content adapts based on the viewer’s behavior or preferences. With Thrive Themes, you can incorporate dynamic content into your block elements. This could be personalized greetings, dynamic call-to-action buttons, or content that changes based on user interaction.
A/B Testing Block Elements
A/B testing is essential for optimizing conversion rates. Thrive Optimize, an add-on for Thrive Architect, allows you to A/B test different versions of your block elements. You can test headlines, images, calls to action, and more to see what resonates best with your audience.
Integrating with Third-Party Tools
Thrive Themes seamlessly integrates with numerous third-party tools like email marketing services, CRMs, and analytics platforms. This integration can enhance the functionality of your block elements by adding features such as sign-up forms, social media feeds, and interactive maps.
Troubleshooting Common Issues with Block Elements
Ensuring Responsiveness Across Devices
A significant part of web design today is ensuring that your site looks good on all devices. Thrive Block Elements are designed to be responsive. However, always preview your changes on different screen sizes (desktop, tablet, mobile) within Thrive Architect to make sure everything looks perfect.
Fixing Compatibility Issues with Other Plugins
Sometimes, plugins don’t play nice with each other. If you notice that a block element isn’t displaying correctly, check for conflicts with other plugins. Deactivate other plugins one by one to identify the culprit. Thrive Themes’ support forum and documentation can also be helpful resources.
Examples of Stunning Block Elements for Different Website Types
Leveraging Thrive Themes to Enhance User Experience
Different websites have different needs. Here are a few examples of how you can use Thrive Block Elements for various types of sites:
- Business Websites: Use professional headers, service blocks, and testimonial sections to build trust and authority.
- E-commerce Sites: Highlight product features with stunning image galleries, product reviews, and dynamic pricing tables.
- Blogs: Engage readers with well-designed blog post layouts, author boxes, and related post sections.
- Landing Pages: Create high-converting landing pages with compelling hero sections, clear calls to action, and persuasive content blocks.
Conclusion
Mastering Thrive Block Elements and Block Templates can significantly enhance your web design process. These tools not only save you time but also ensure that your website is visually appealing, responsive, and optimized for conversions. Don’t be afraid to experiment and innovate with these elements. The more you practice, the more proficient you’ll become, and your website’s performance will reflect your efforts.