
First, Create A Single Post Template
First select “Bricks” from the left-hand side menu of your WordPress dashboard.
Then choose “Template”. After that, click “Add New”.
![]()
You can name your template something like Single Post or Single Blog Post template…something along those lines.
Then to the right you will see “Template Type”
Be sure to select Single in the dropdown.
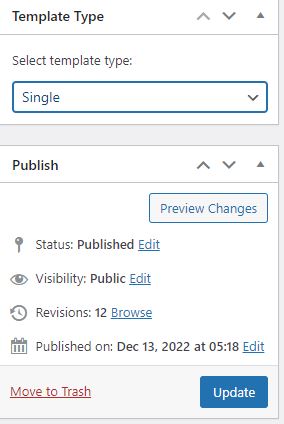
You can save it as a draft or publish it. After that click the “Edit with Bricks” button.

Then, Start Creating Your Single Post Template
However you want your Single Post template to look like is your choice.
But these are the suggested widgets to add to your Single Post template:
- Post Content (required)
- Post Title
- Author
- Social Sharing
- Image (for featured images)
- Related Posts
Other optional elements:
- Comments
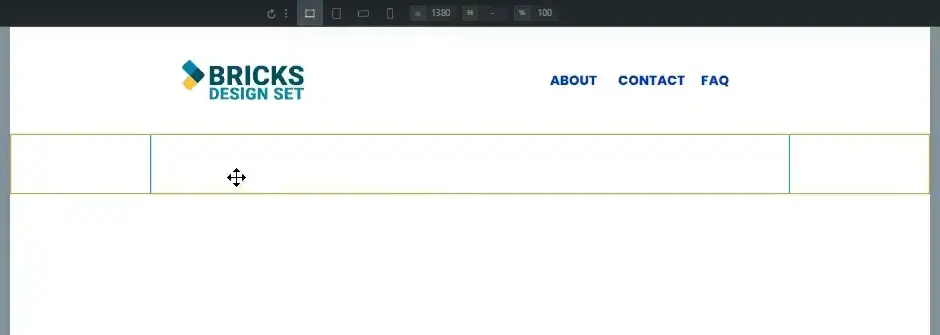
Start by adding a section in the Bricks Visual Editor.
In the following guide below, we will be configuring your template in order, from top to bottom. We will first start with the post title.
Adding Post Title
Add a “Post Title” element in the container. (You can also add an “Author”, and “Meta Data” element in the container.)

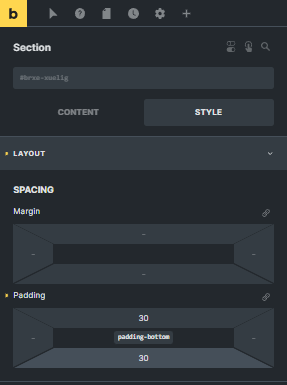
Adjust the “Padding” of your section.
After that, add another container.
Adding a Featured Image in the Single Post Template in Bricks Builder
Every blog post needs a featured image. It’s the large image that is featured on top, before the main content.
Although there is no specific Featured Image widget, creating a featured image is very easy. Here’s how.
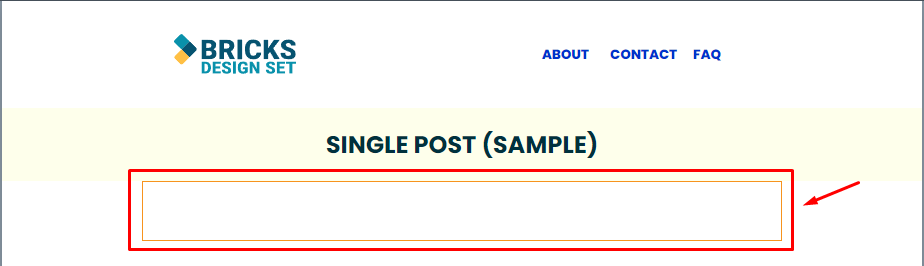
Create a new container under the Post Title widget. Then proceed to the following steps.
Step 1: Look for the Image element.
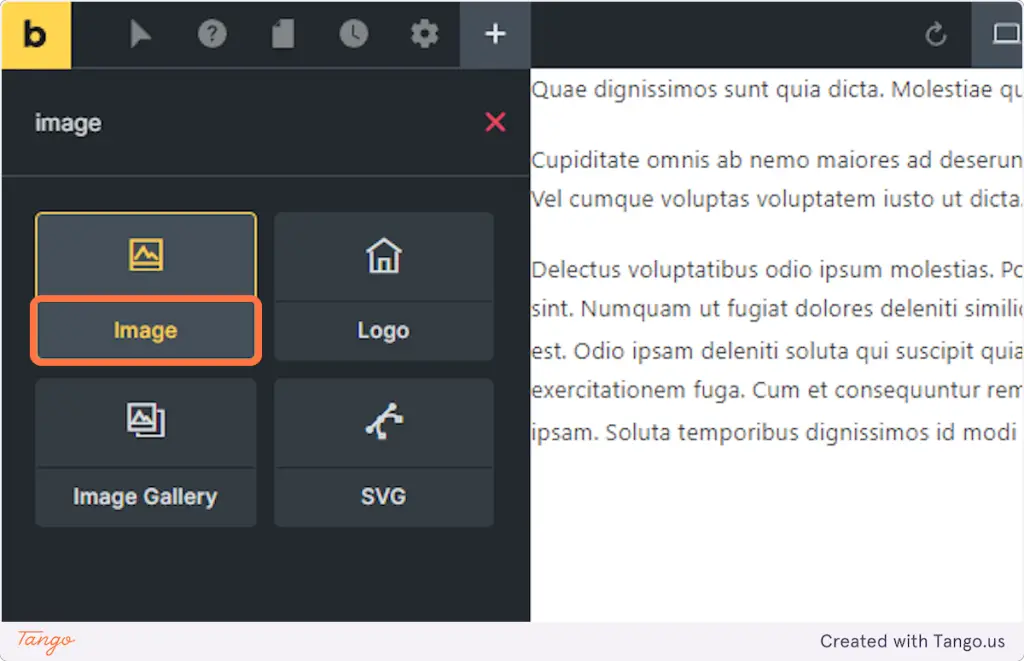
Then drag the image element right under the Post Title widget, inside your new container.
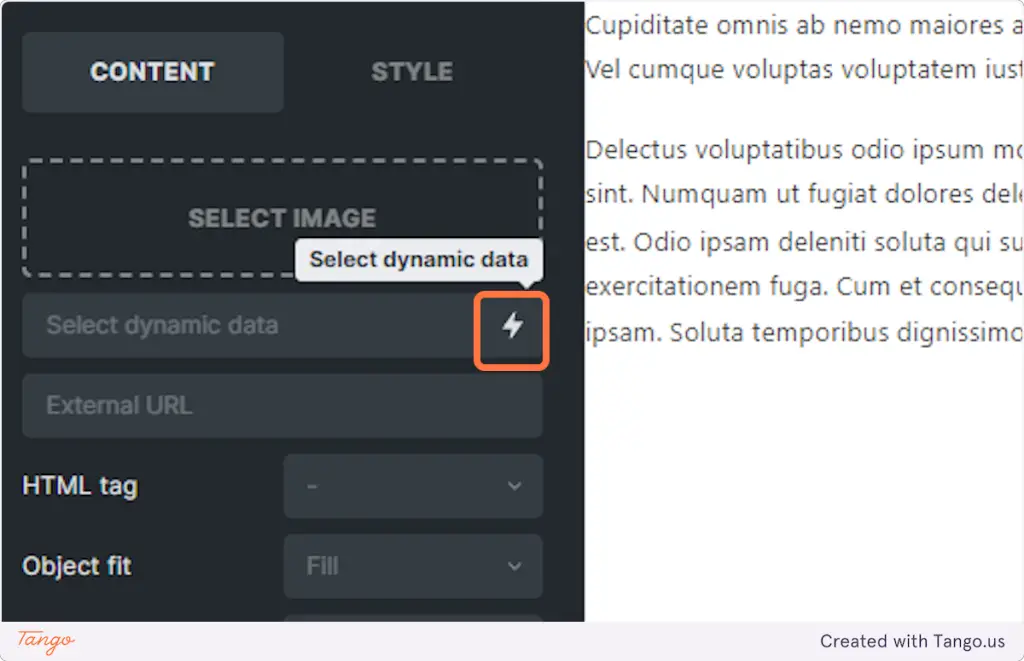
4. Click on the lightning icon.
When you click on the Image widget, it will bring up the options on the left-hand side. Click on the lightning icon.
The lightning icon will bring up dynamic data.
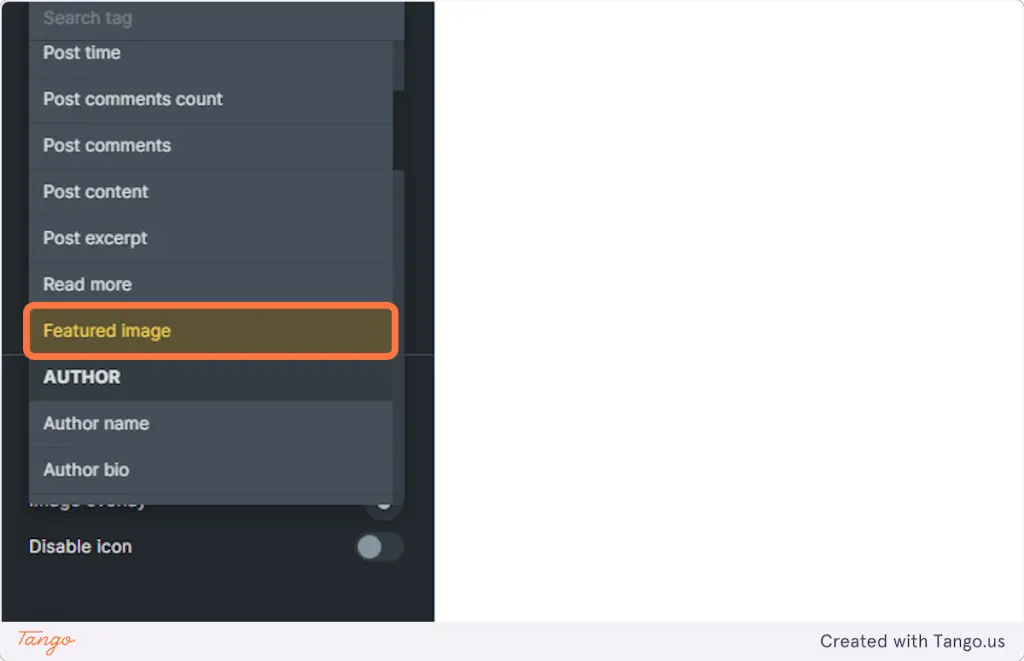
5. Click on Featured image.
By clicking on “Featured Image”, each post you have will query its own featured image.
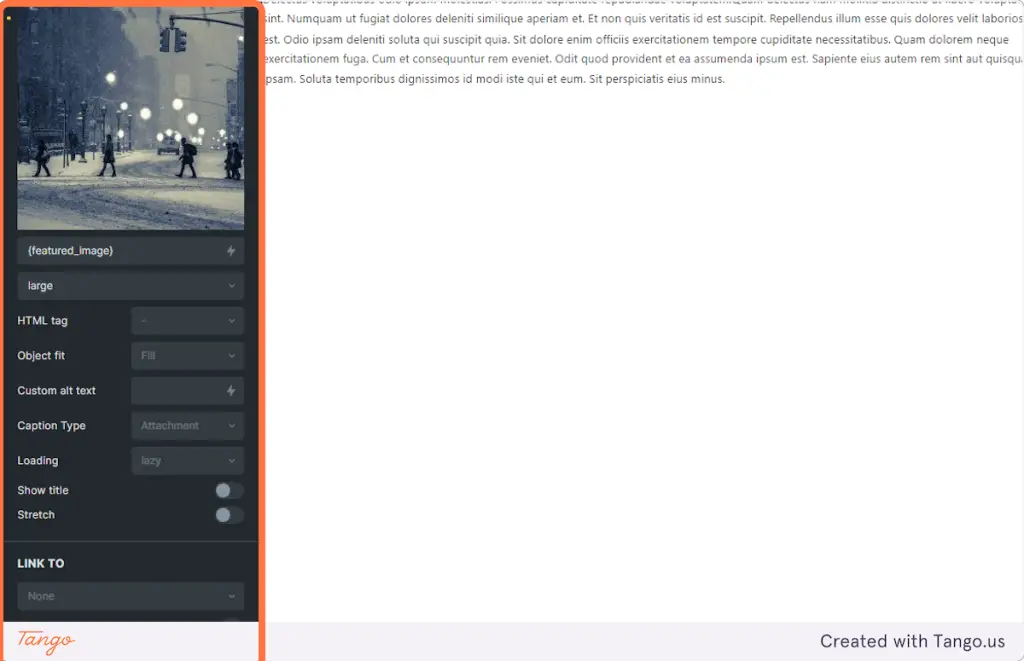
6. Other options
There are tons of other options for you to modify and change in terms of how you want your feature image to show up.
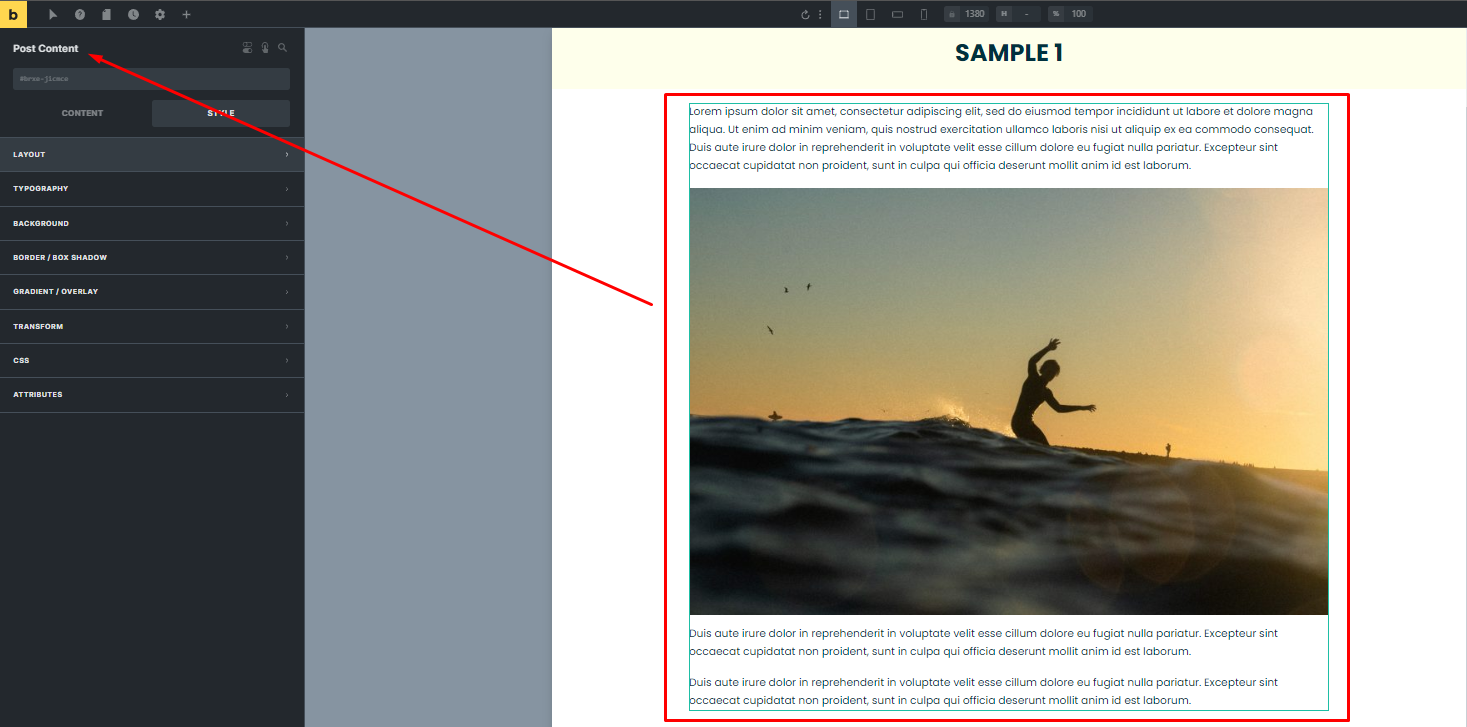
Adding Post Content
Below Post Title and Image widgets, you can add another container.
After that, add the “Post Content” in the new container.
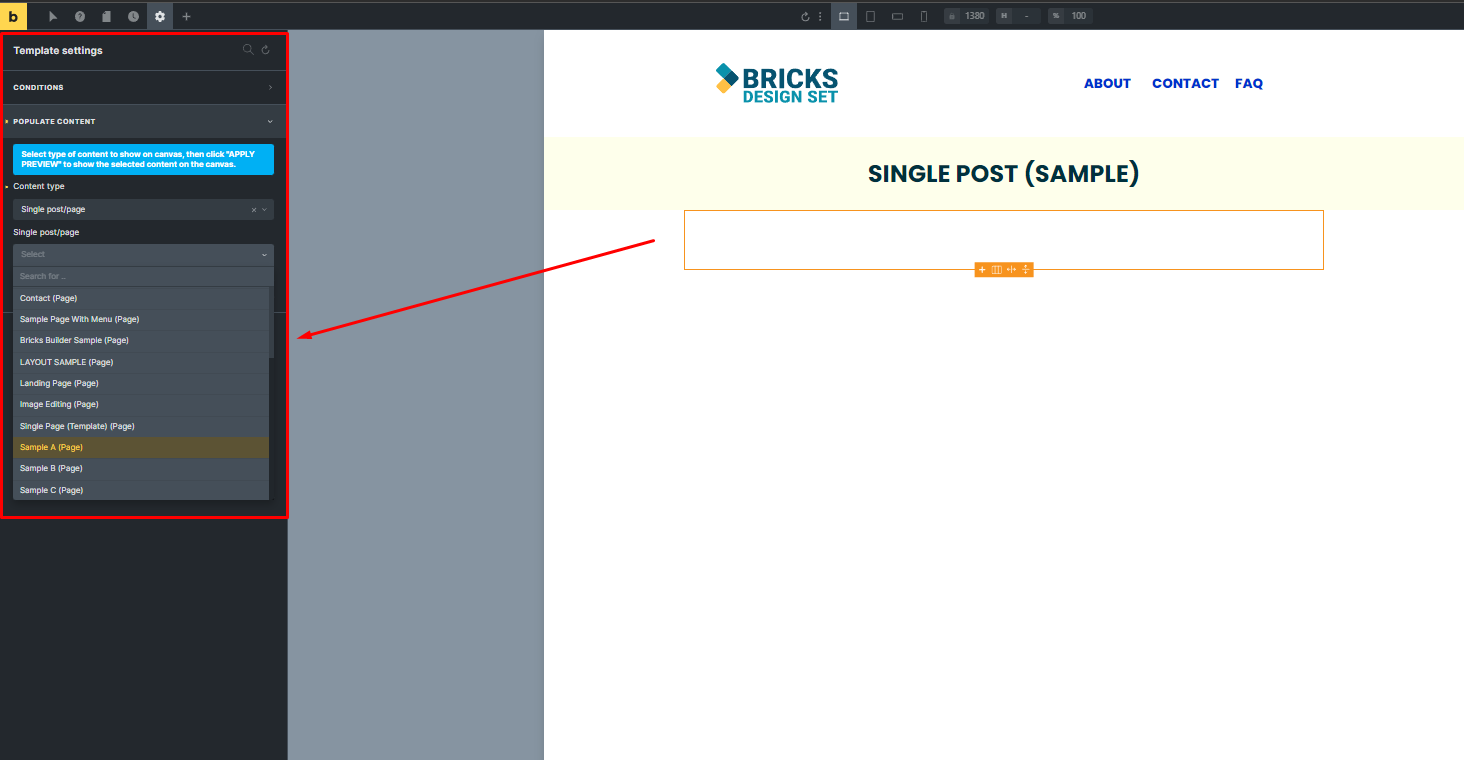
Previewing Your Content In Your Single Post Template
Once you have the Post Content widget in there, you can preview how your content looks by populating content you already have in there.
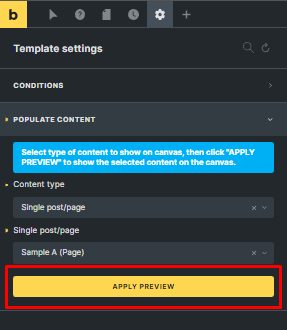
Go to “Settings”, “Template Settings” then click “Populate Content”. In the “Populate Content”, select “Content Type” and select the post that you want to add to the page.
Click on “Apply Preview”.
Adjusting Margins/Padding
Adjust its margin and padding in the “Layout” Tab of the container. You can change the color of the font and also the background color.

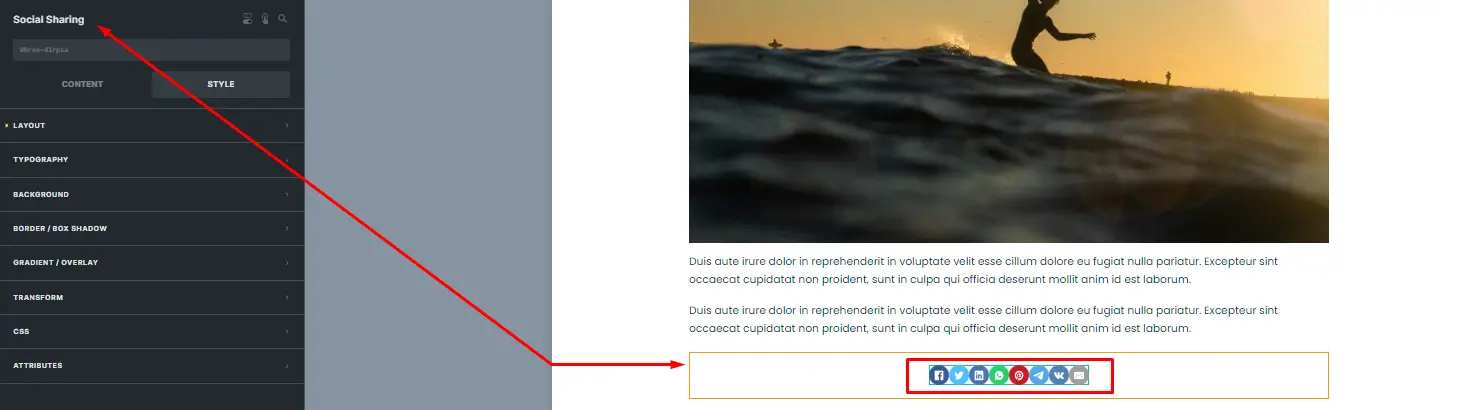
Add Social Sharing Button
Now, let’s add a “Social Sharing” icon to the bottom. And, align it to the center.
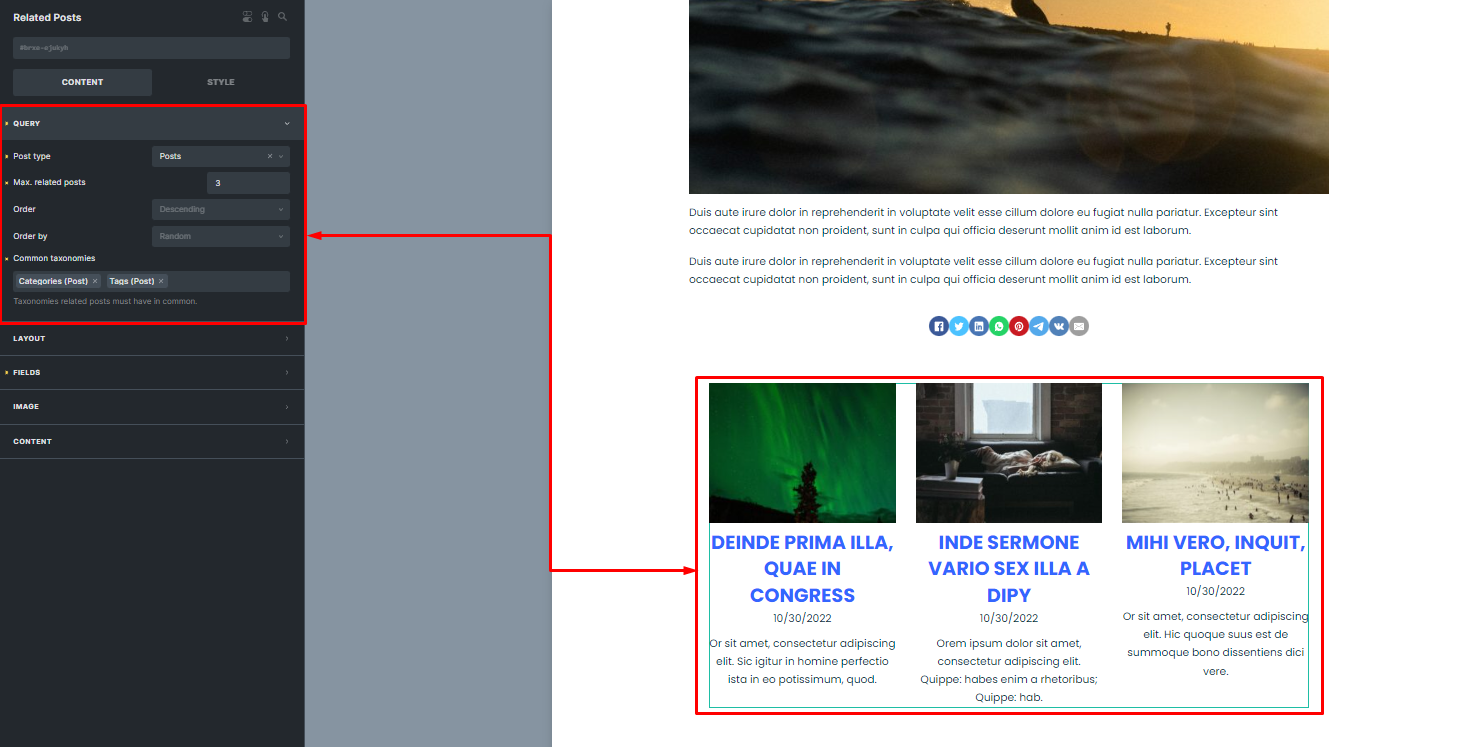
Then, add a “Related Posts” element.
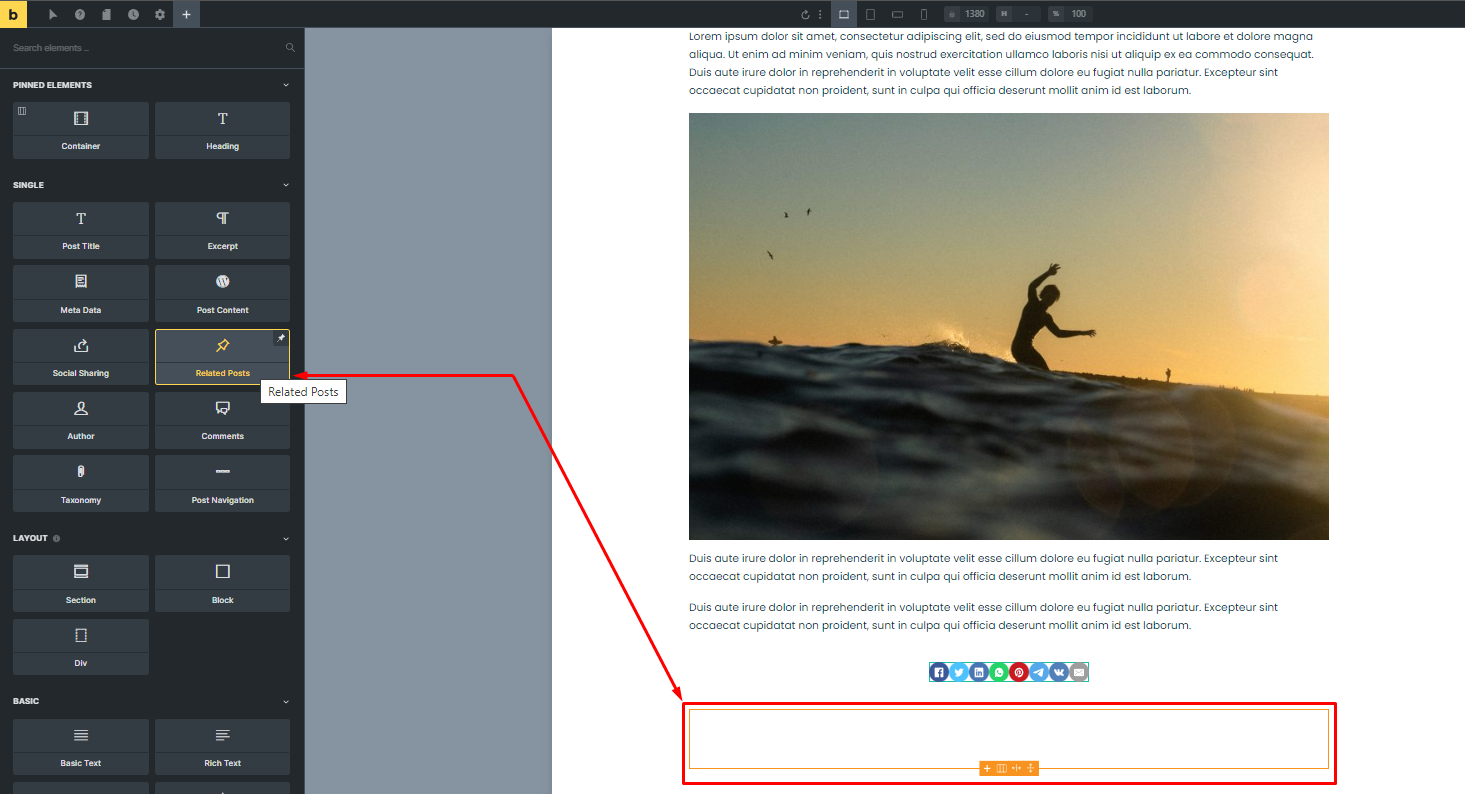
Customize the settings for the “Related Posts” element in the left sidebar.
Adding Comments
If you hate yourself and wish to add comments to your Single Post template, you can do so.
The spam issue is nuts online and has made it so that many blogs close comments for all posts, or for posts after a certain time after the publish date.
But if you want to use the Comments widget and avoid spam, you can use Bricks Builder’s Interactions feature.
To do so, once you move the Comment widget into your template, you can click on the finger icon and set the trigger and action for the Comment widget. Example below.
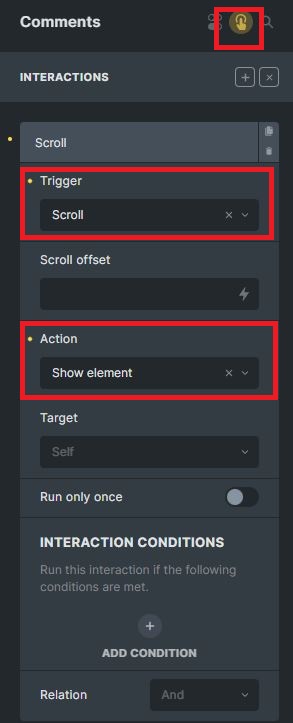
So below, I set the comment section to only show if someone scrolls.
Conclusion
Well, that’s it for this tutorial for building a Single Post template in Bricks. This is just the tip of the iceberg really. So if you want to add more bells and whistles to your template, you’re free to do so!


