Introduction
In today’s competitive digital landscape, businesses are constantly seeking innovative ways to attract and retain customers. One effective strategy is to offer transparent pricing options through toggle pricing tables. These tables not only simplify the decision-making process for customers but also enhance the overall user experience. In this article, we’ll explore how to create a toggle pricing table using Bricks Builder, a versatile tool that simplifies the website building process.
Toggle pricing tables are interactive elements commonly found on websites offering subscription-based services or products with multiple pricing tiers. They allow users to compare different pricing plans quickly and efficiently by toggling between options.
Understanding Toggle Pricing Tables
What are toggle pricing tables?
Toggle pricing tables are dynamic elements on a webpage that allow users to switch between different pricing plans with just a click. They typically display features and pricing for multiple plans in a compact format, enabling visitors to compare options easily.
Why are toggle pricing tables beneficial?
Toggle pricing tables enhance user experience by presenting information in a concise and interactive manner. They help potential customers quickly understand the features and pricing of different plans, facilitating informed decision-making.

Step-by-Step Guide to Creating Toggle Pricing Table with Bricks Builder
Step 1: Creating Monthly Pricing Table Template
To begin, we’ll start by creating a template for the monthly pricing table. Within Bricks Builder, navigate to the pricing table element and customize it to meet your specific requirements.
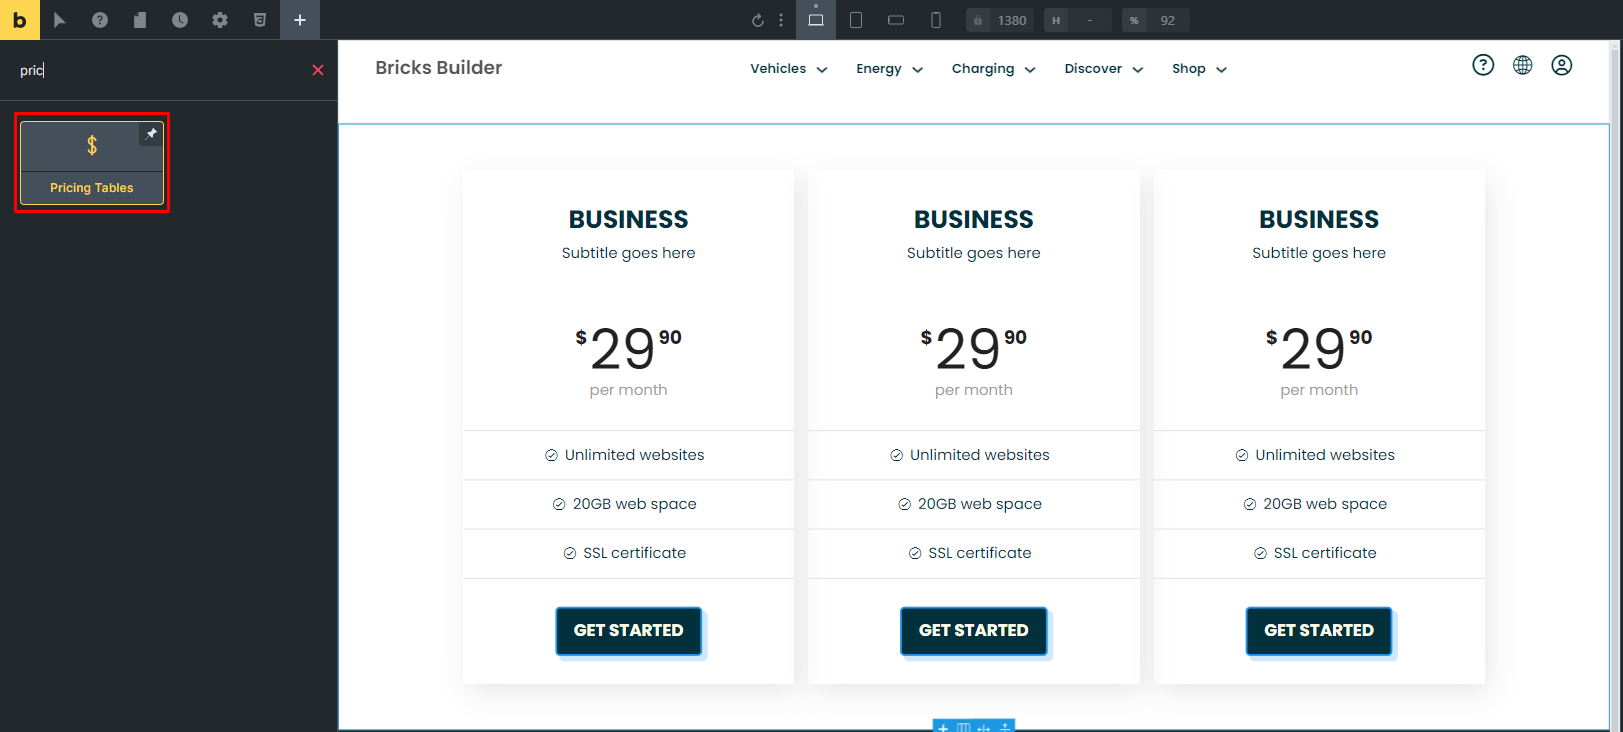
This customization includes editing the header name, price, features, and the call-to-action button to align with your offerings.
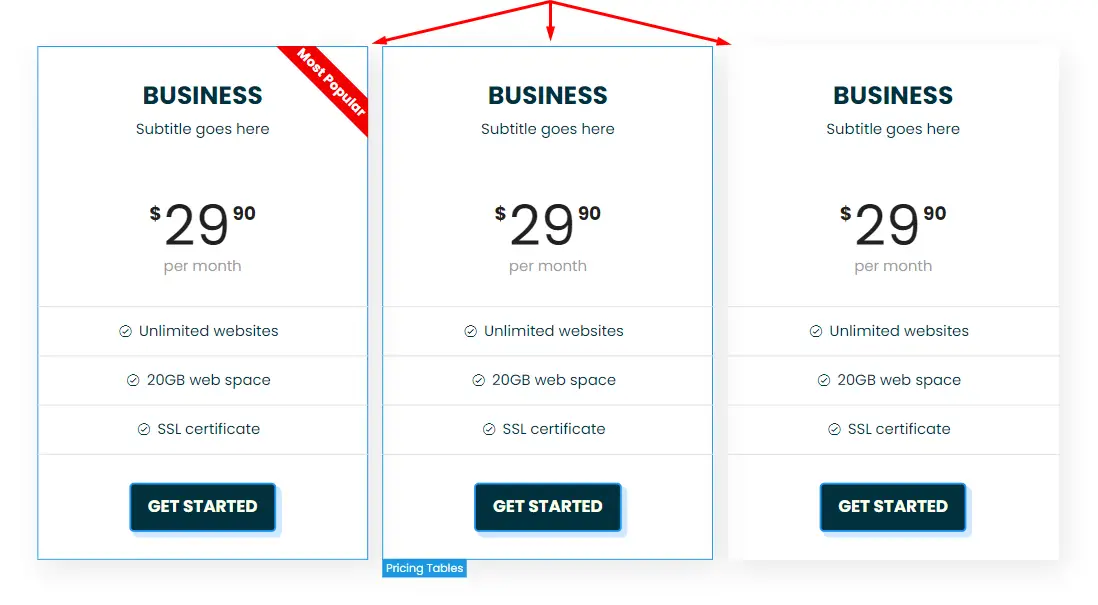
Step 2: Adding “Most Popular” Ribbon
For added visual appeal, consider adding a “Most Popular” ribbon to highlight a particular pricing tier within the table.
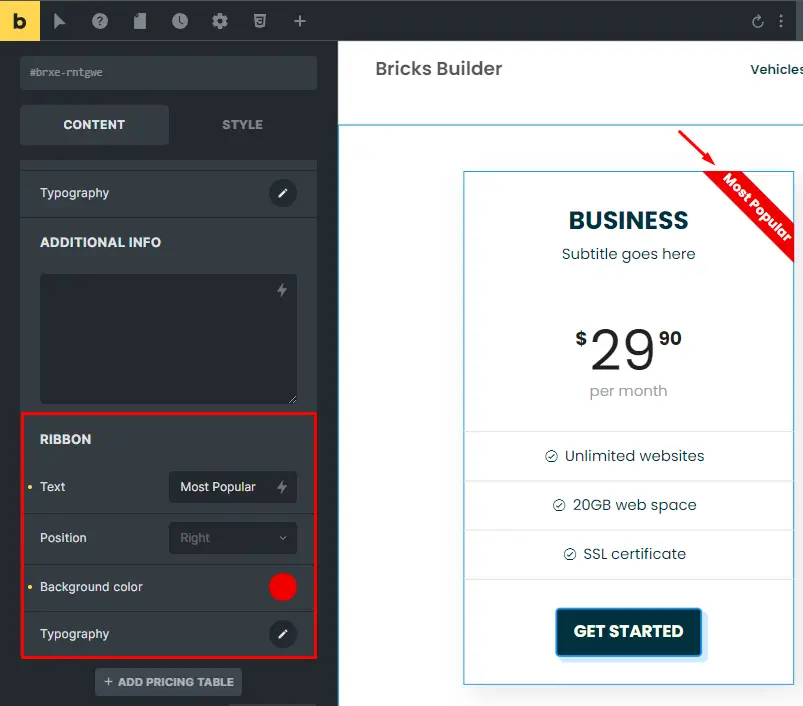
Placing this ribbon strategically in the middle of the table draws attention to the preferred plan and encourages users to opt for it.
Step 3: Creating Quarterly Pricing Table Template
Next, duplicate the monthly pricing table template and modify it to represent quarterly pricing options. This process involves copying all elements, including styling, and pasting them into a new template dedicated to quarterly pricing.
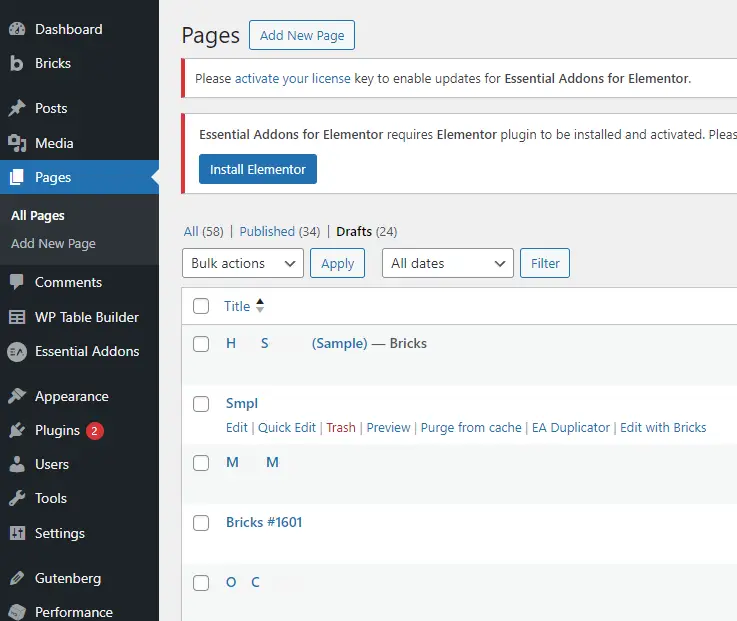
Step 4: Setting Up a New Page
Navigate back to your WordPress dashboard and create a new page specifically for the toggle pricing table. This dedicated page ensures that your pricing options are showcased prominently and easily accessible to your website visitors.
Step 5: Adding Toggle Pricing Table to the Page
Within the Bricks editor, utilize the content toggle element to integrate both monthly and quarterly pricing table templates into the newly created page. This element allows users to toggle between different pricing plans seamlessly, enhancing user experience and accessibility.

Step 6: Customizing Toggle Element
Customize the toggle element by adjusting toggle names, content types, and associated templates. Additionally, fine-tune toggle style, tab content, switcher settings, label settings, and content settings to ensure a cohesive and visually appealing presentation.
Step 7: Saving and Previewing
After making necessary adjustments, save your work and preview or publish your website to see the toggle pricing table in action. Ensure responsiveness across various devices, including desktop and mobile, to guarantee a seamless user experience regardless of the device used.
Designing the Toggle Pricing Table
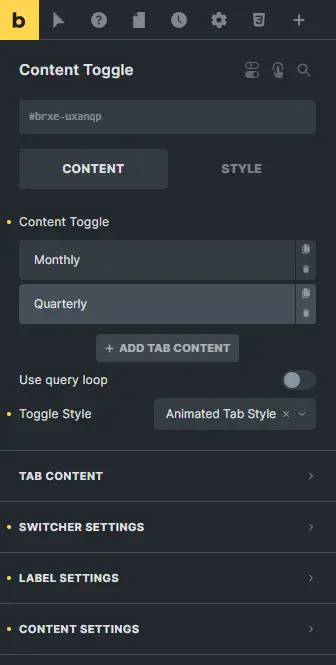
In the search bar, type “content toggle” and select the appropriate element from the list. You’ll now see a default content toggle added to your page. To customize it, click on the element and add its content under the content tab.
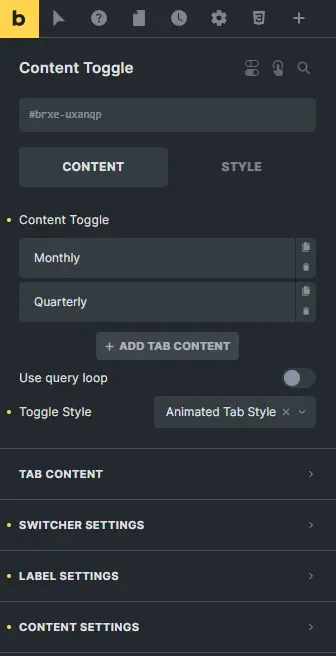
Here, you can change the Toggle names, content type, and the template that we added earlier. After that, you can customize your toggle element by adjusting its toggle style, tab content, switcher settings, label settings, and content settings.
Optimizing Toggle Pricing Tables for SEO
Keyword Optimization: Incorporate relevant keywords into the toggle pricing table content and meta tags to improve search engine visibility.
Optimizing Meta Tags: Optimize meta titles and descriptions to accurately reflect the content of the toggle pricing table and encourage clicks from search engine results pages.
Responsive Design for Mobile Users: Ensure that the toggle pricing table is fully responsive and accessible across all devices to cater to mobile users.
Best Practices for Effective Toggle Pricing Tables
Clear Pricing Structure: Keep the pricing structure simple and transparent to avoid confusion and facilitate decision-making.
Highlighting Key Features: Highlight key features and benefits of each pricing tier to help users understand the value proposition.
Call-to-Action Buttons: Include clear call-to-action buttons that prompt users to subscribe or learn more about each pricing option.
Conclusion
In summary, the Toggle Pricing Table offers businesses a streamlined way to present pricing plans, aiding users in making well-informed decisions. With clear design, thorough testing, and ongoing refinement, businesses can optimize user experience and drive conversions effectively.