Introduction
Elementor is a powerful page builder for WordPress that allows you to create visually stunning web pages effortlessly. One of its versatile widgets is the Icon List Widget, which can help you create engaging lists with icons and customizations.
What is the Icon List Widget?
The Icon List Widget is a versatile tool that allows website owners to incorporate visually appealing lists using icons. It replaces mundane bullet points with eye-catching symbols, adding a touch of creativity to your content. This widget is not just a design element; it’s a powerful communication tool that conveys messages swiftly.
In this step-by-step tutorial, we’ll show you how to create a list in Elementor, and we’ll delve into various options and related topics for a deeper understanding.
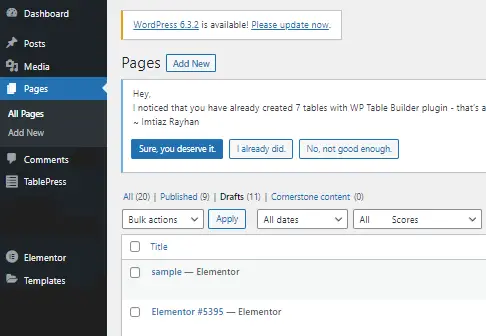
Access the Elementor Editor
Start by opening the page you want to edit with Elementor.
Search for Icon List Widget: In the Elementor editor, locate the widget search bar and type “Icon list.”
![]()
Add to Your Page: Once you find the Icon List Widget, simply drag and drop it onto your page, placing it where you want your list to appear.
![]()
Customizing Your Icon List
Content Tab
The Content tab is where you define the visible content of your list, such as item names and icons.
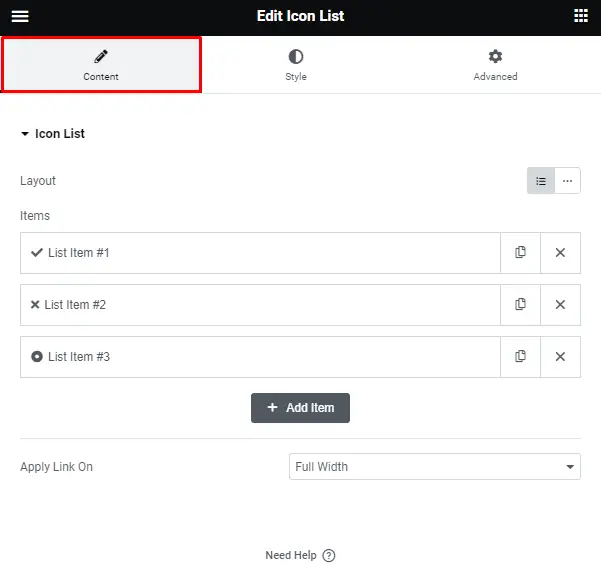
Layout Options
Choose between “Default” and “Inline” layouts. Default displays items vertically, while Inline displays them horizontally.
![]()
Items
For each list item, you can customize:
![]()
- Text: Enter the item’s text.
- Icon: Select an icon to accompany the item.
- Link: Enter a URL for the item’s link. You can also configure link options like rel=nofollow or opening links in a new window.
Style Tab
The Style tab allows you to fine-tune the appearance of your icons and text to match your website’s design.
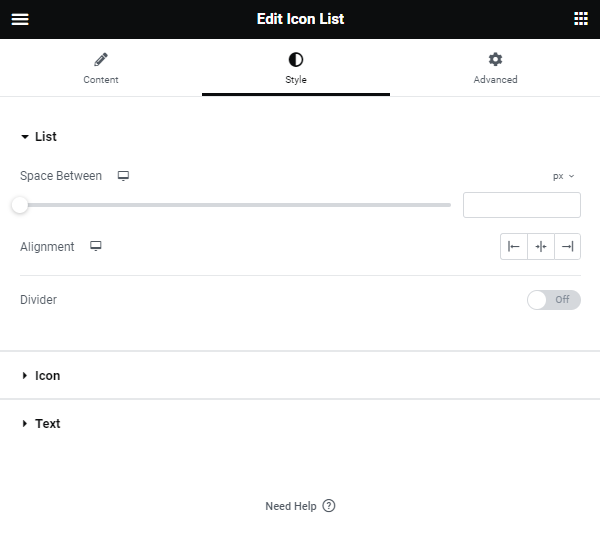
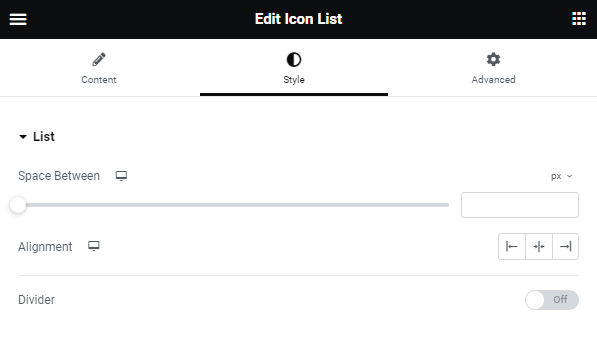
List Styling
- Space Between: Adjust the spacing between list items.
- Alignment: Choose left, right, or center alignment for your list.
- Divider: Toggle the item divider lines on or off.
If you enable the Divider Option, you can further customize:
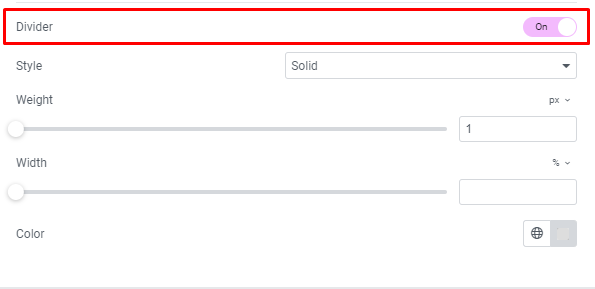
- Style: Pick from Solid, Double, Dotted, or Dashed divider styles.
- Weight: Set the thickness of the divider.
- Width: Control the divider’s width relative to the container.
- Color: Choose the divider’s color.
Icon Styling
- Color: Select the color of the icons.
- Hover Color: Define the color when the user hovers over the icons.
![]()
- Size: Specify the exact size of the icons.
- Alignment: Align icons to the left, right, or center.
Text Styling
- Text Color: Choose the color of the text.
- Hover Text Color: Set the text’s color on hover.

- Text Indent: Adjust the space between the icon and the text.
- Typography: Define typography options for the text.
Advanced Tab
The Advanced Tab offers additional Features for further Customization:
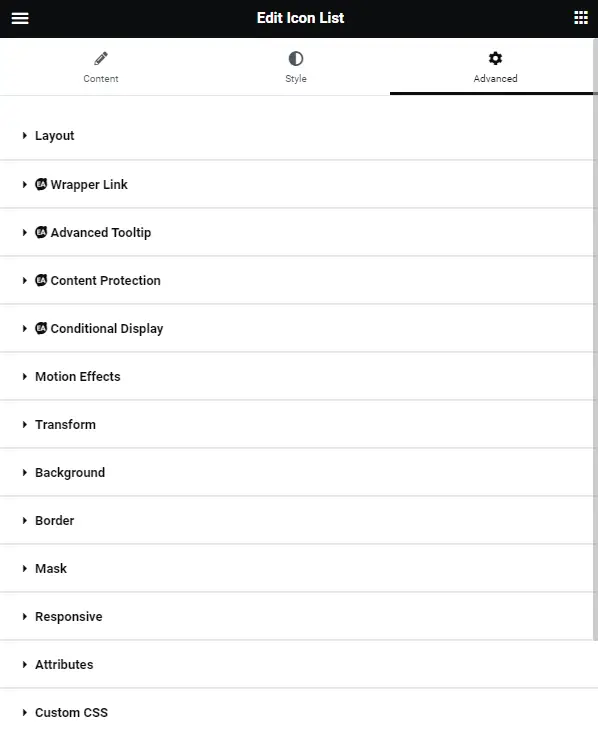
- Advanced: Options include margin, padding, z-index, CSS ID, and CSS Class.
- Motion Effects: Add scrolling and mouse effects to your list. You can control how the element enters the screen, set delays, and enable sticky elements.
- Background: Customize the background for both standard and hover states, choosing from solid colors or gradients.
- Border: Add Borders for standard and hover states, and configure Border Radius. You can also include a box shadow for a more distinctive look.
- Positioning: Alter the element’s position on the page, with options like default, inline, custom, absolute, and fixed. This allows for precise control over the element’s placement.
- Responsive: Hide specific sections or elements on different screen sizes for mobile Optimization. You can also reverse columns on certain elements.
- Attributes (Pro Feature): Add custom attributes to the element for advanced functionality.
- Custom CSS (Pro Feature): Incorporate custom CSS for either the specific element or global site settings.
Responsive Design with the Icon List Widget In Elementor
Responsive design has become an essential part of web development in recent years. With more and more people accessing websites through their mobile devices, it is crucial to ensure that your website looks good and functions well on all screen sizes. One way to achieve this is by using the Icon List widget in Elementor.
What is the Icon List Widget?
The Icon List widget in Elementor allows you to display a list of items with icons and text. This is perfect for showcasing features, services, or products on your website. The icon list can be displayed horizontally or vertically, making it versatile for various design options.
The Benefits of Using the Icon List Widget
Using the Icon List widget in Elementor comes with several advantages, including:
Enhanced User Experience
By presenting information in an organized and visually appealing manner, you can improve the user experience on your website.
Mobile-Friendly Design
The responsive nature of Elementor’s Icon List widget ensures that your content looks great on mobile devices, catering to the ever-growing mobile audience.
Versatile Content Presentation
Whether you’re highlighting your product features or showcasing your services, the Icon List widget offers a versatile way to present content.
Time-Efficient Design
Elementor’s user-friendly interface makes it easy to create beautiful lists without extensive coding or design skills.
Step-by-Step Guide for Using the Icon List Widget
Follow these simple steps to create a responsive icon list using Elementor:
- Open your page in the Elementor editor.
- Click on the ‘Add New Section’ button and select the desired layout for your icon list.
- Once you have added the section, click on the ‘+’ icon to add a new widget.
- Search for ‘Icon List’ in the search bar and select the widget.
- Drag and drop the widget into your chosen section.
- Click on ‘Edit Icon List’ to start customizing your list.
- In the content tab, you can add new items by clicking on the ‘Add Item’ button or edit existing ones by clicking on the pencil icon next to it.
- You can choose from a variety of icons under the ‘Icon’ dropdown menu or upload your own custom icons.
- In the Style tab, you can adjust the layout, size, and color of your icons and text.
- To make your icon list responsive, go to the Advanced tab and enable the ‘Responsive’ option.
- You can also further customize how your list appears on different screen sizes by adjusting the ‘Column Gap’ and ‘Item Alignment’ options.
- Once you are satisfied with your design, click on the ‘Update’ button to save your changes.
- Preview your page to see how your icon list looks on different devices.
Best Practices for Responsive Design with Icon List Widget
Here are some tips to keep in mind when creating a responsive icon list with Elementor:
- Use clear and concise text for each item in your list.
- Choose icons that are easy to recognize and understand.
- Keep the number of items in your list to a minimum, as too many can clutter the design on smaller screens.
- Test your design on various devices to ensure it looks good and functions properly.
Conclusion
Creating a list in Elementor is a straightforward process that can greatly enhance your website’s visual appeal and user engagement. With the Icon List Widget, you have ample Customization options to tailor your lists to your specific needs. Plus, by exploring related topics and continuously learning, you can take full advantage of Elementor’s capabilities for web design.
By following these steps and best practices, you can easily create a responsive icon list using the Icon List widget in Elementor. This will not only improve the user experience on your website but also make it more visually appealing for all visitors. So, don’t wait any longer and start incorporating this useful widget into your web design today!