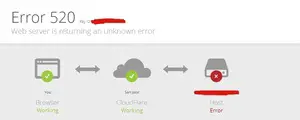
After migrating a site, you want to check to see if everything is in working order first before changing your DNS (nameserver) records over to the new web host.
I have purchased numerous sites and have migrated sites numerous times. As such, I’ve come to realize that it is not always best to change nameservers right after migration. So this is something you should always do before pointing your domain name to your new server.
In this article, I will show you three ways to check to see preview your site on your new host before changing the domain nameserver. The first method will only work with Cpanel. The other two methods will work with any web host control panel.
Method 1: Accessing via server IP address and Cpanel Username
Note that this method only works if you use Cpanel as your control panel.
This method is pretty simple. All you need to do is type http://server_ip/~cpanelusername/ into the address bar of your browser.
The server_ip is your new server’s IP address. This should be in the e-mail address that provided your hosting details.
~cpanelusername is the Cpanel username assigned to your account. This should also be in the e-mail about your hosting account. Keep in mind that you need the ~ in front of the username in order for it to work.
This isn’t the preferred method and will not work with every host as many hosting providers disable this because of security concerns.
Method 2: Get Temporary URL With Hosts.CX
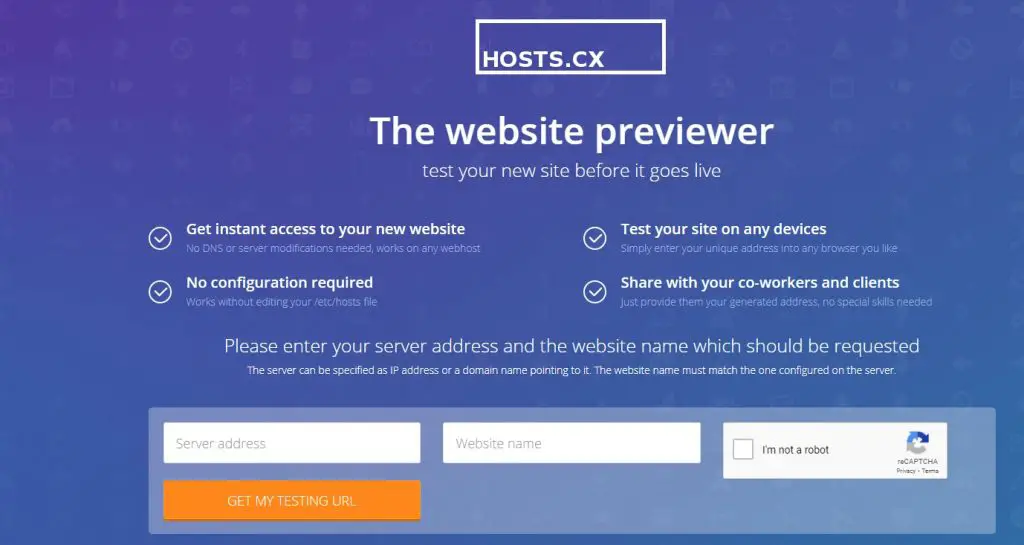
This method is not my favorite method because it doesn’t work every time, although it works most of the time. However, it is extremely easy to do.
This method involves going to hosts.cx and putting in your new server IP address and domain name. Once you do that, Hosts.CX will give you a temporary URL to use:
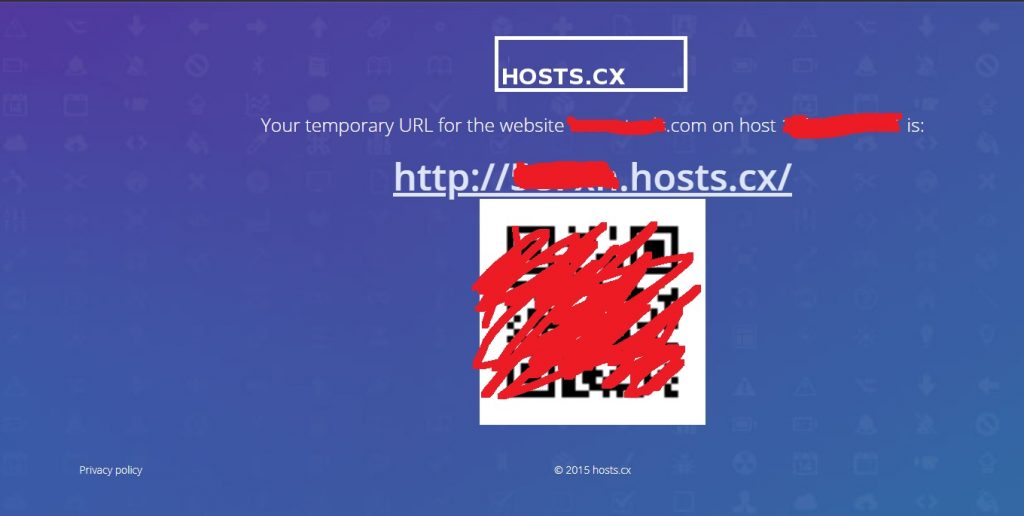
Again, this is not my favorite method because it doesn’t always work but it is the easiest method.
Method 3: Modifying The Hosts File on Your Computer
This method is simple but a bit more involved than the first method. However, it works 100% of the time.
The following is how you do it on a Windows computer. However, you can also do the same on a Mac by locating the hosts file.
Here are the steps edit the hosts file on a Windows computer.
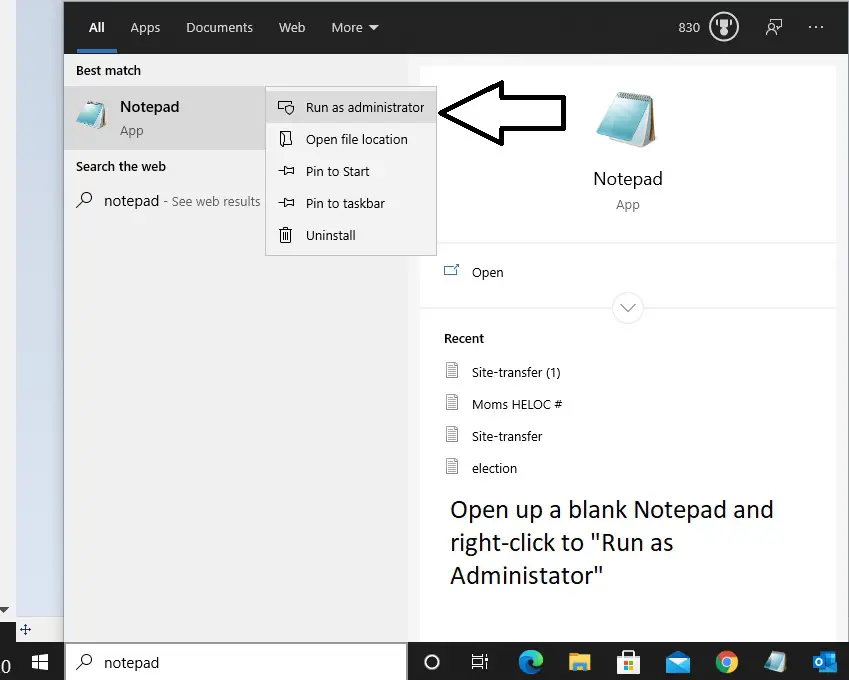
Step 1: Open up a blank Notepad file and choose “Run as Administrator” by right-clicking
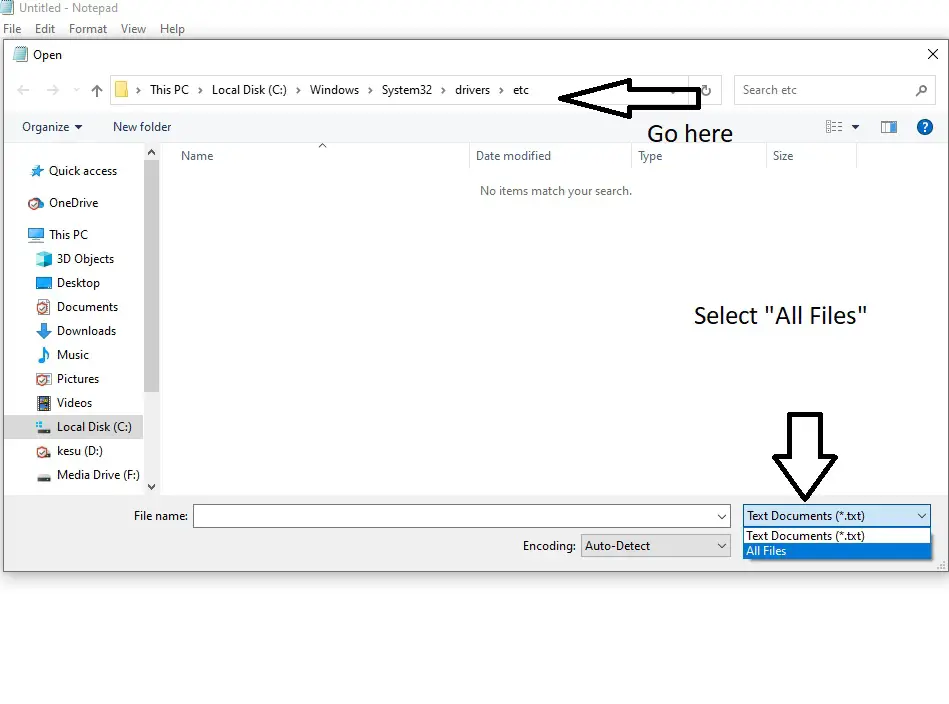
Step 2: Locate and open up the hosts file. Your hosts file is located by default in: C>Windows>System32>drivers>etc.
Once you are there you will need to select “All Files” in order to see the hosts file.

3. Make edits to hosts file.
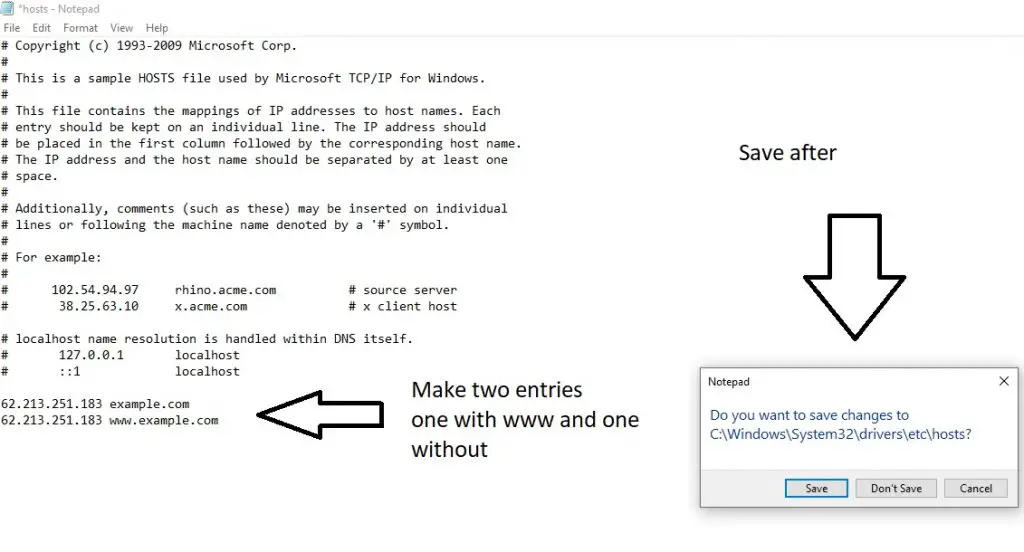
You are going to make two lines of entries. You are going to put your new server IP address on both lines. And then you are going to make one entry of your domain name without the “www” and one with the “www.”
See the image below for an example. Obviously, instead of typing in www.example.com and example.com, you are actually going to put your domain name instead.
Save the hosts file after making this entry.
Now when you enter in the domain name on your local computer, it will load up the file on the new server. But everyone else still sees the site on the old server.
Once you have verified and checked that everything is working correctly, go back to the hosts file and remove the entry and save. Now your hosts file should look like it did originally.
Again, this is my preferred method because it always works.
I have also created a Youtube video of how to do what I showed above. watch it to see a live demonstration.